Vespa VL3T Front Fork Rebuild
Many
more pictures which may help if you are working on the front fork of an
early Vespa. Most of this should apply to the Vespa VL1T -VL3T
models which had identical forks. I have rebuilt both the VL1T
and the VL3T front fork versions and found the parts to be
similar. These are photos of all the components of the VL3T Vespa
front fork during disassembly and reassembly.
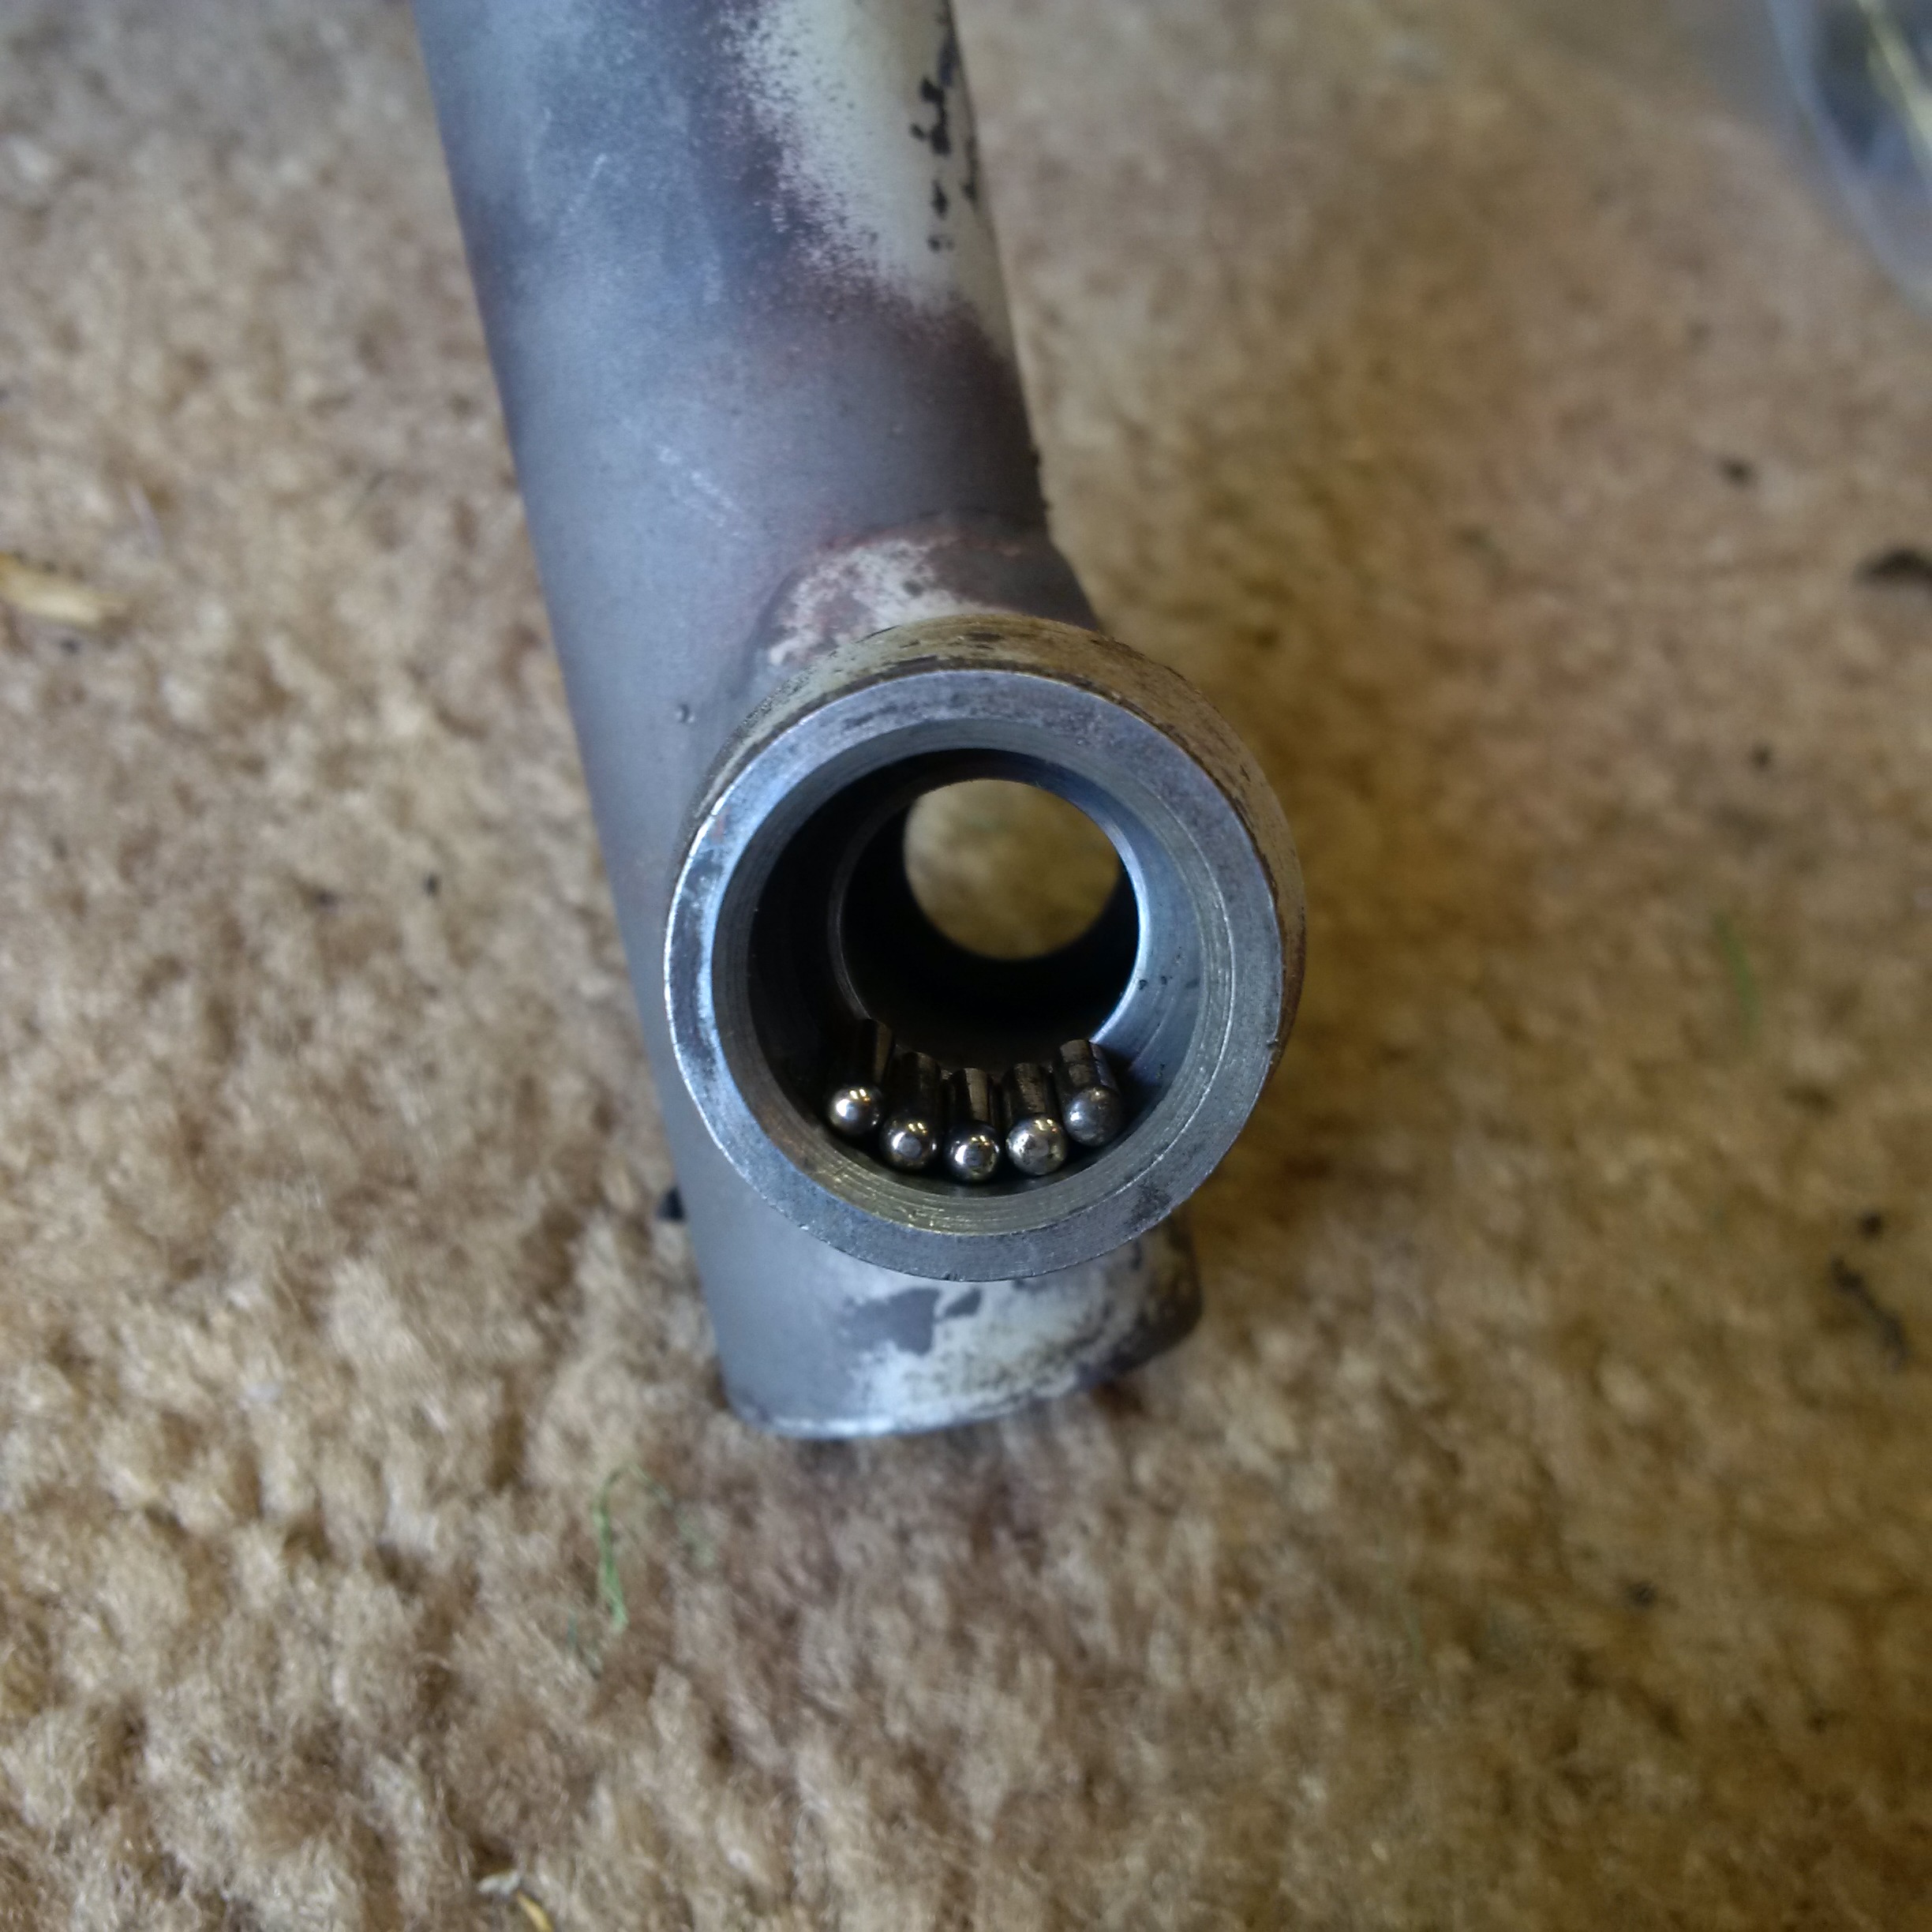
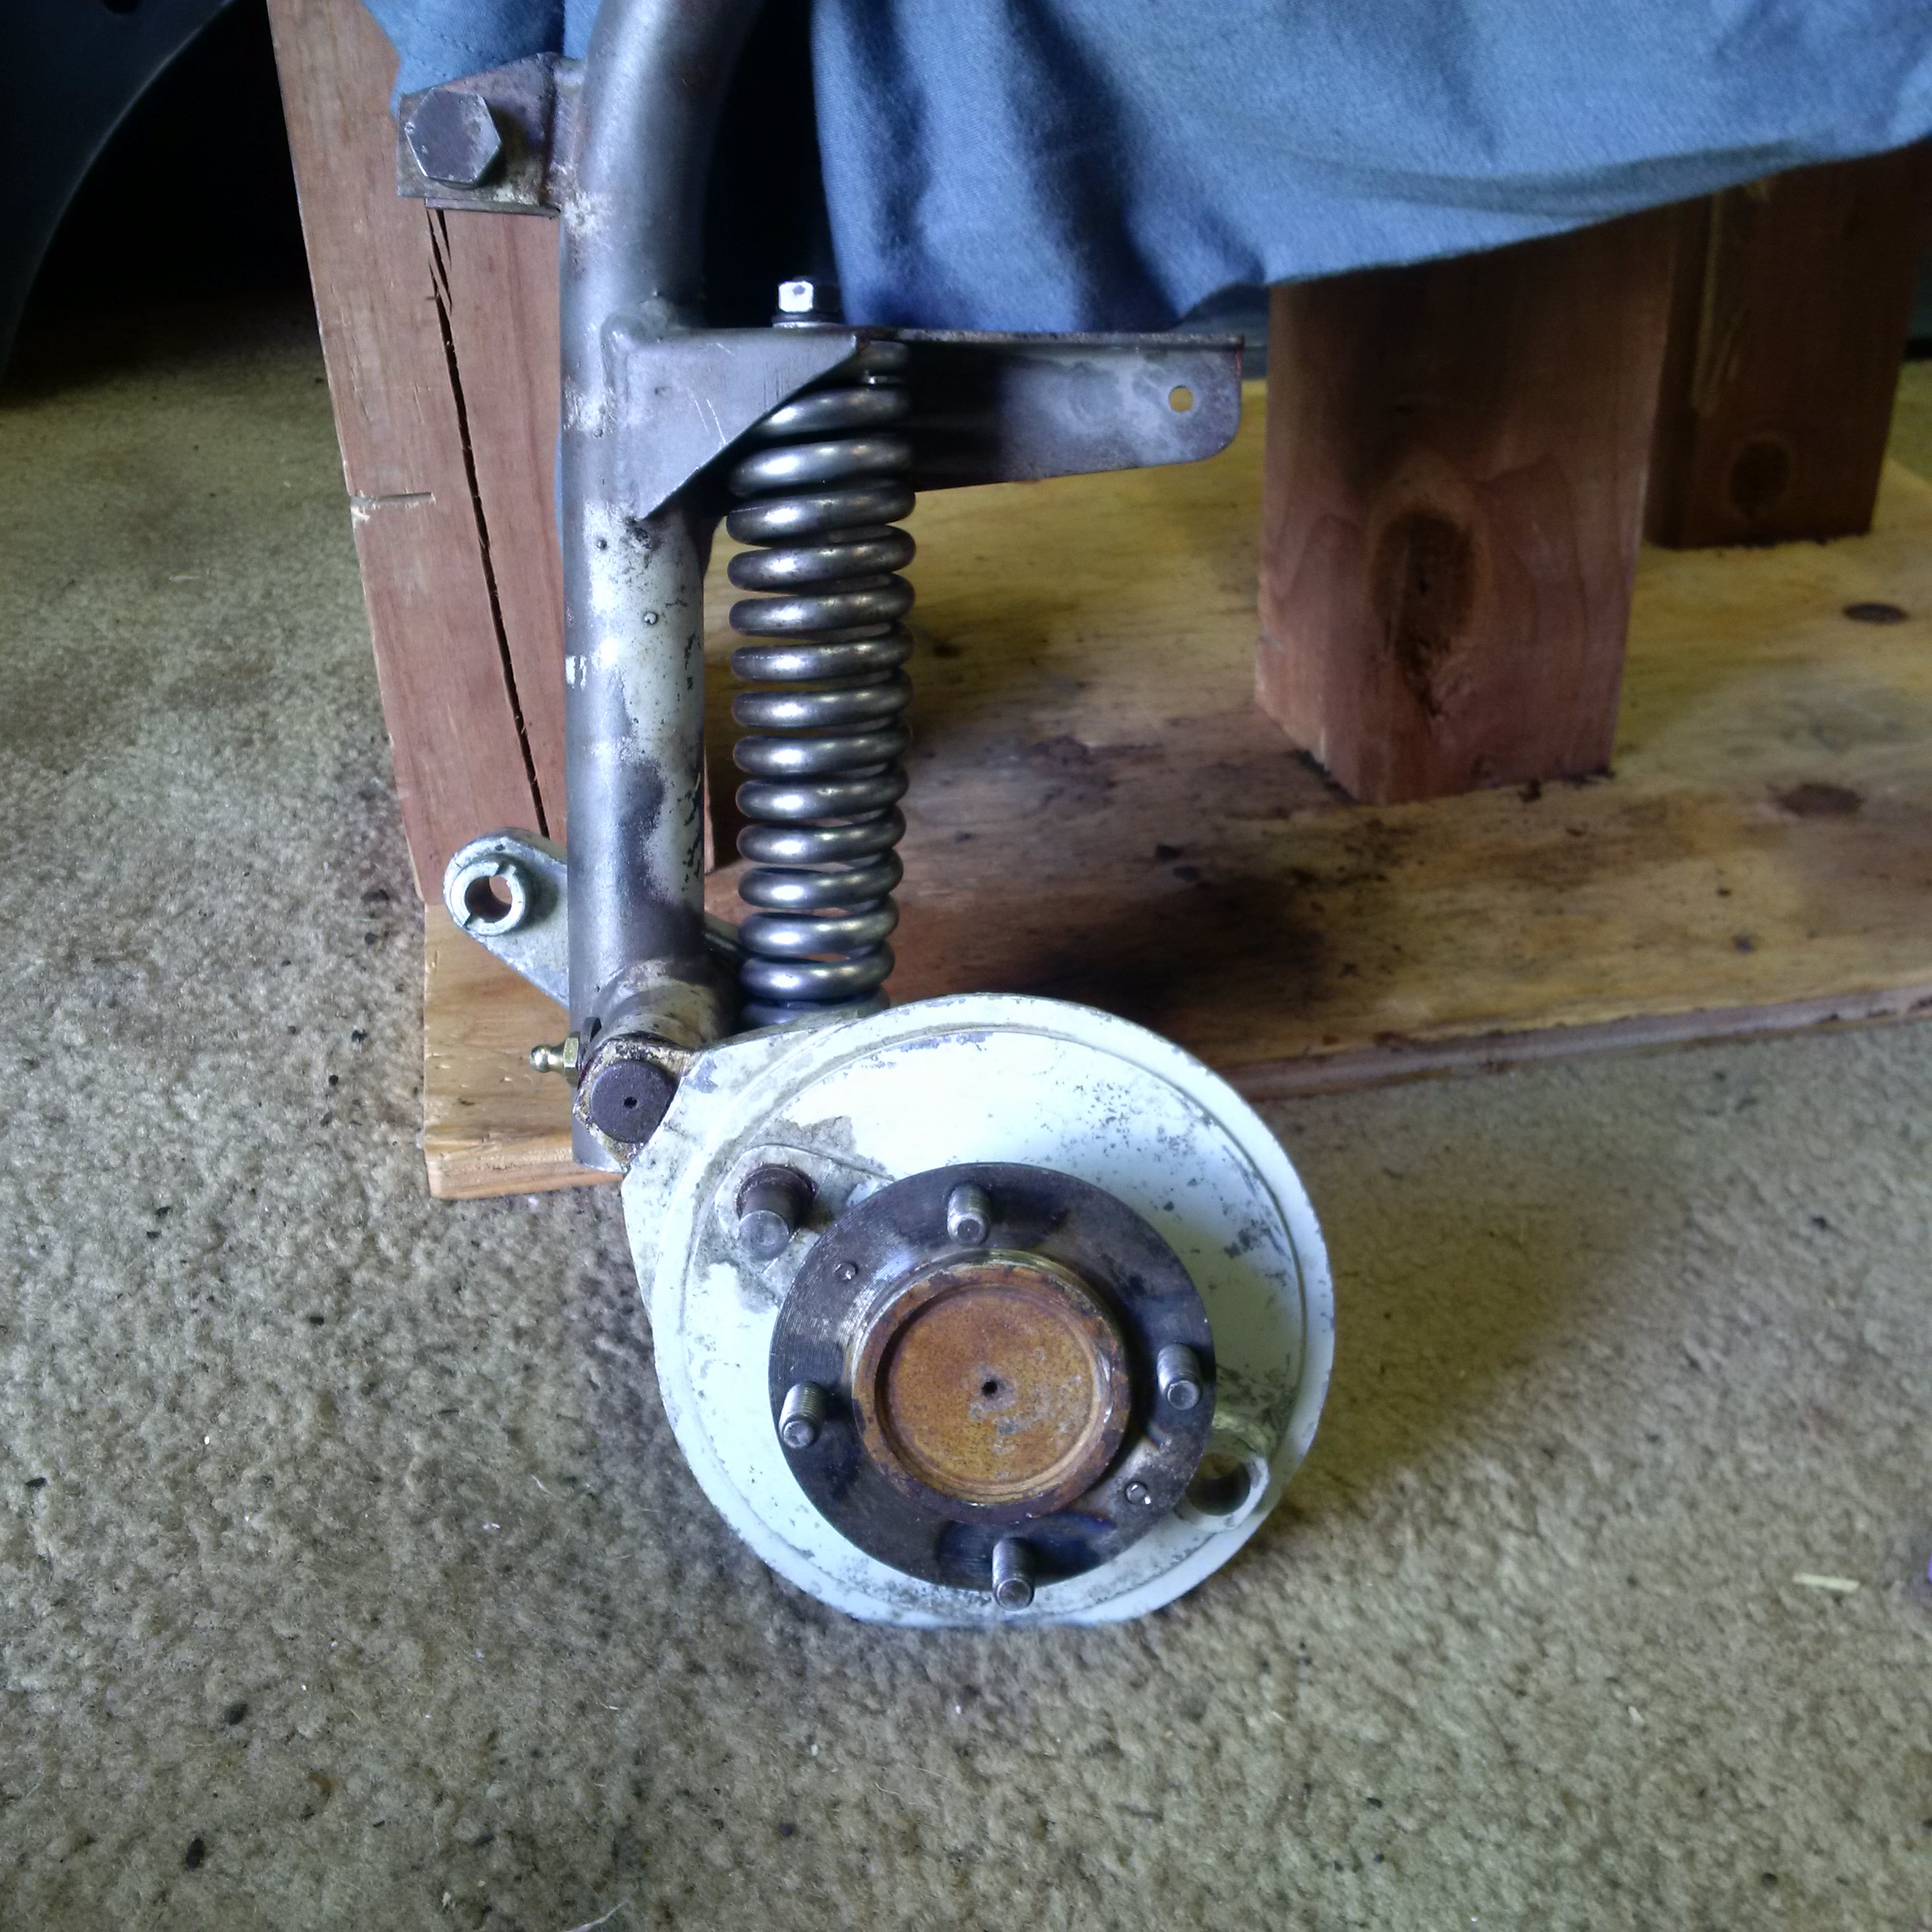
First we can look at some images of the
front hub and the lower channel in the fork through which the
front hub/axle pass. These details show the roller bearings and
the roller bearing cages. 18 roller bearing per side held in
place by a little cap ring. After you rebuild and slip the
axle back in to the fork be careful not to knock any of the
rollers loose. That will mean starting all over.
 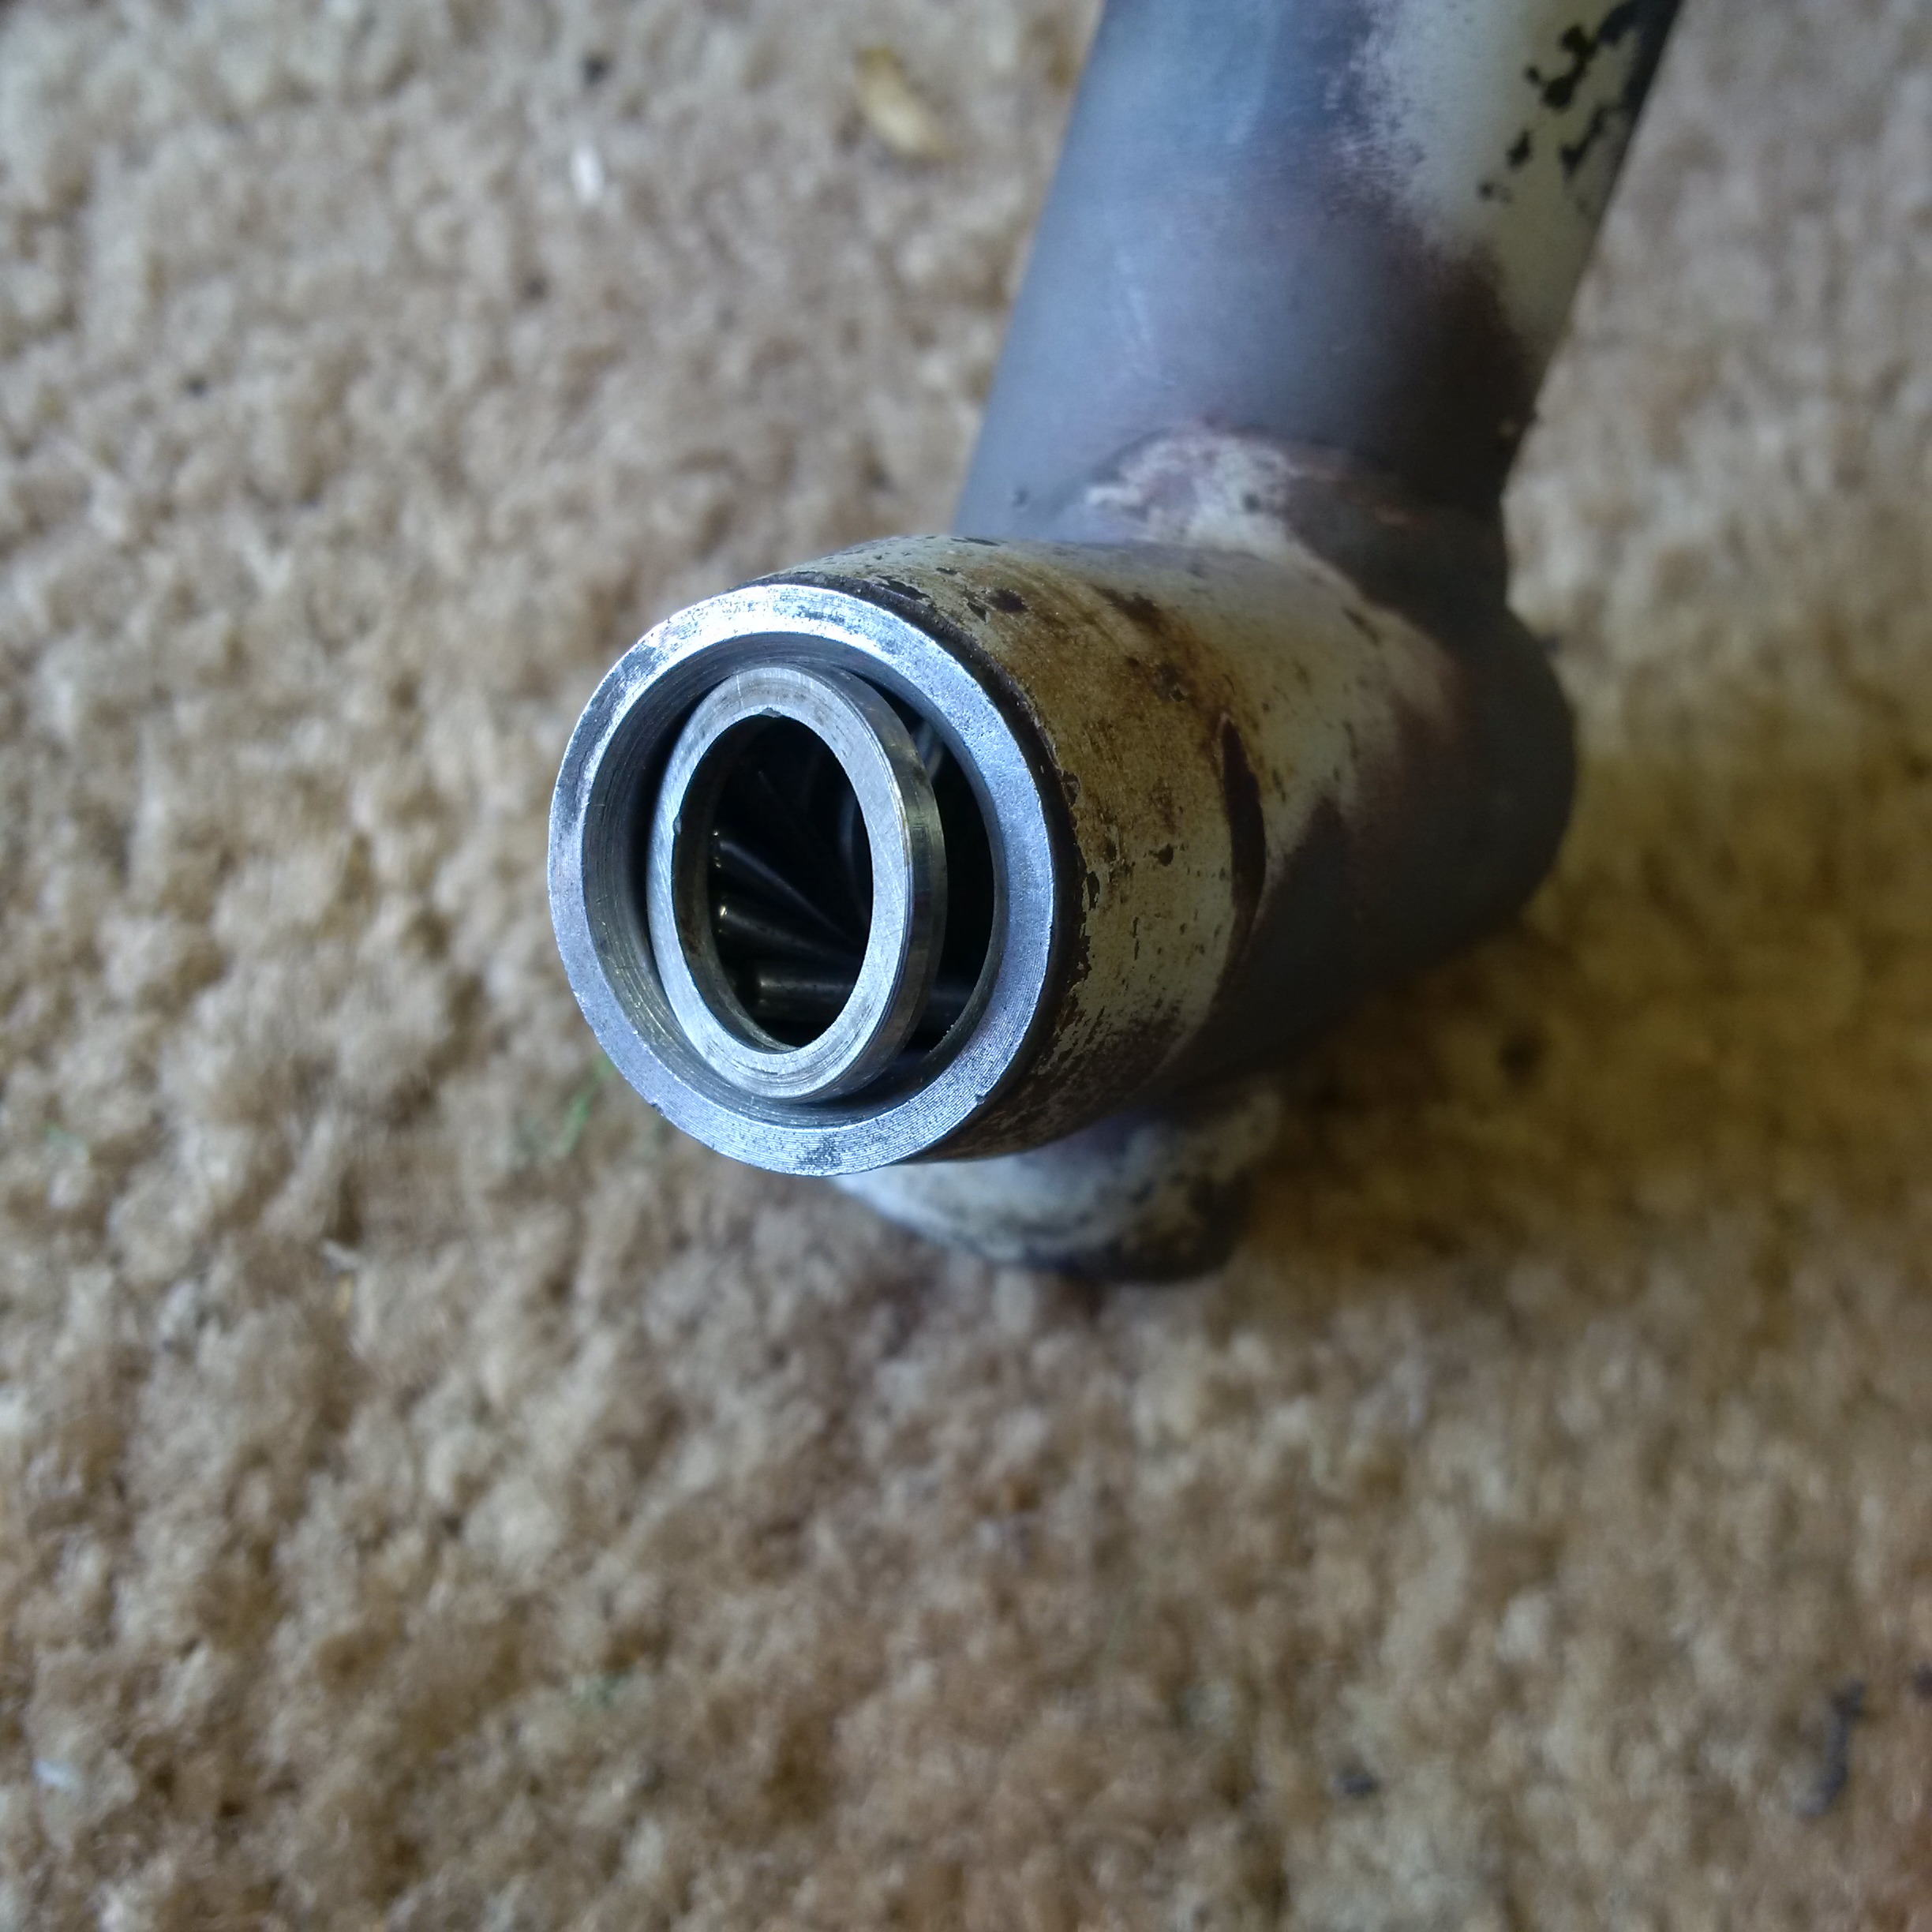
This is where the speedo drive will insert.
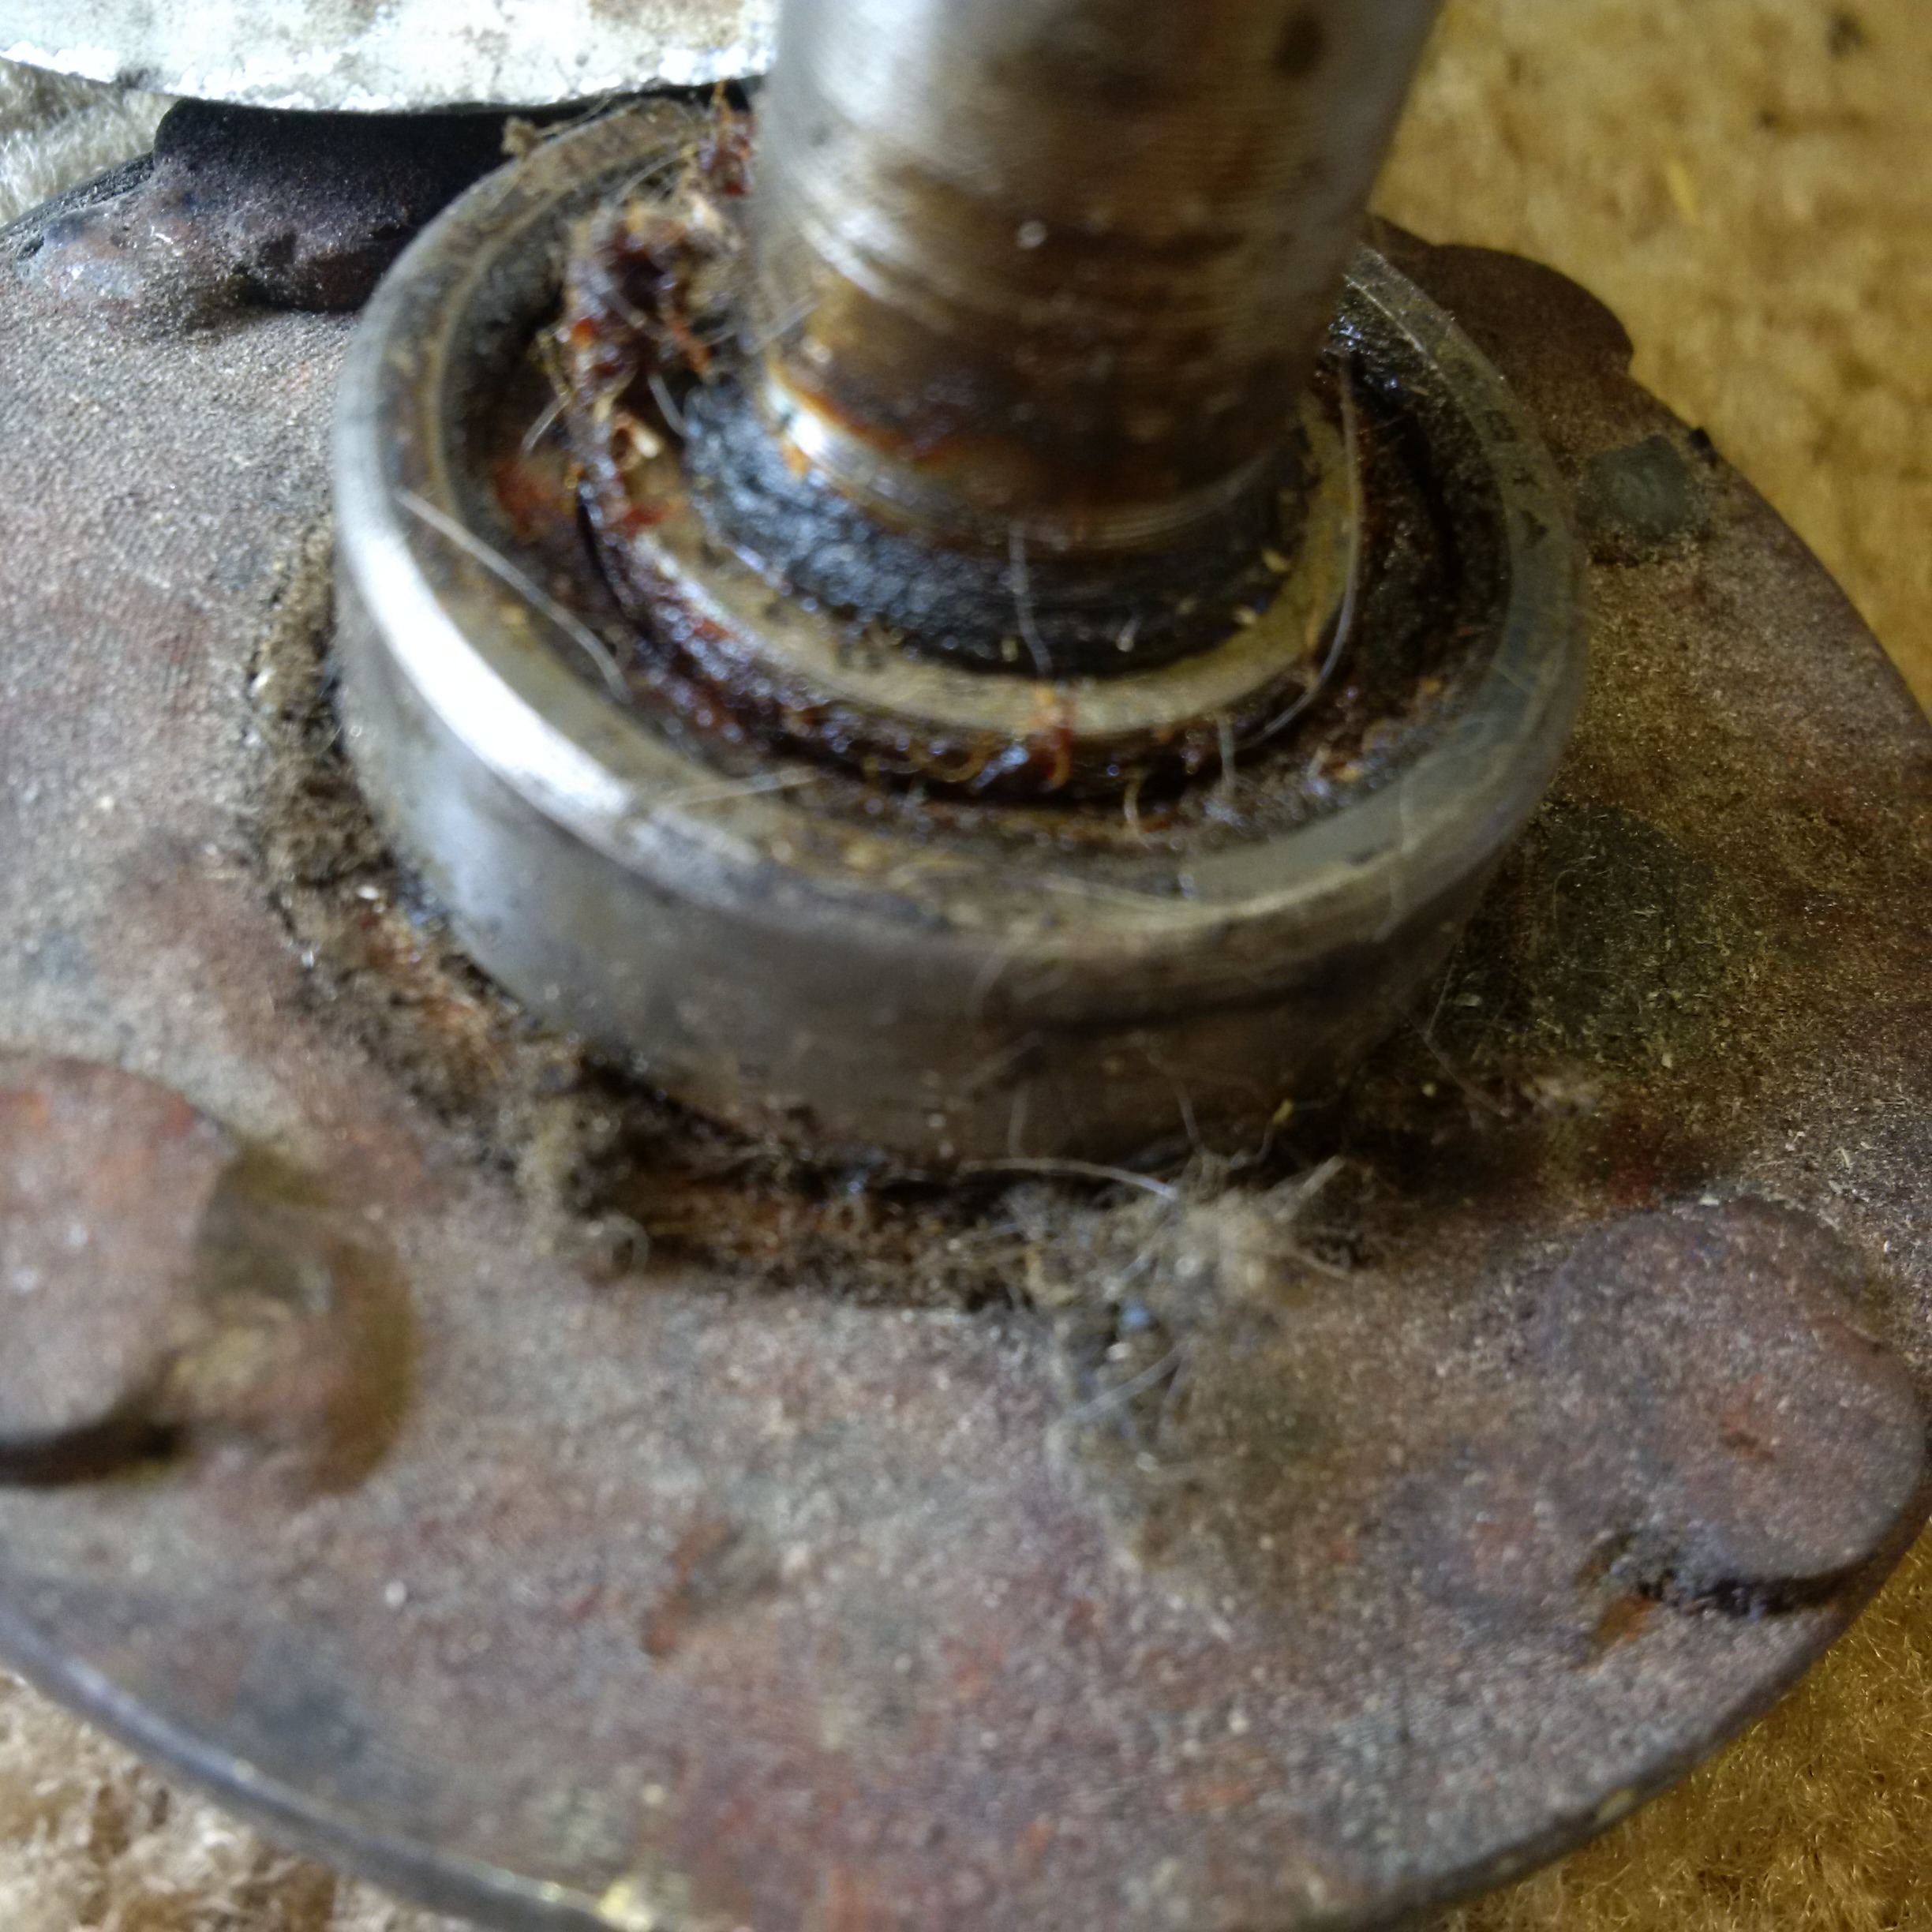
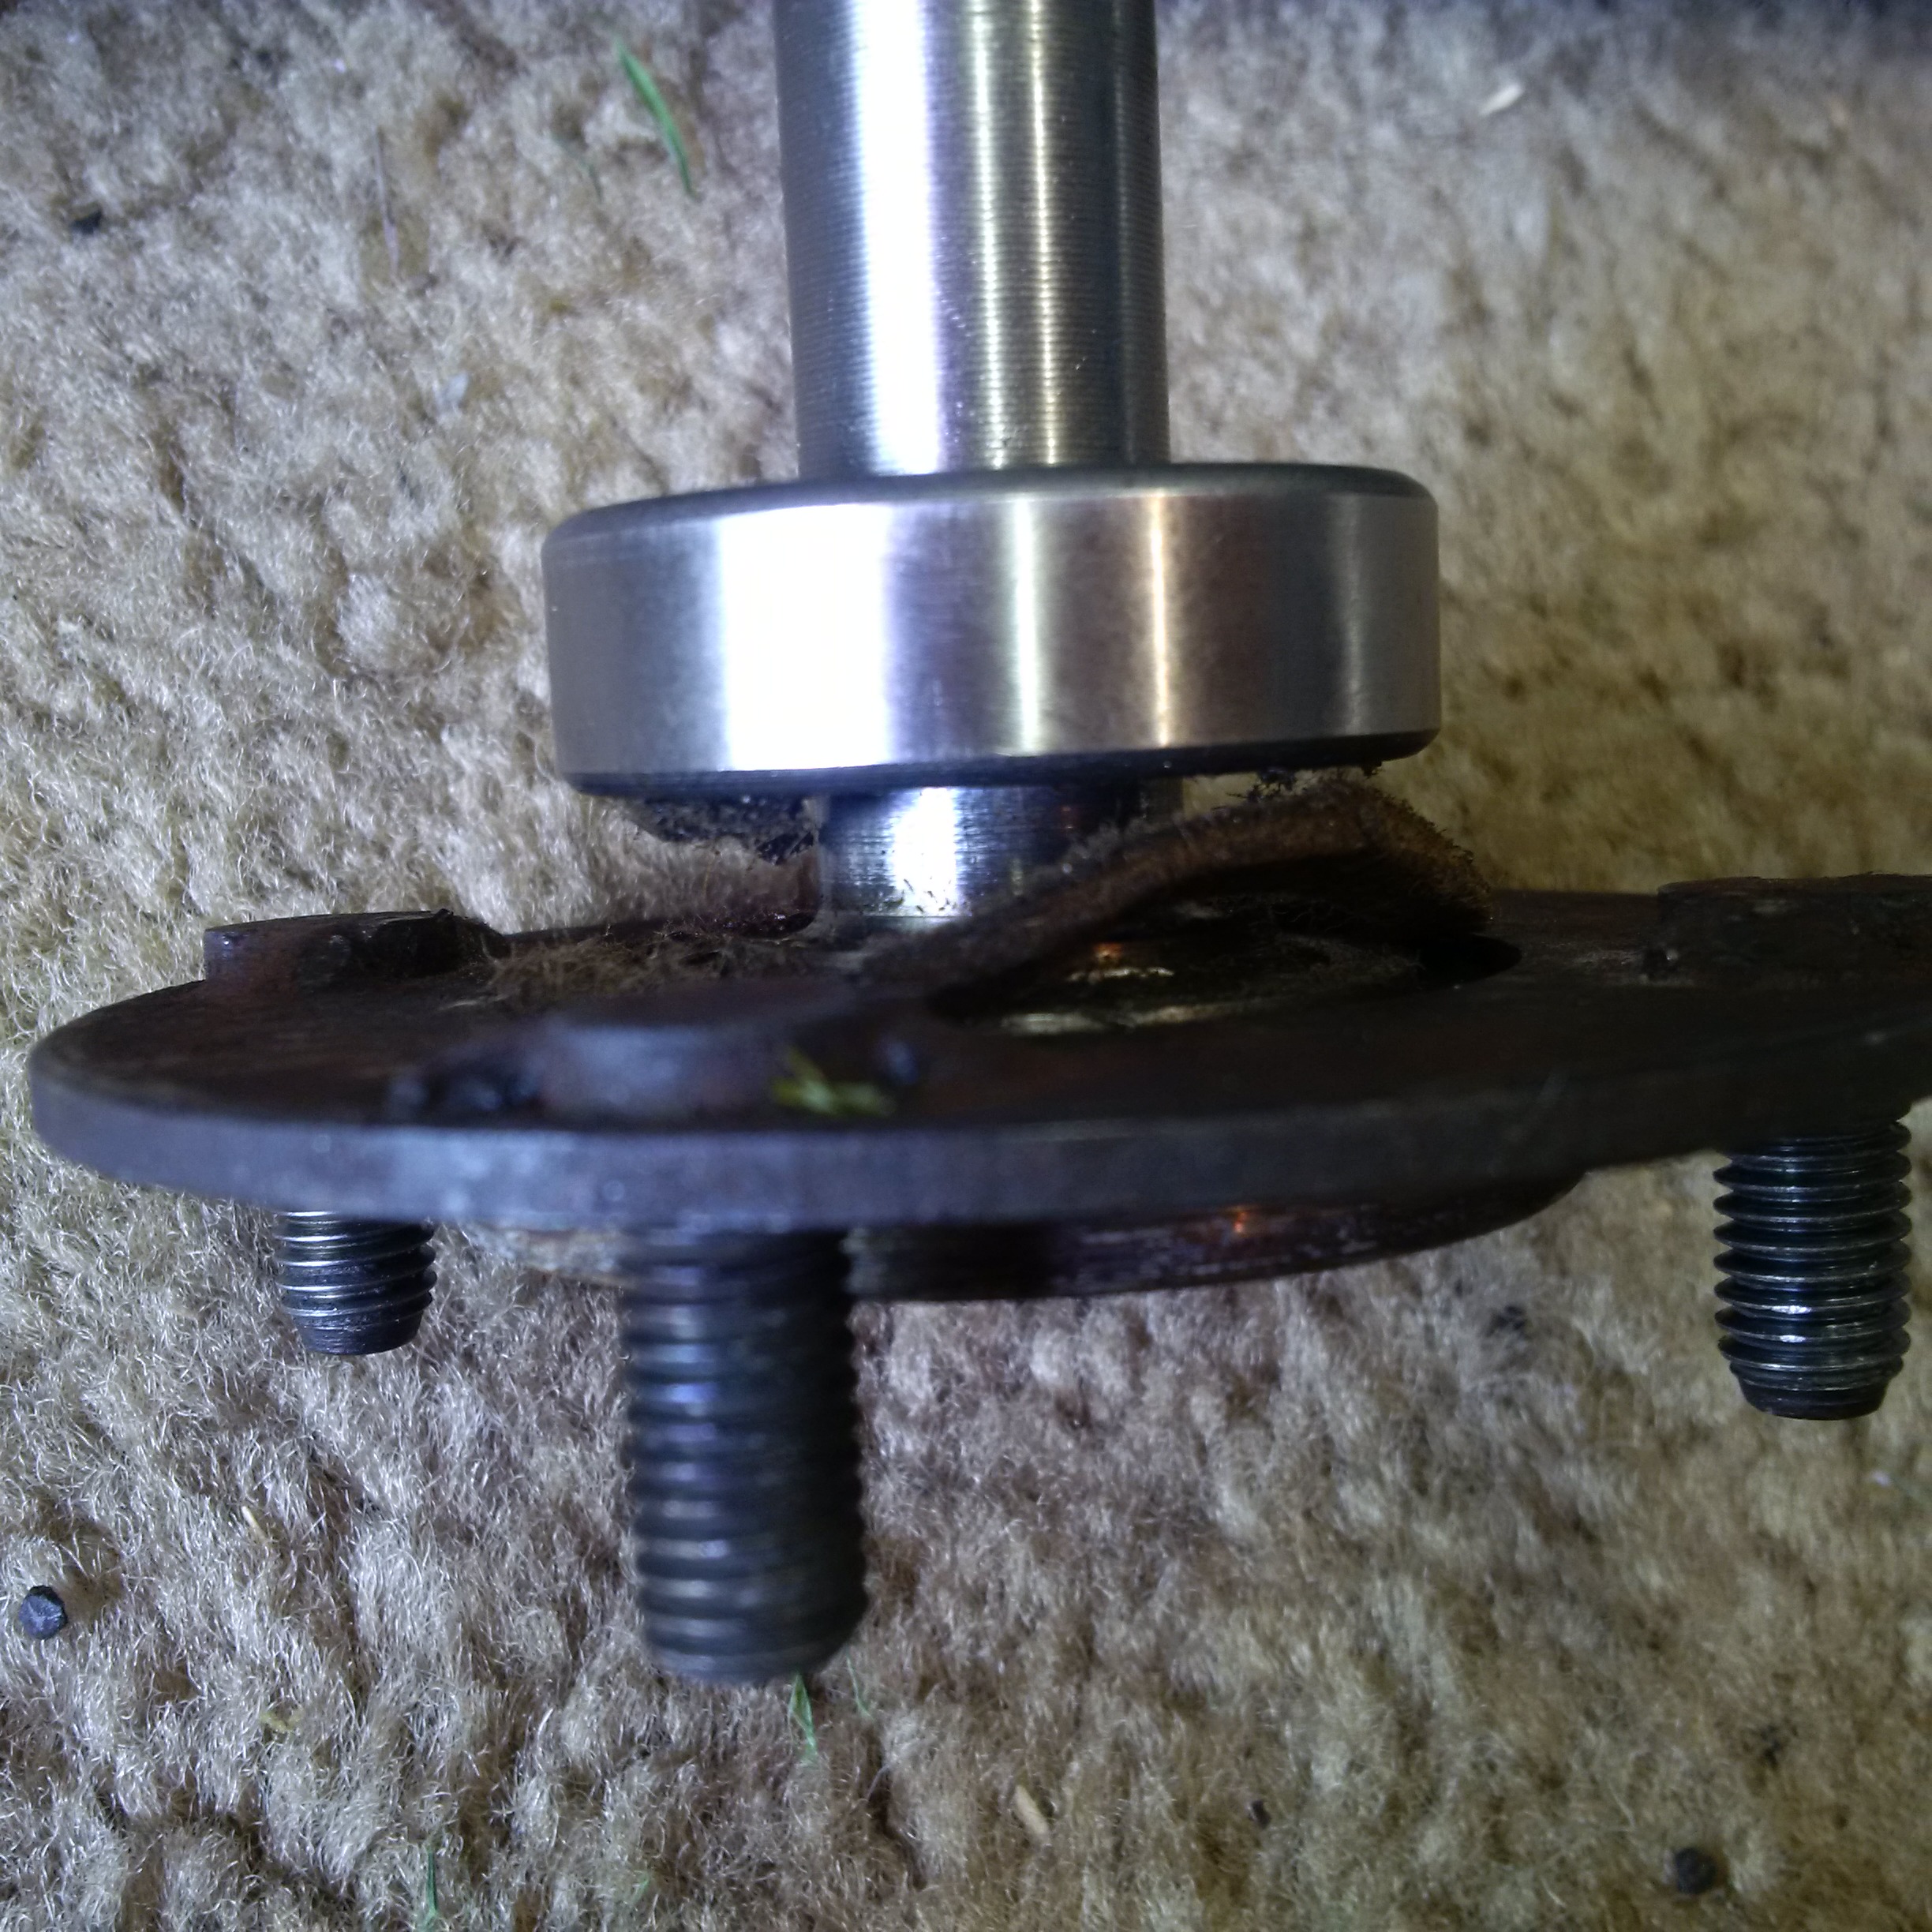
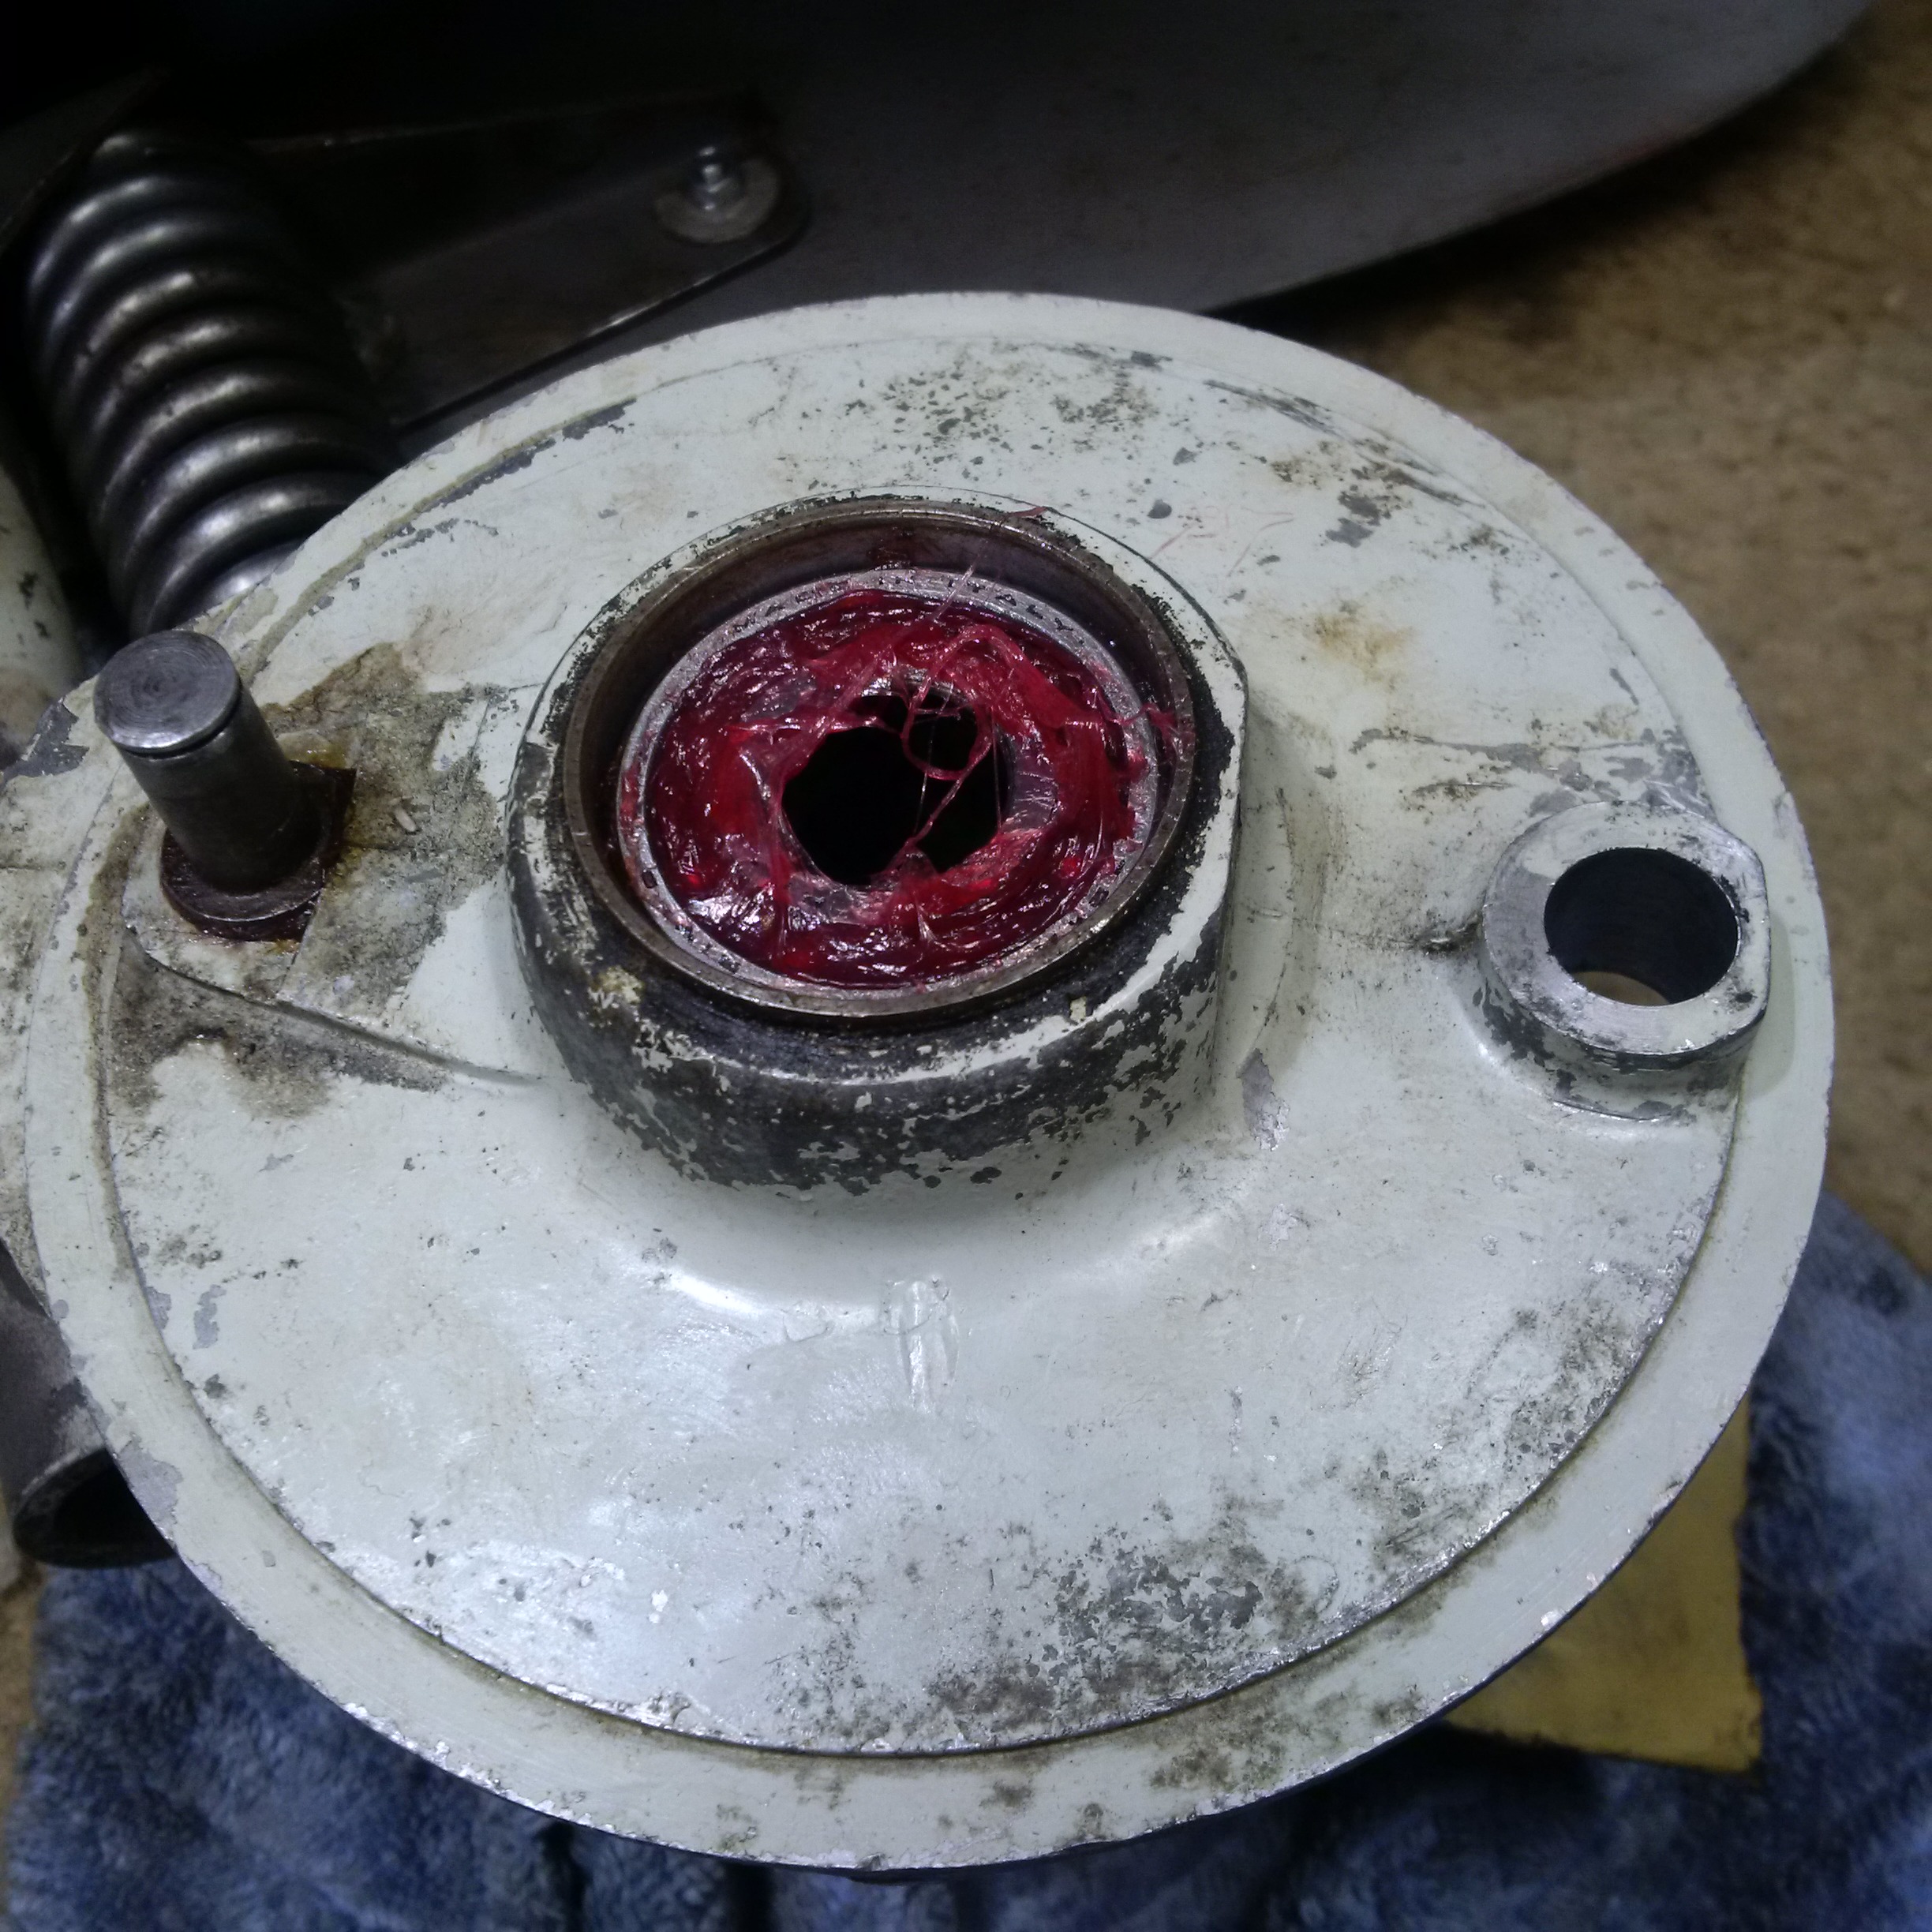
here are some close up shots of
the large bearing on the lower end of the front axle on the Vespa
VL3T. You can see there is a felt ring seated underneath the
bearing. When the whole thing slides back together this felt ring
forms a seal against the hub which keeps dirt and moisture from getting
in to the bearings and axle. I had to use a bearing puller to
remove this bearing. We will talk about reassembly below.
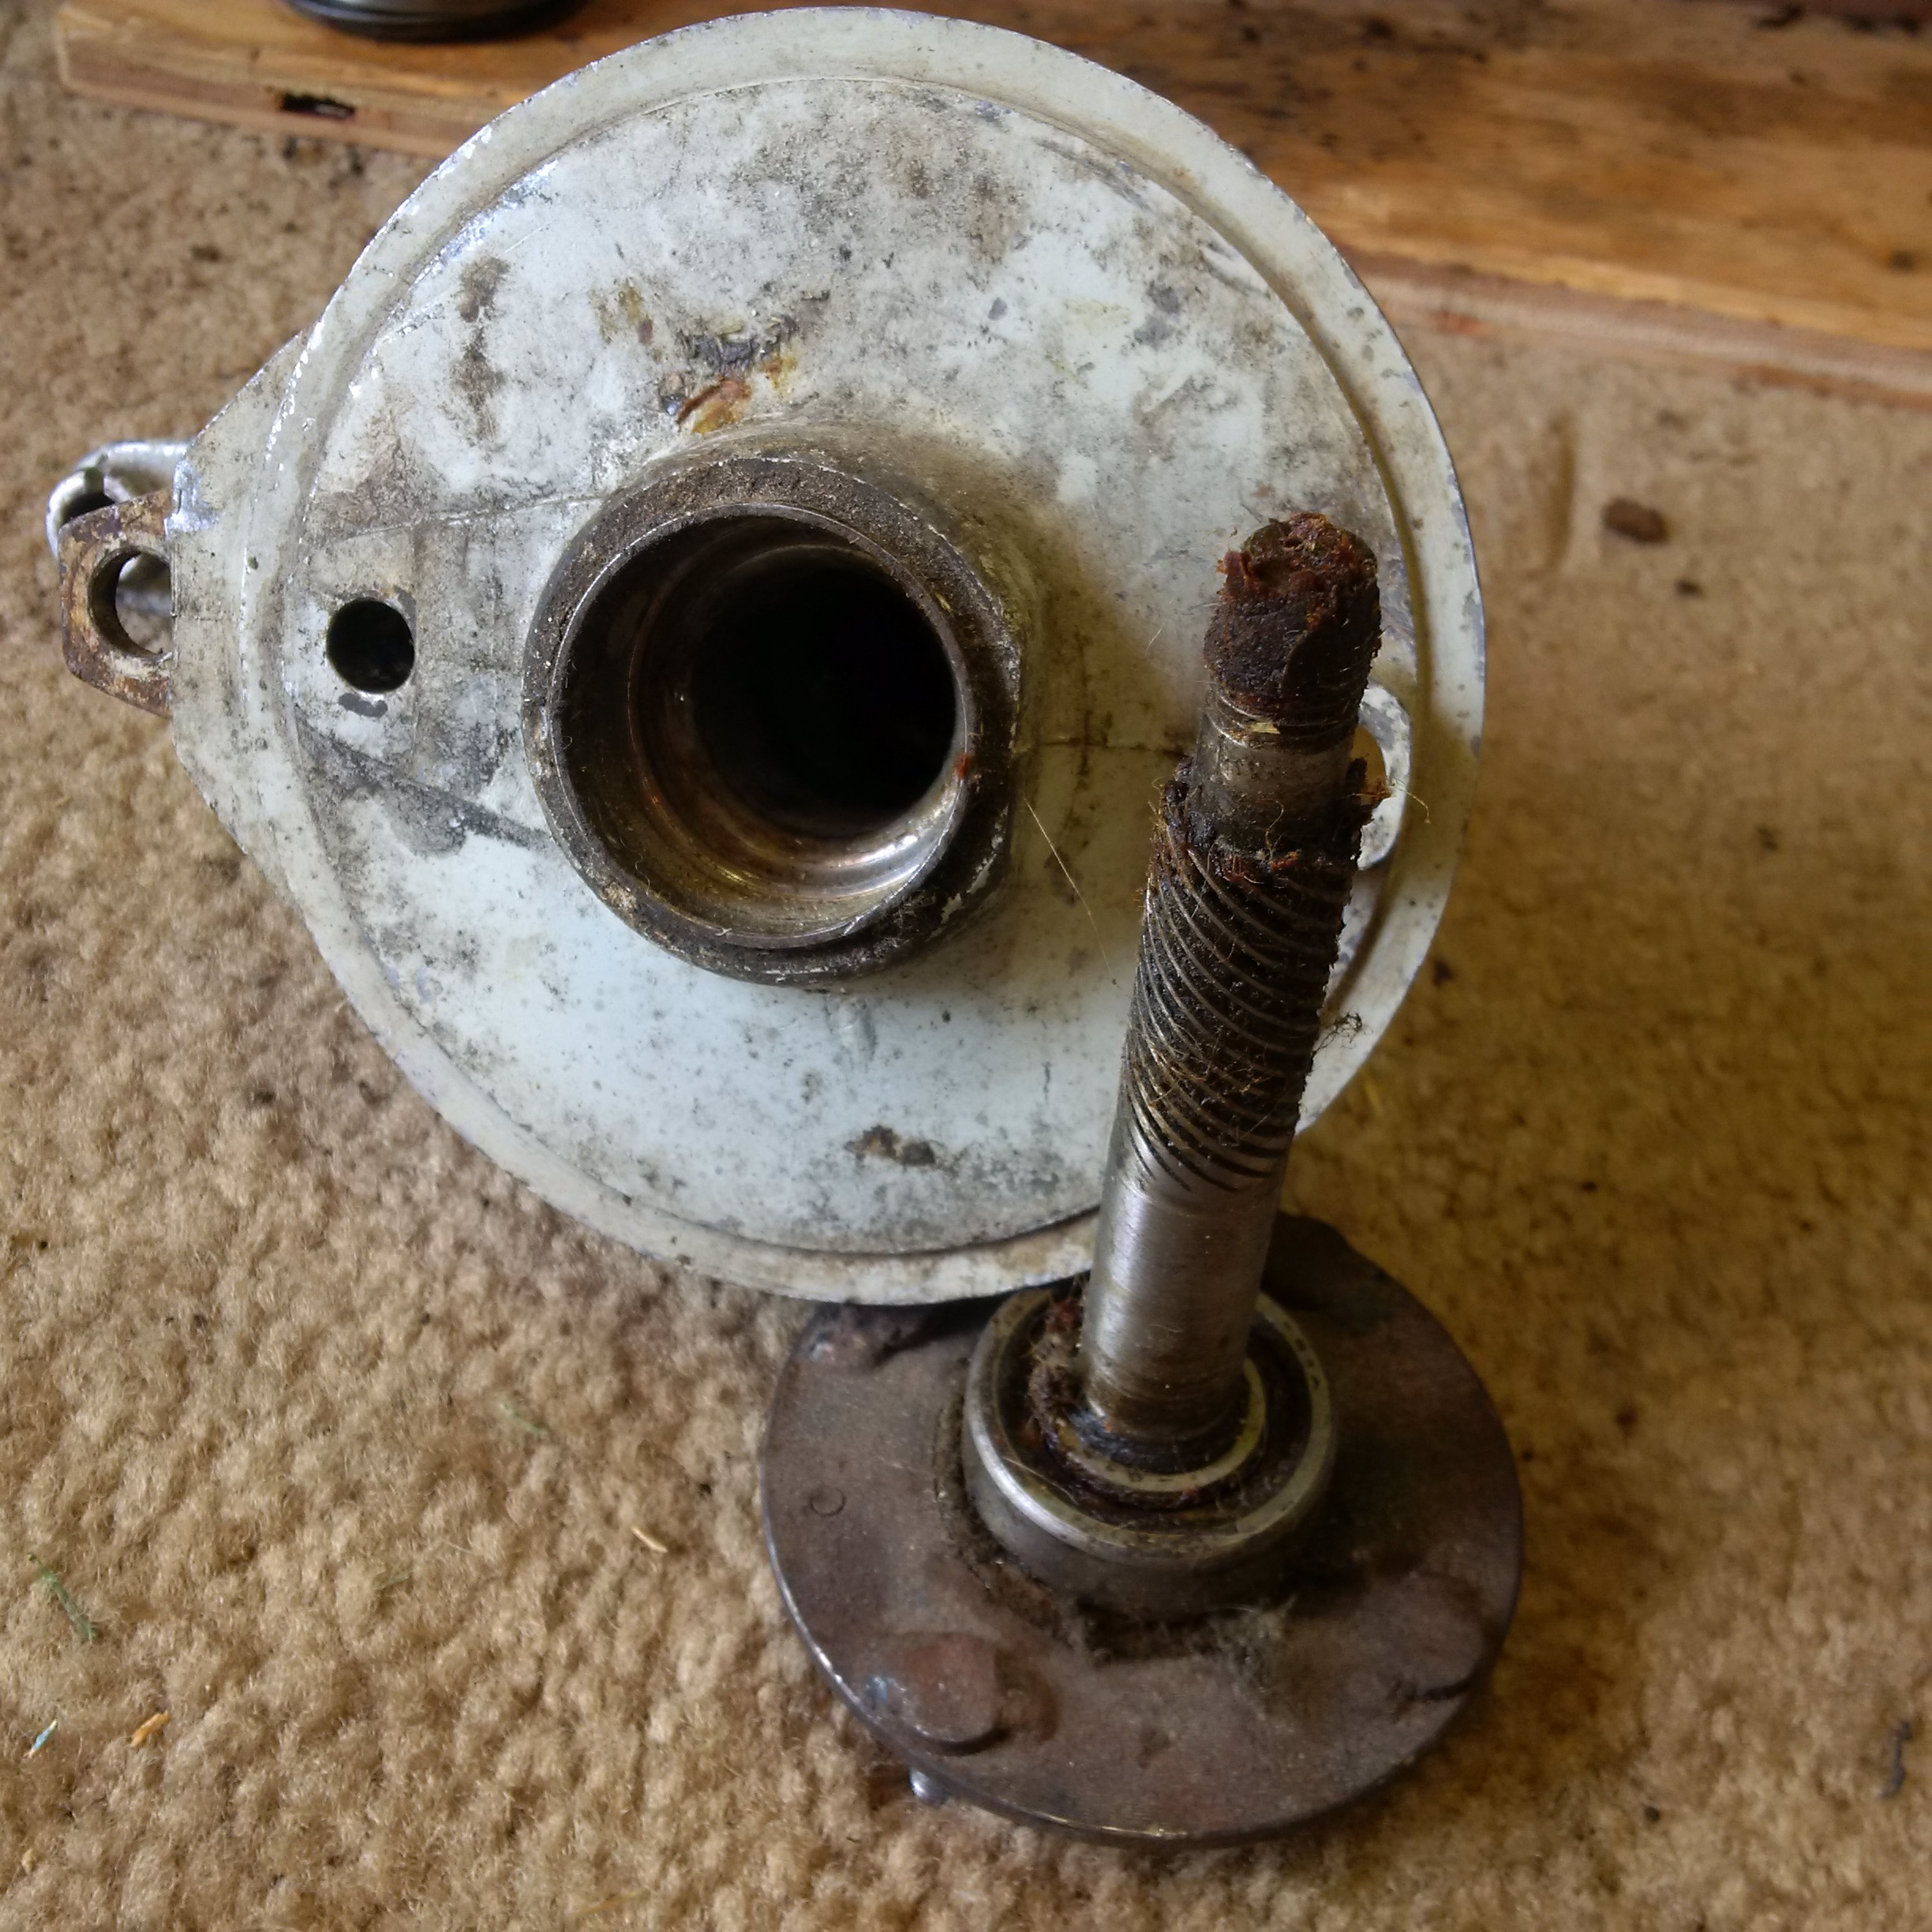
The main hub axle also has a smaller bearing on the "far end"
this will remain in the hub when the axle is driven out.
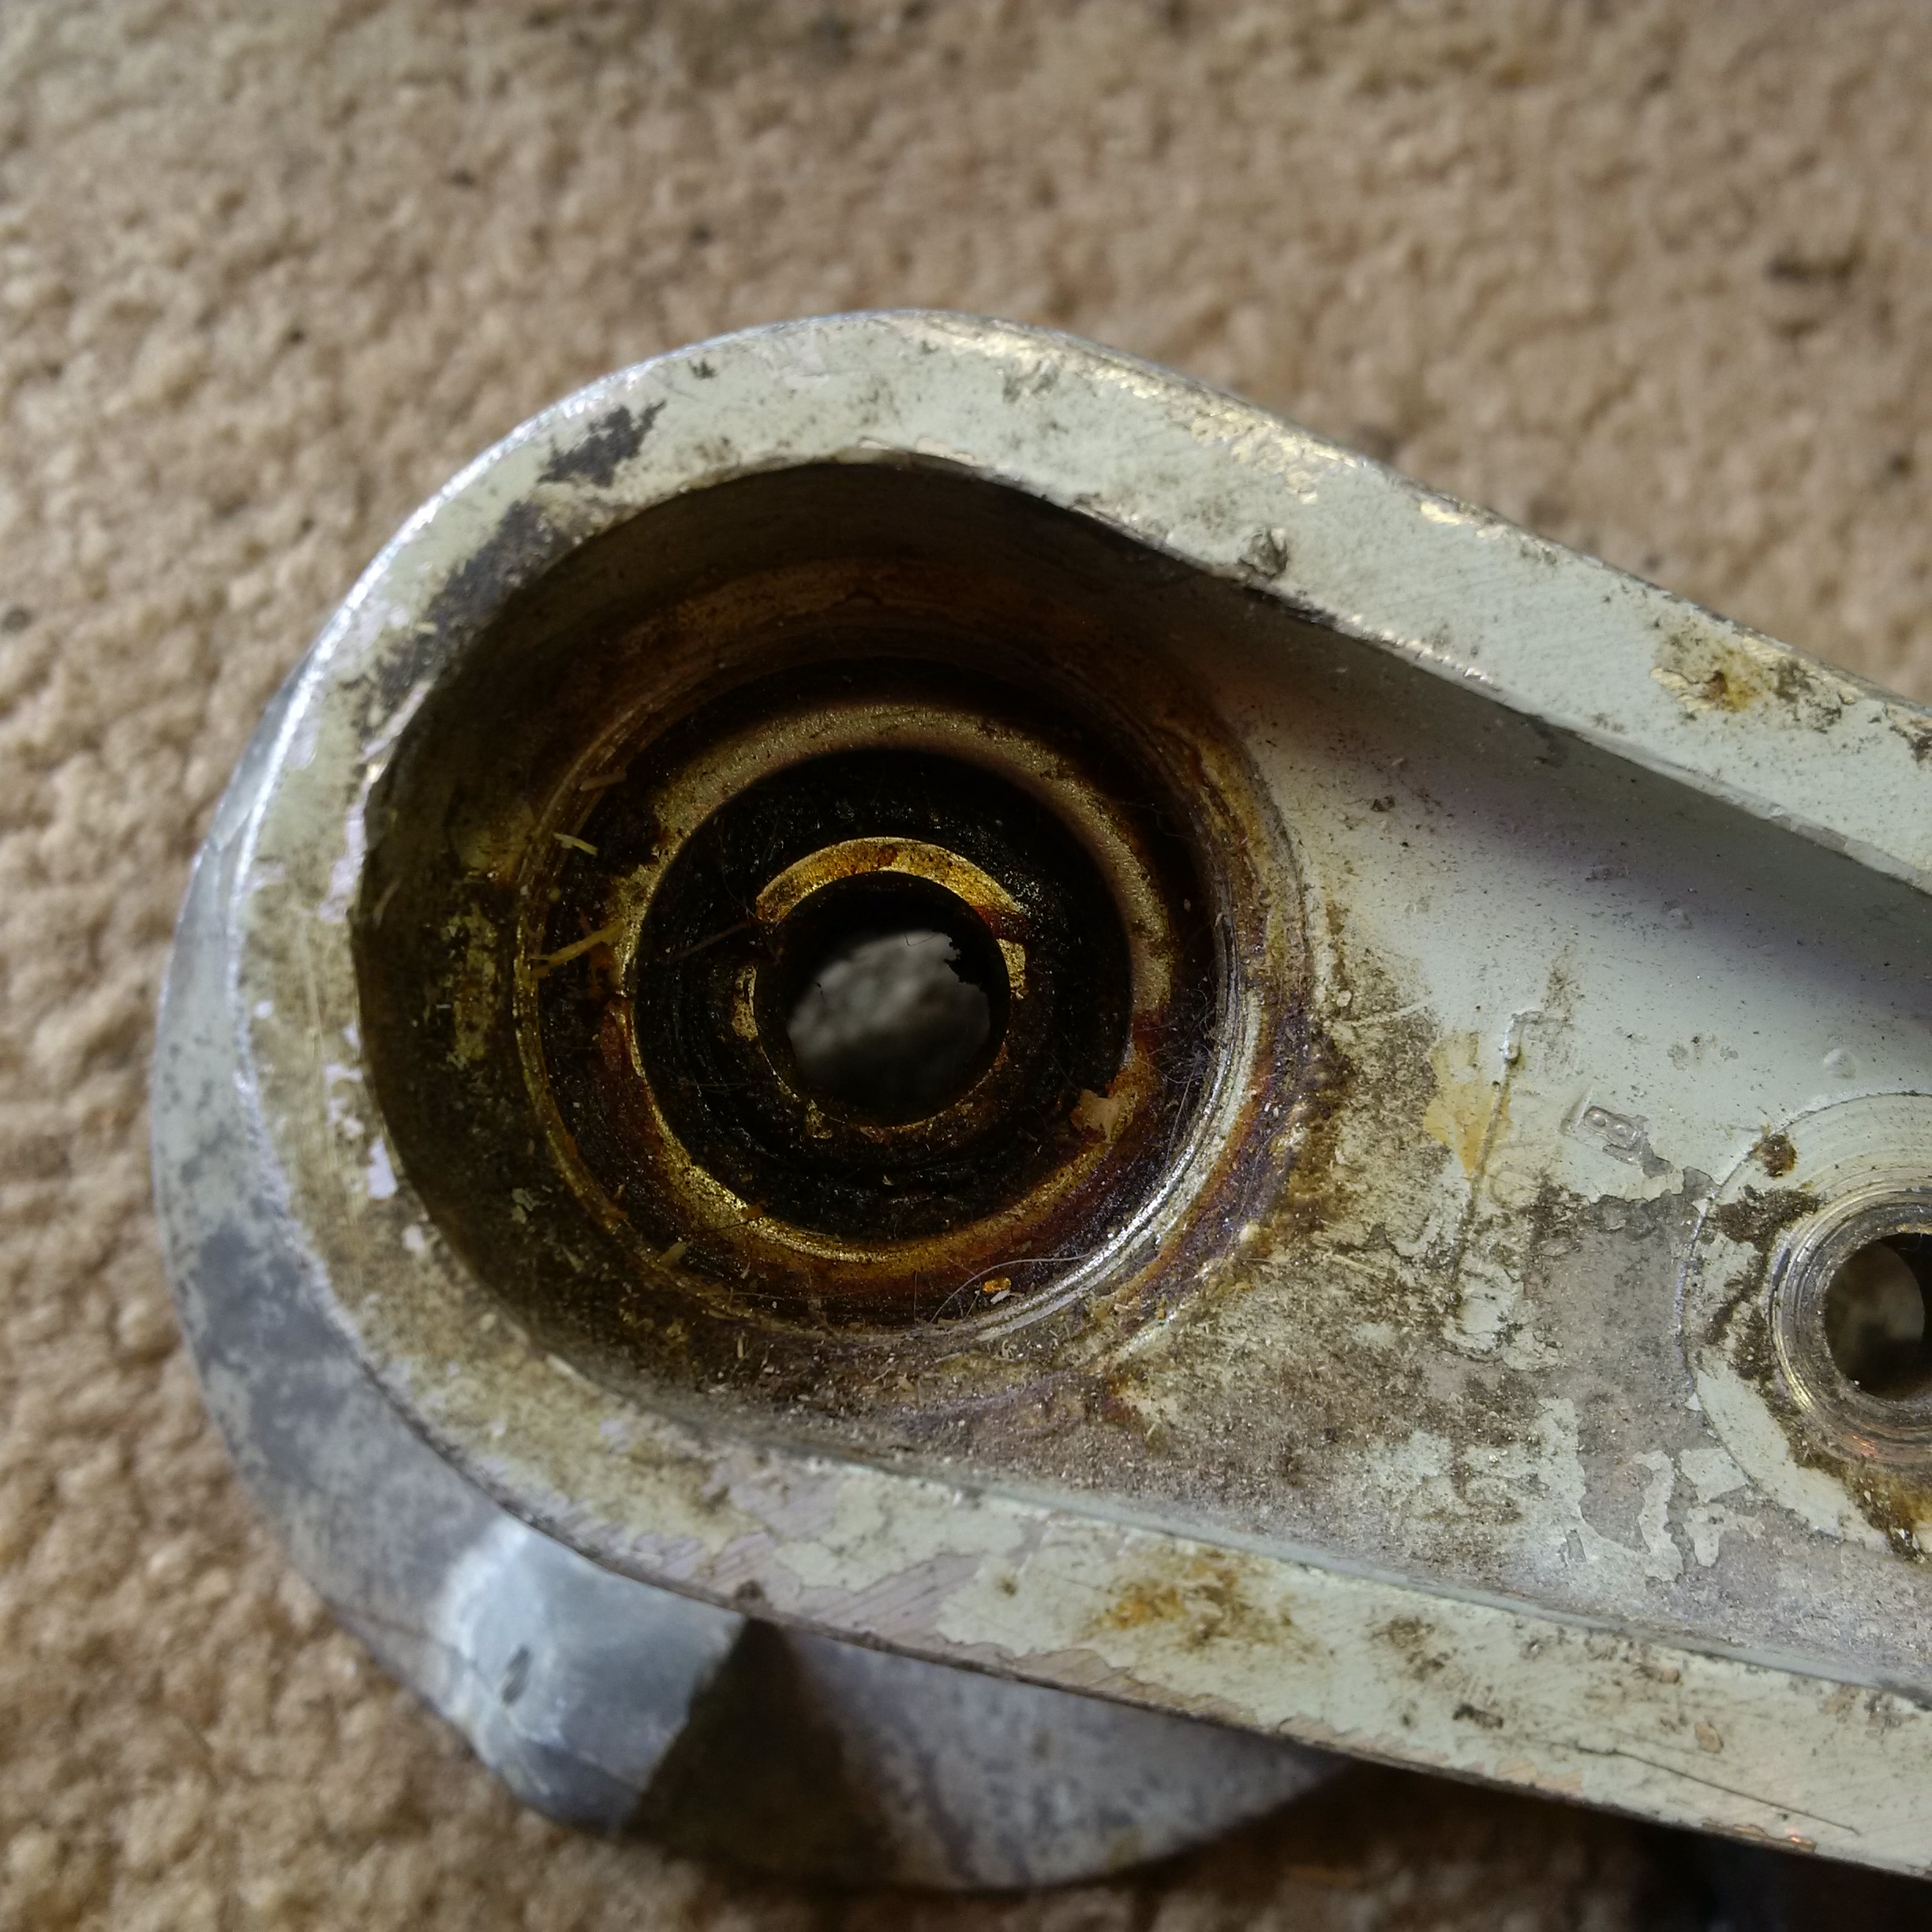
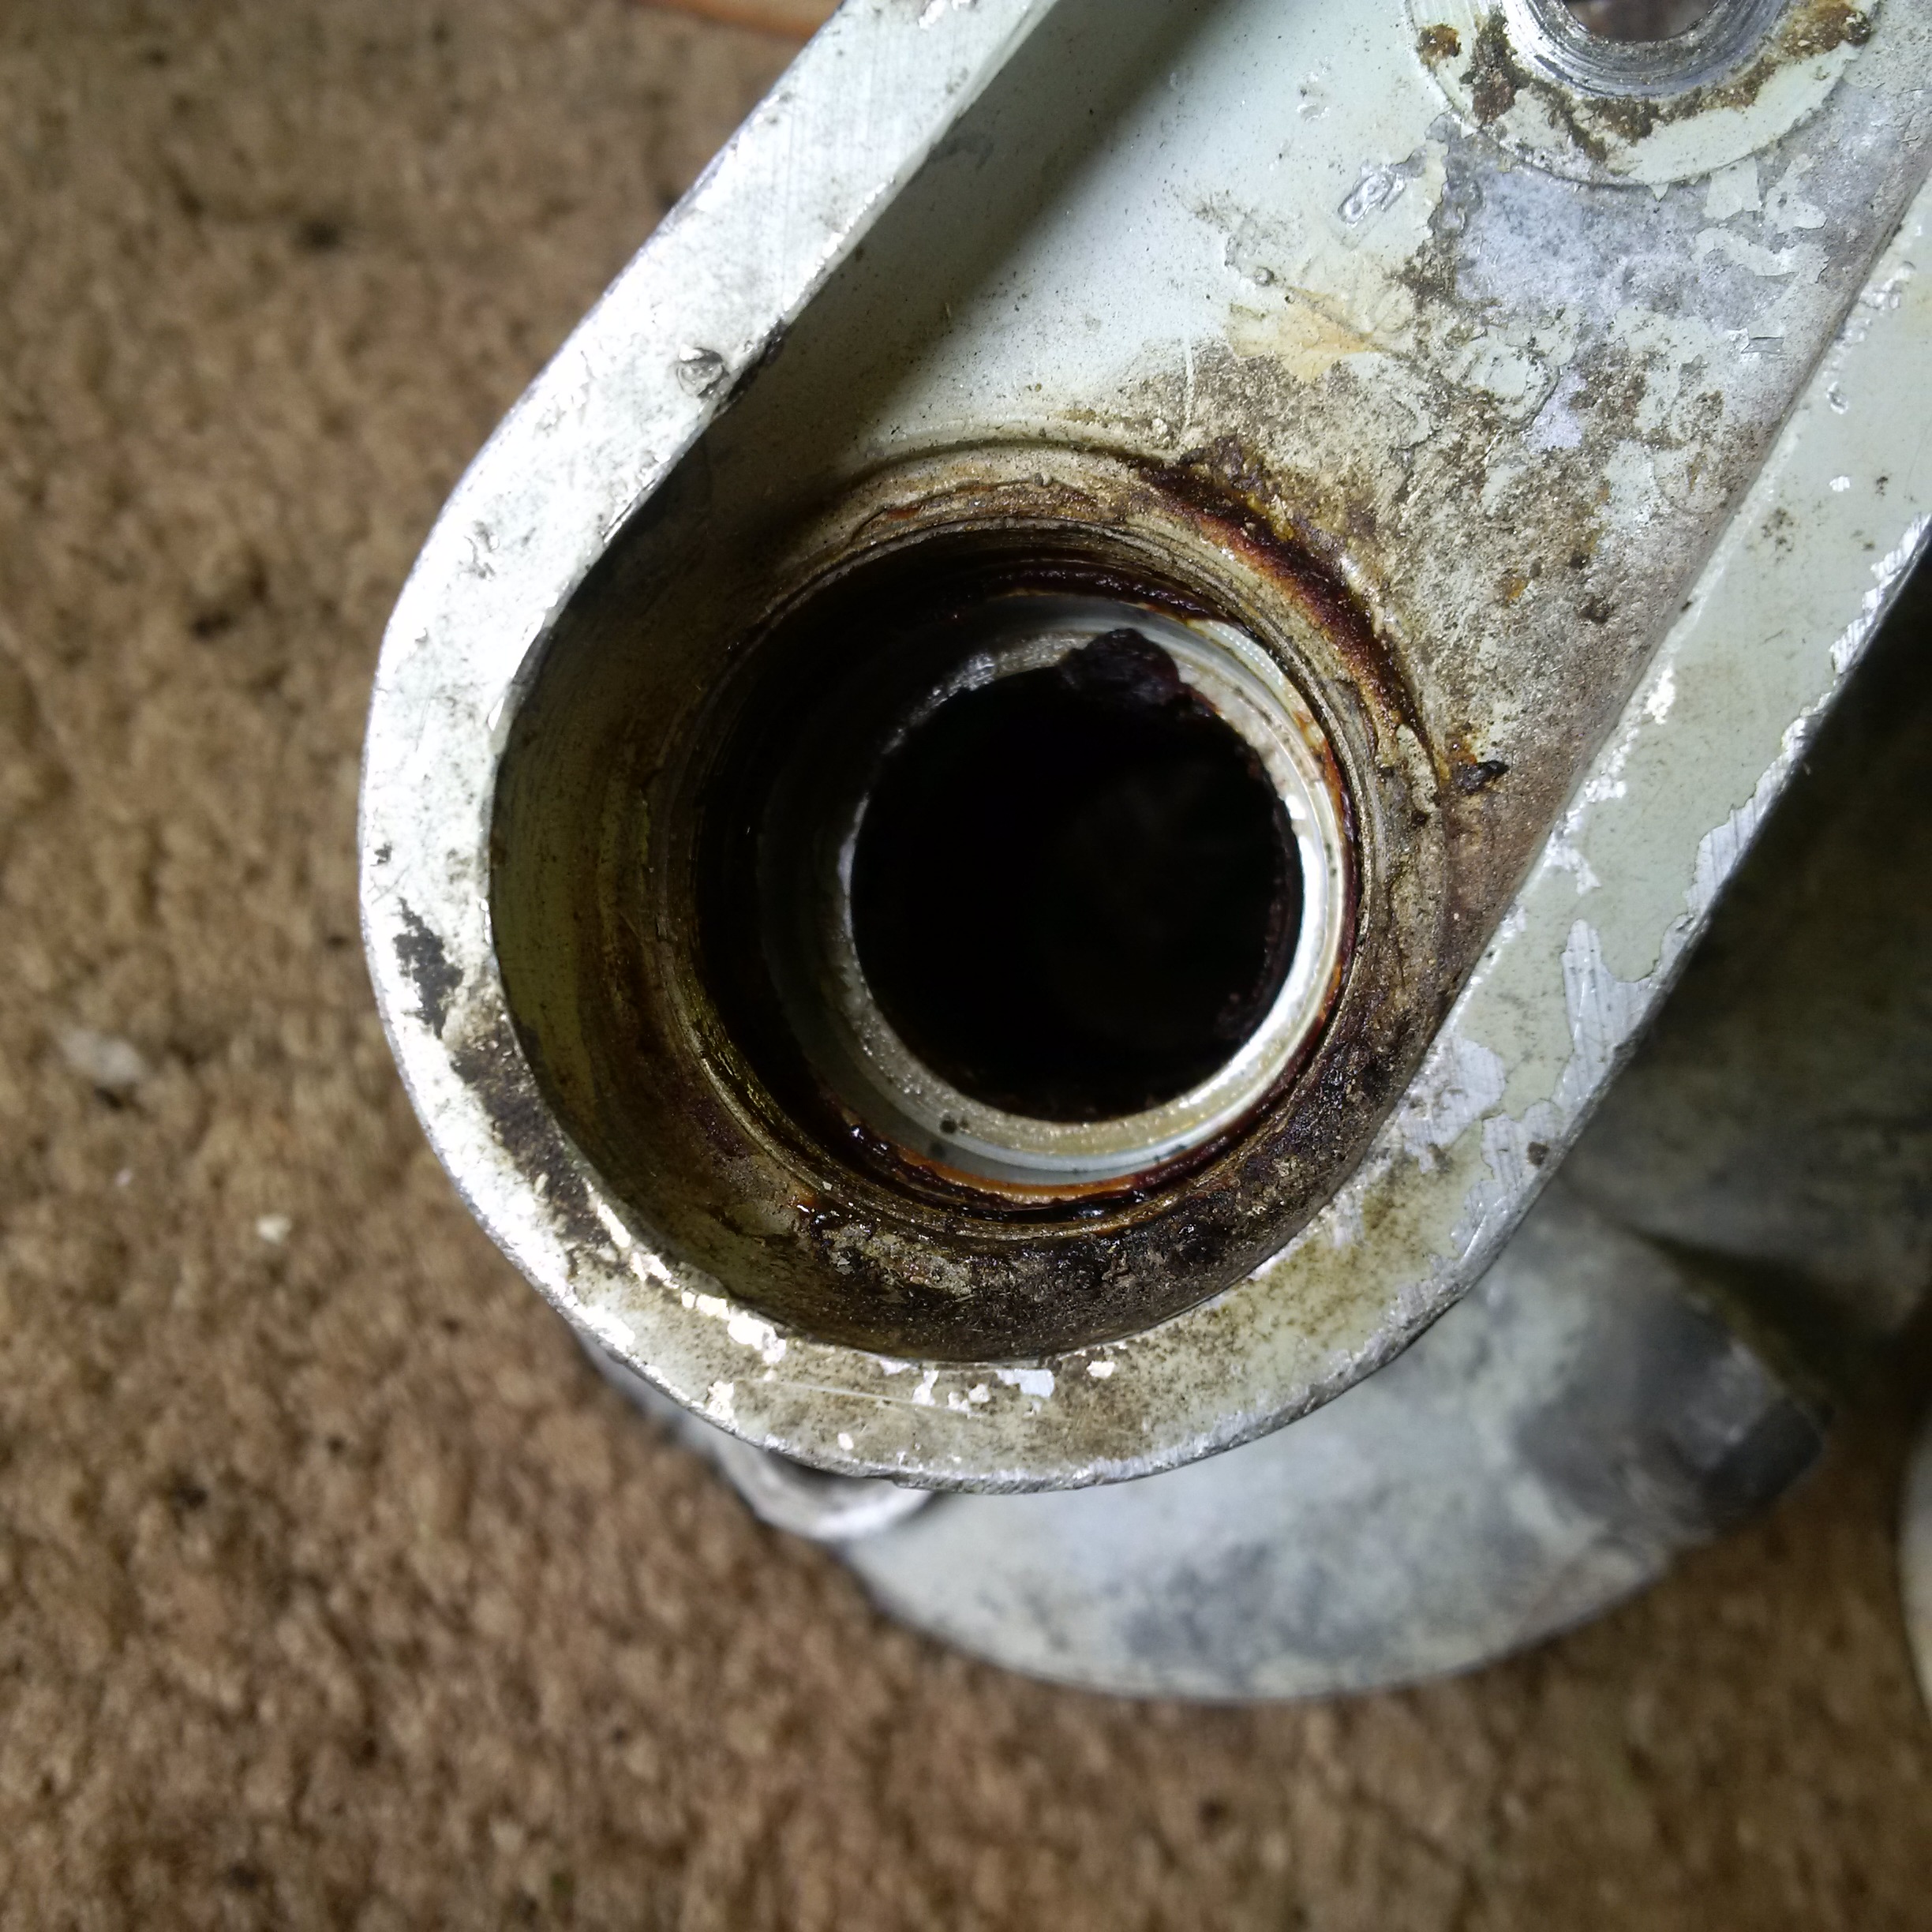
IMPORTANT: you must remove the speedo drive before you drive out
the axle otherwise you will destroy the speedo drive and possibly
damage the axle. Once the axle is driven out in the
direction of the large bearing the small bearing can be driven out the
other side using a long drift. I was able to use a socket on a
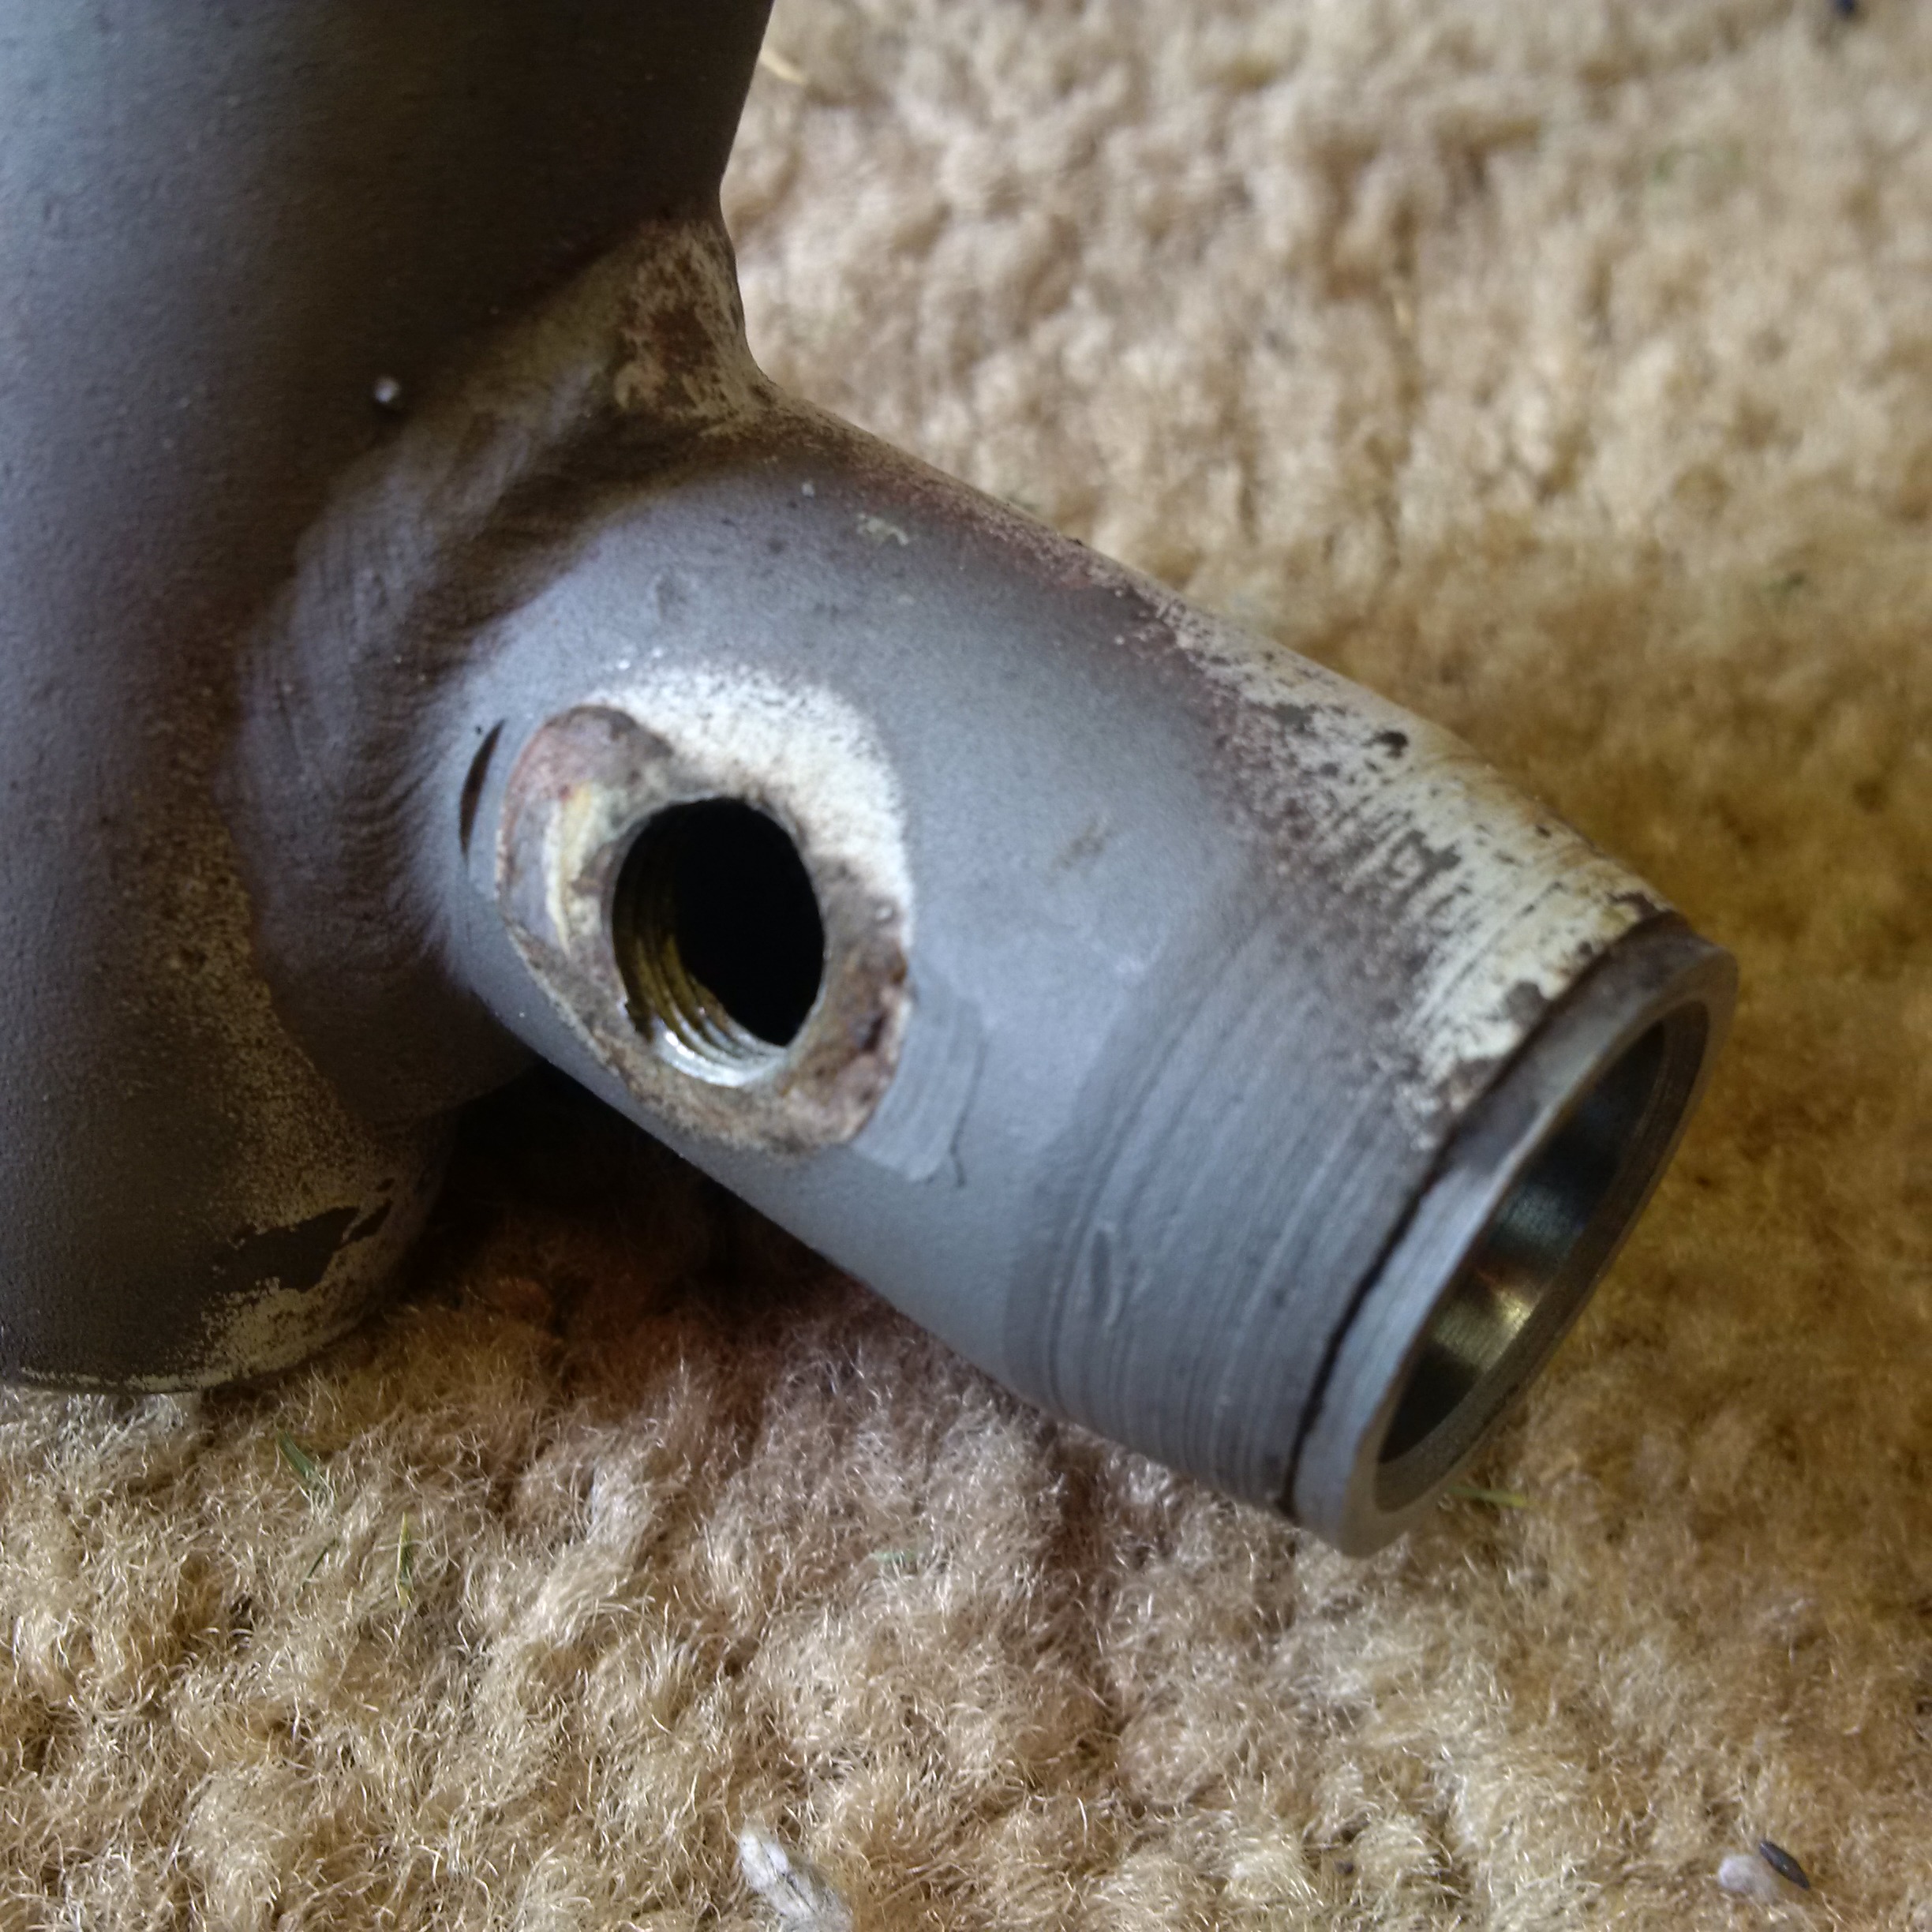
socket extension quite effectively. There is a spacer which sits on top
of the small end bearing and allows for the cap to be tightened
properly. Below you can see pictures of the spacer and the fully
drifted out bearing seat.
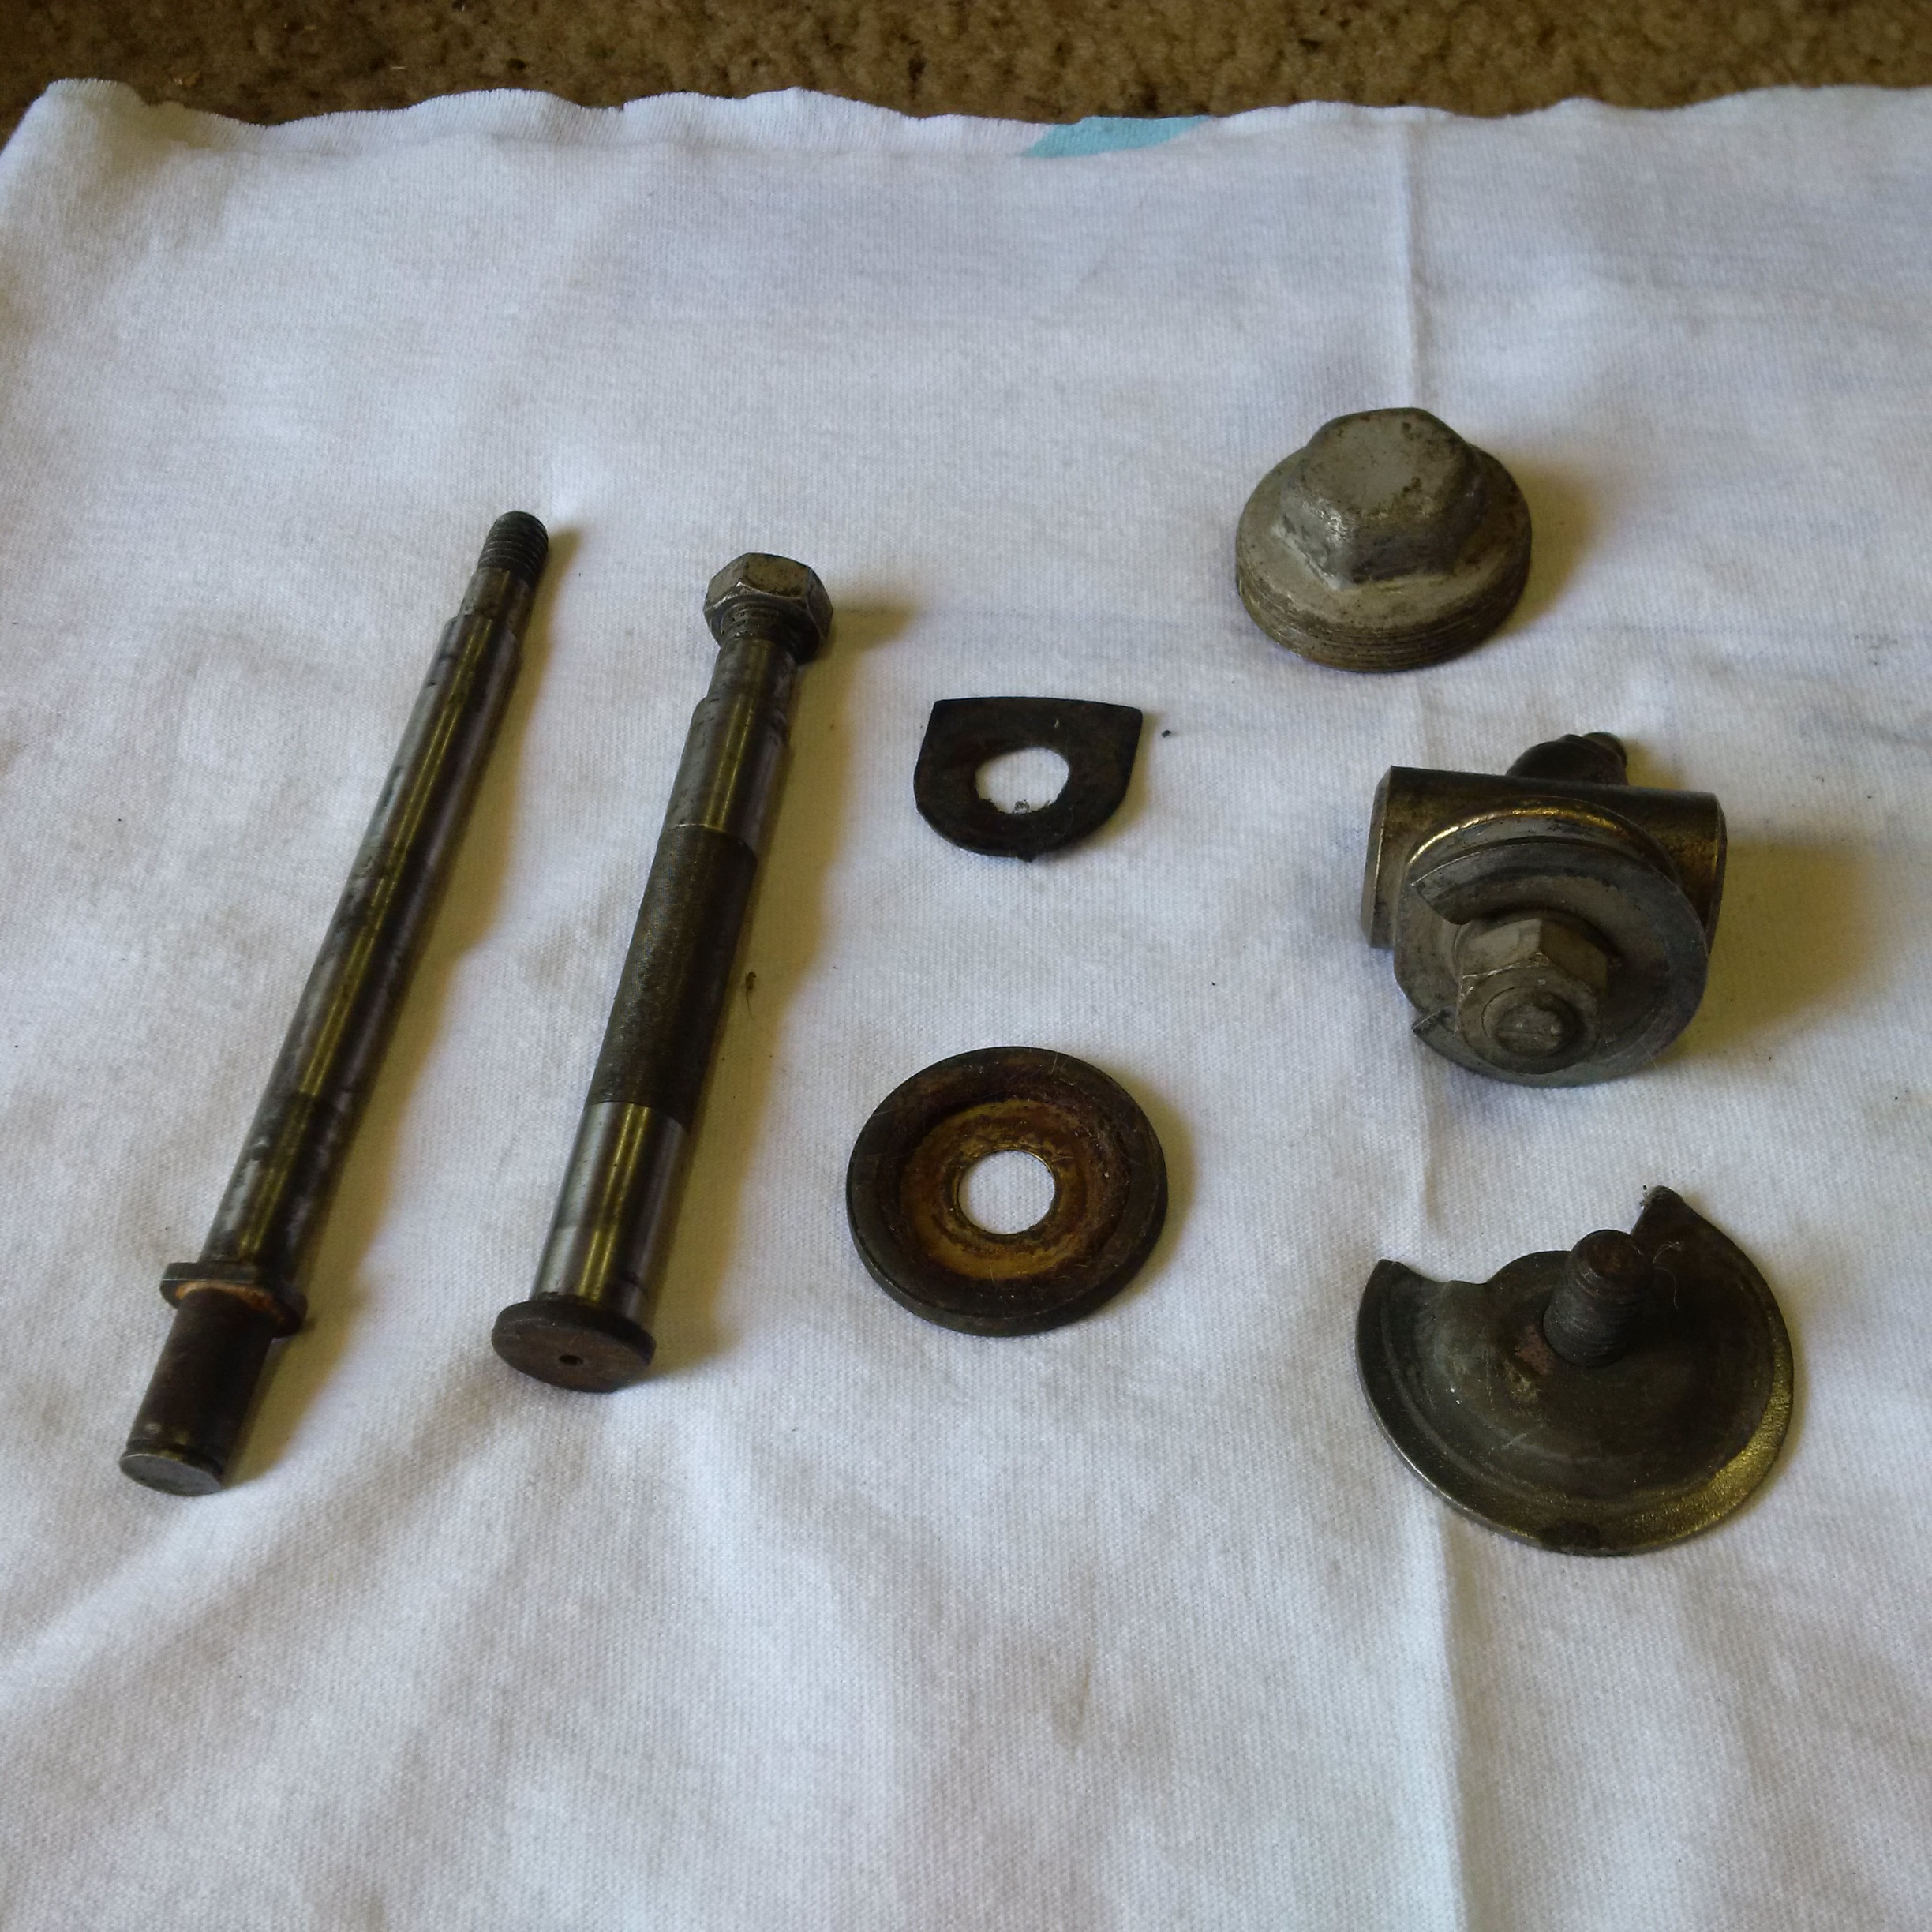
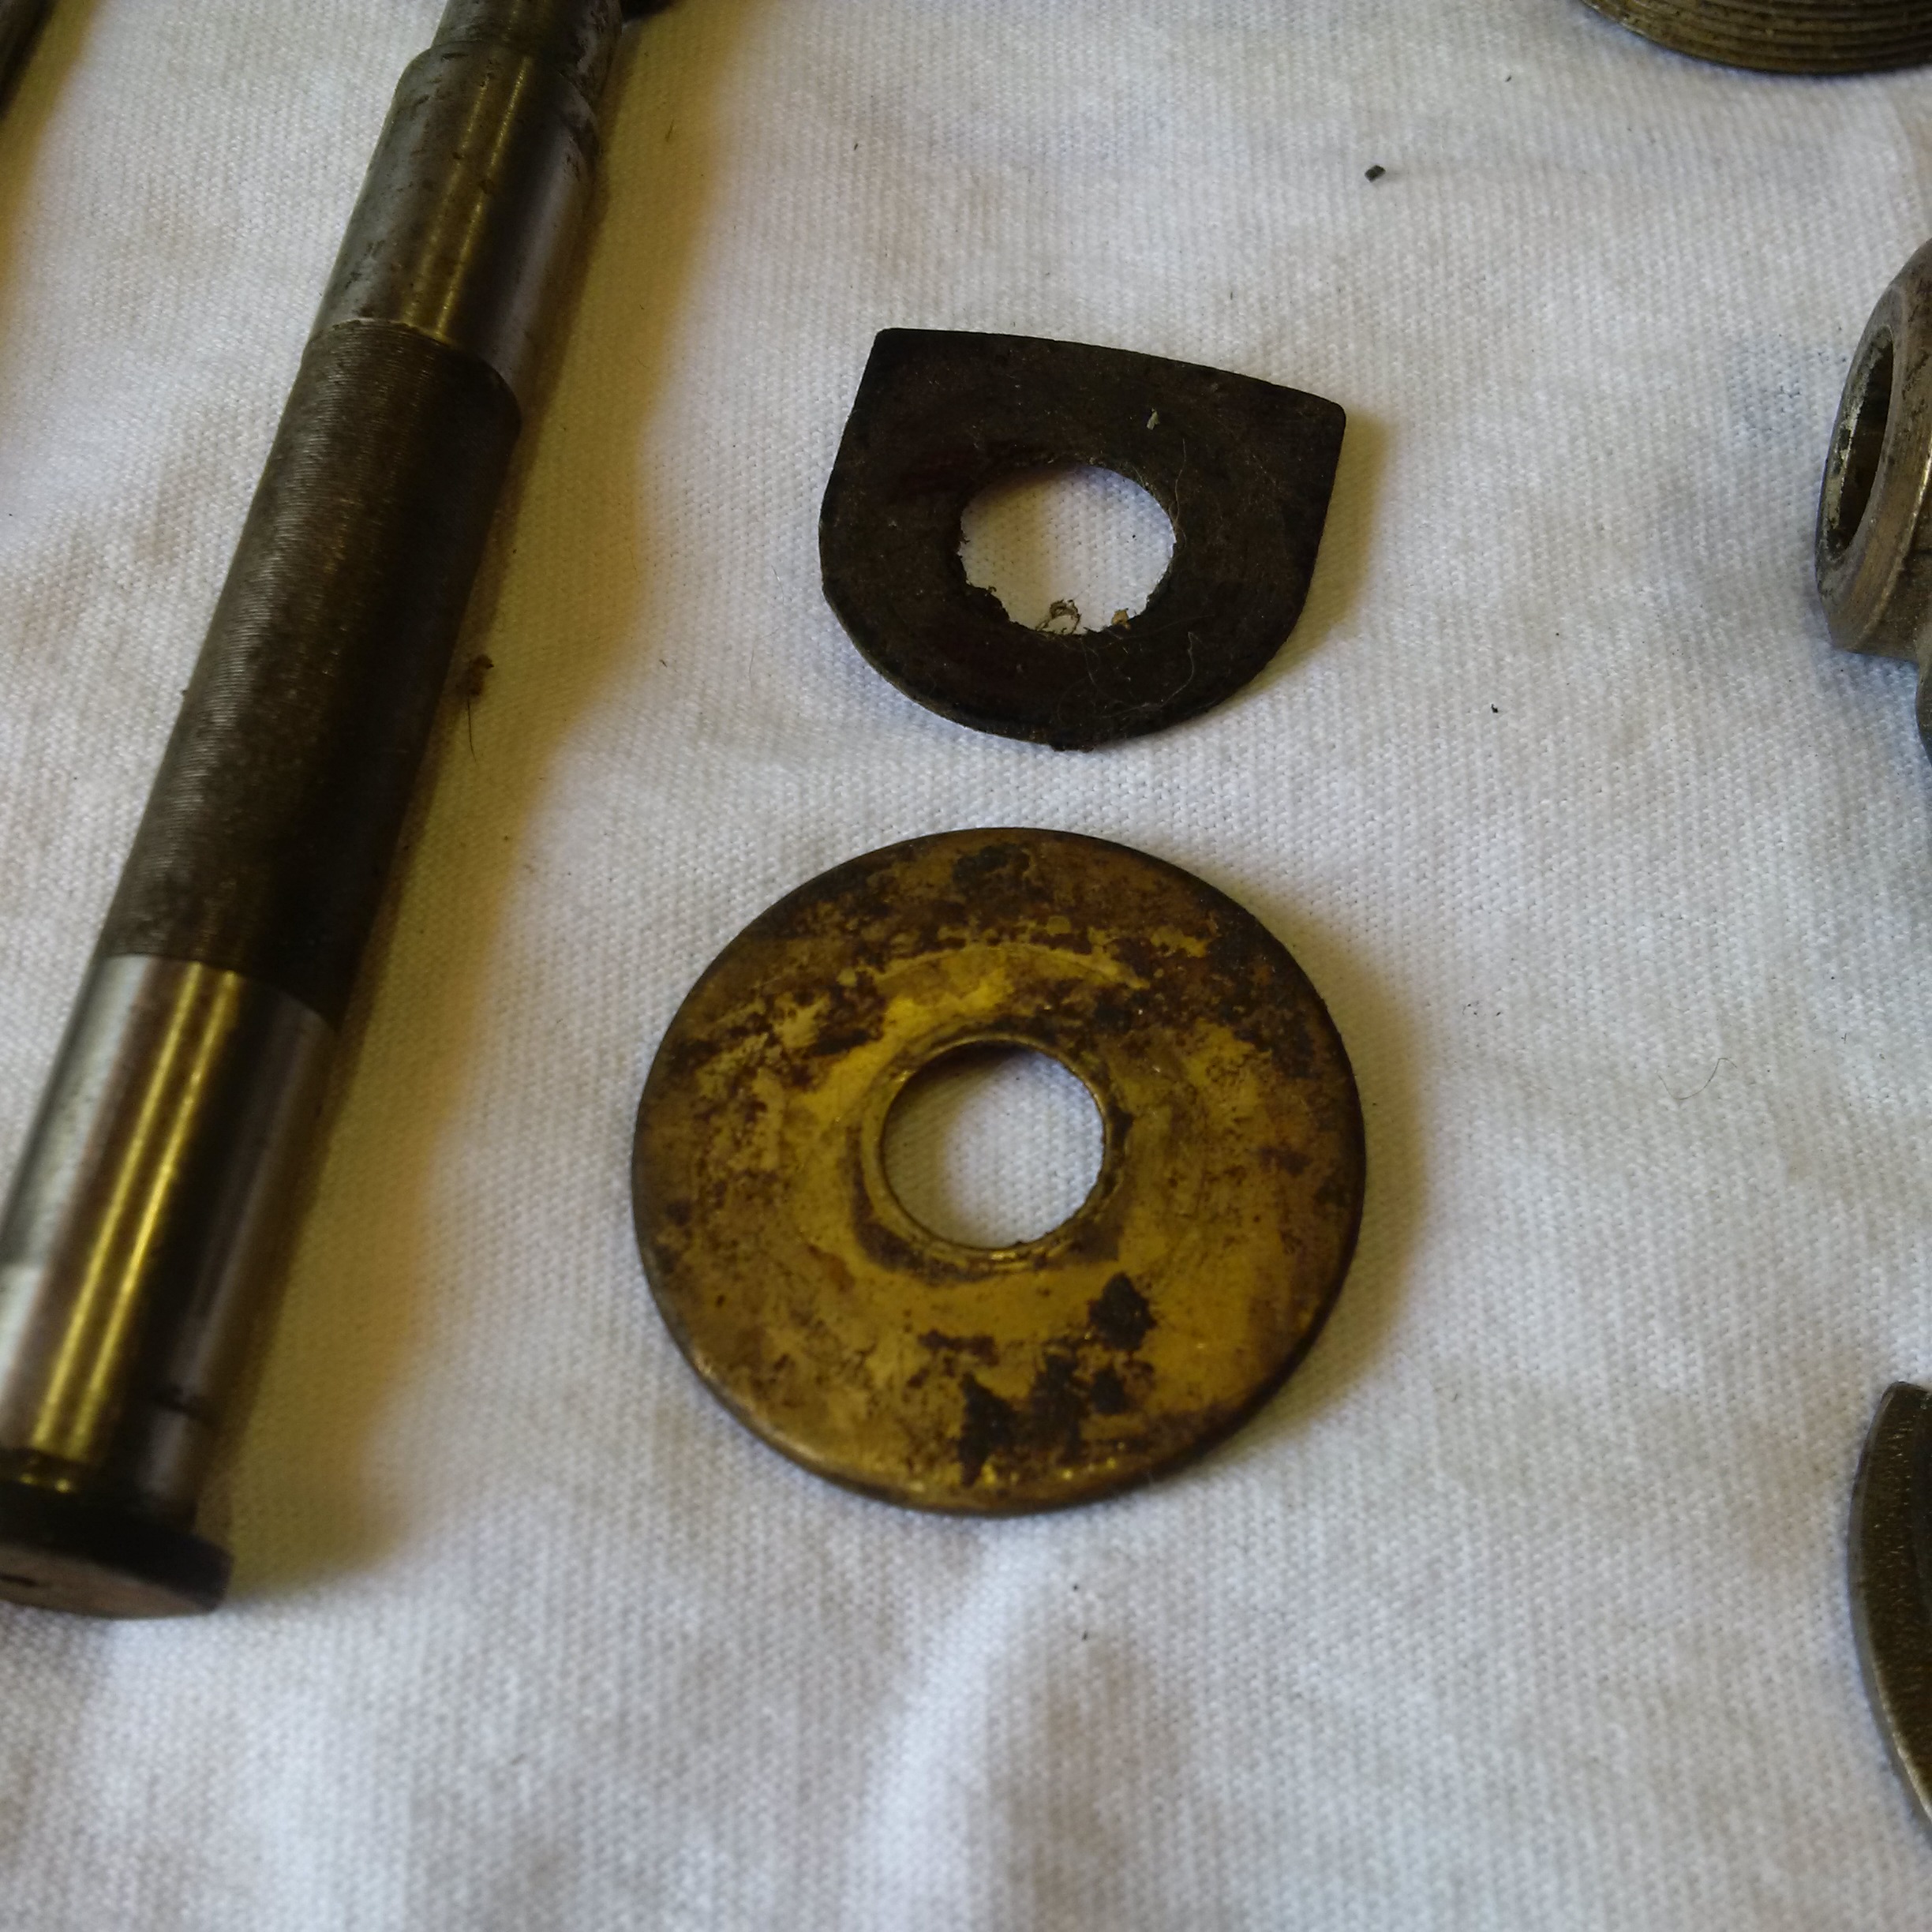
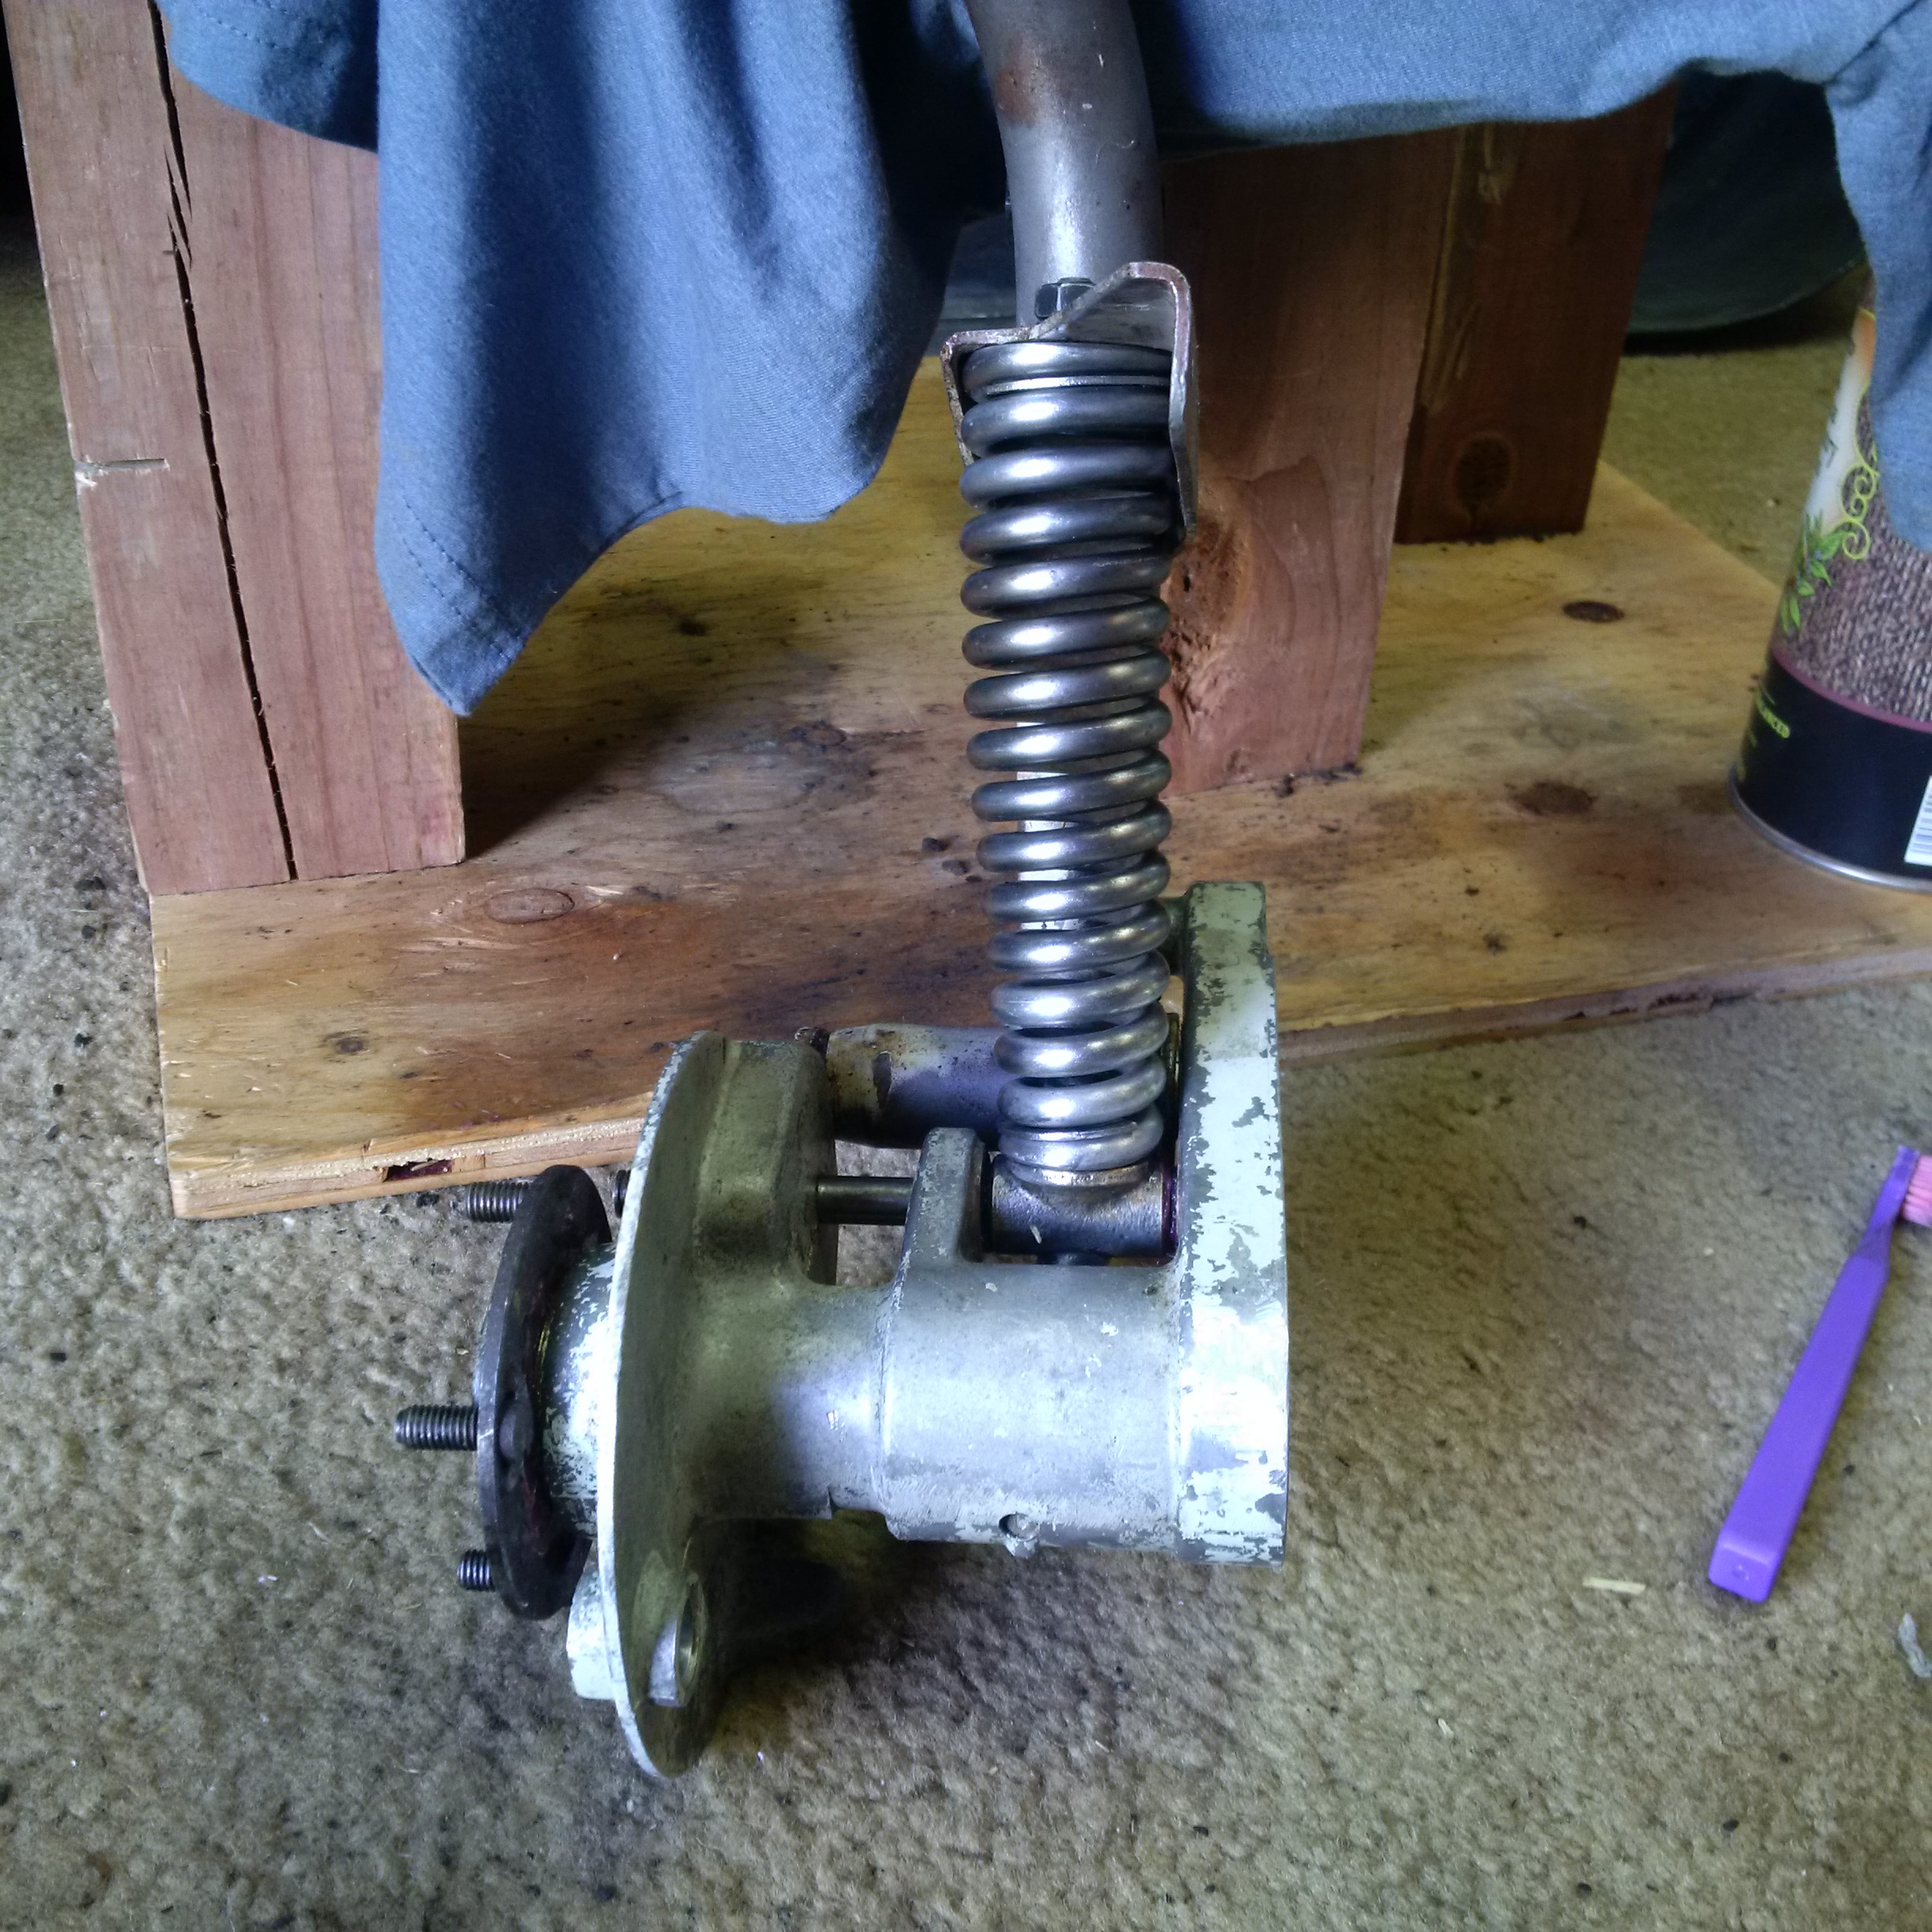
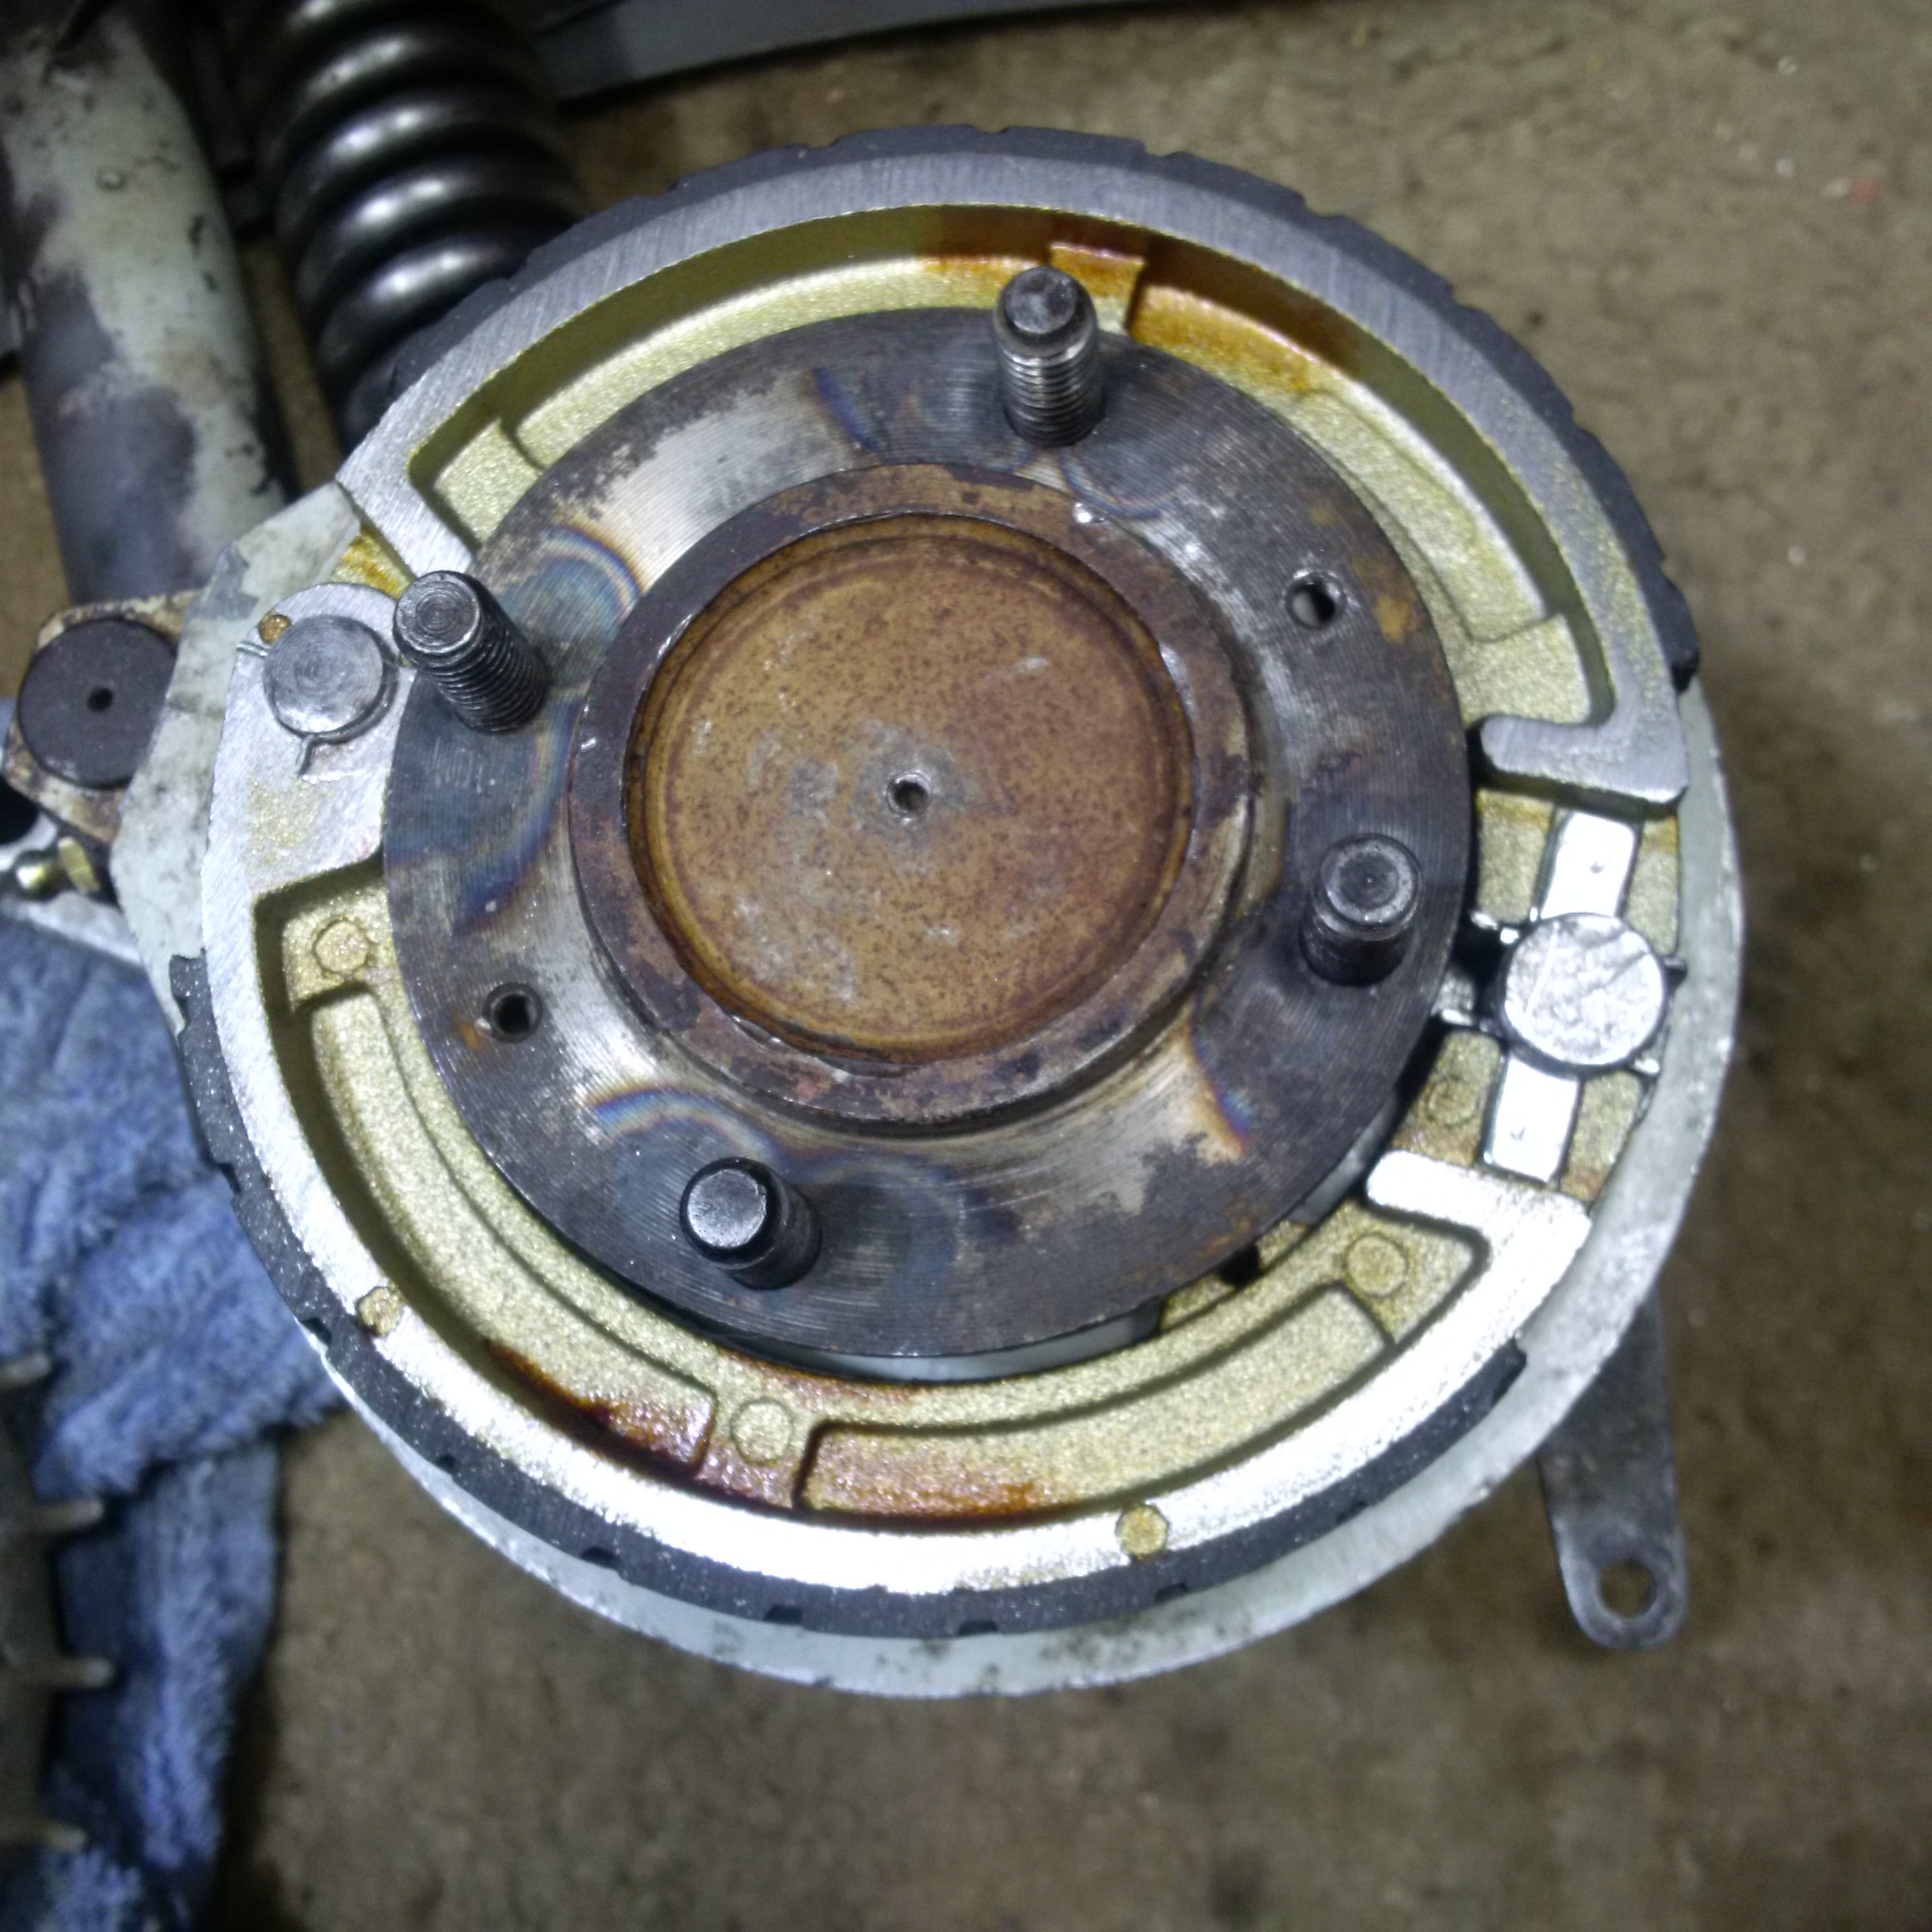
These pictures show the spring pivot and the brake shoe pivot for the
Vespa VL3T front fork and front hub assembly. With some of the
unique bushings and washers that are part of this assembly. You
can see all of these parts in the parts manual found here on
scooterhelp.com. I started to get lazy with my photos at this
point.
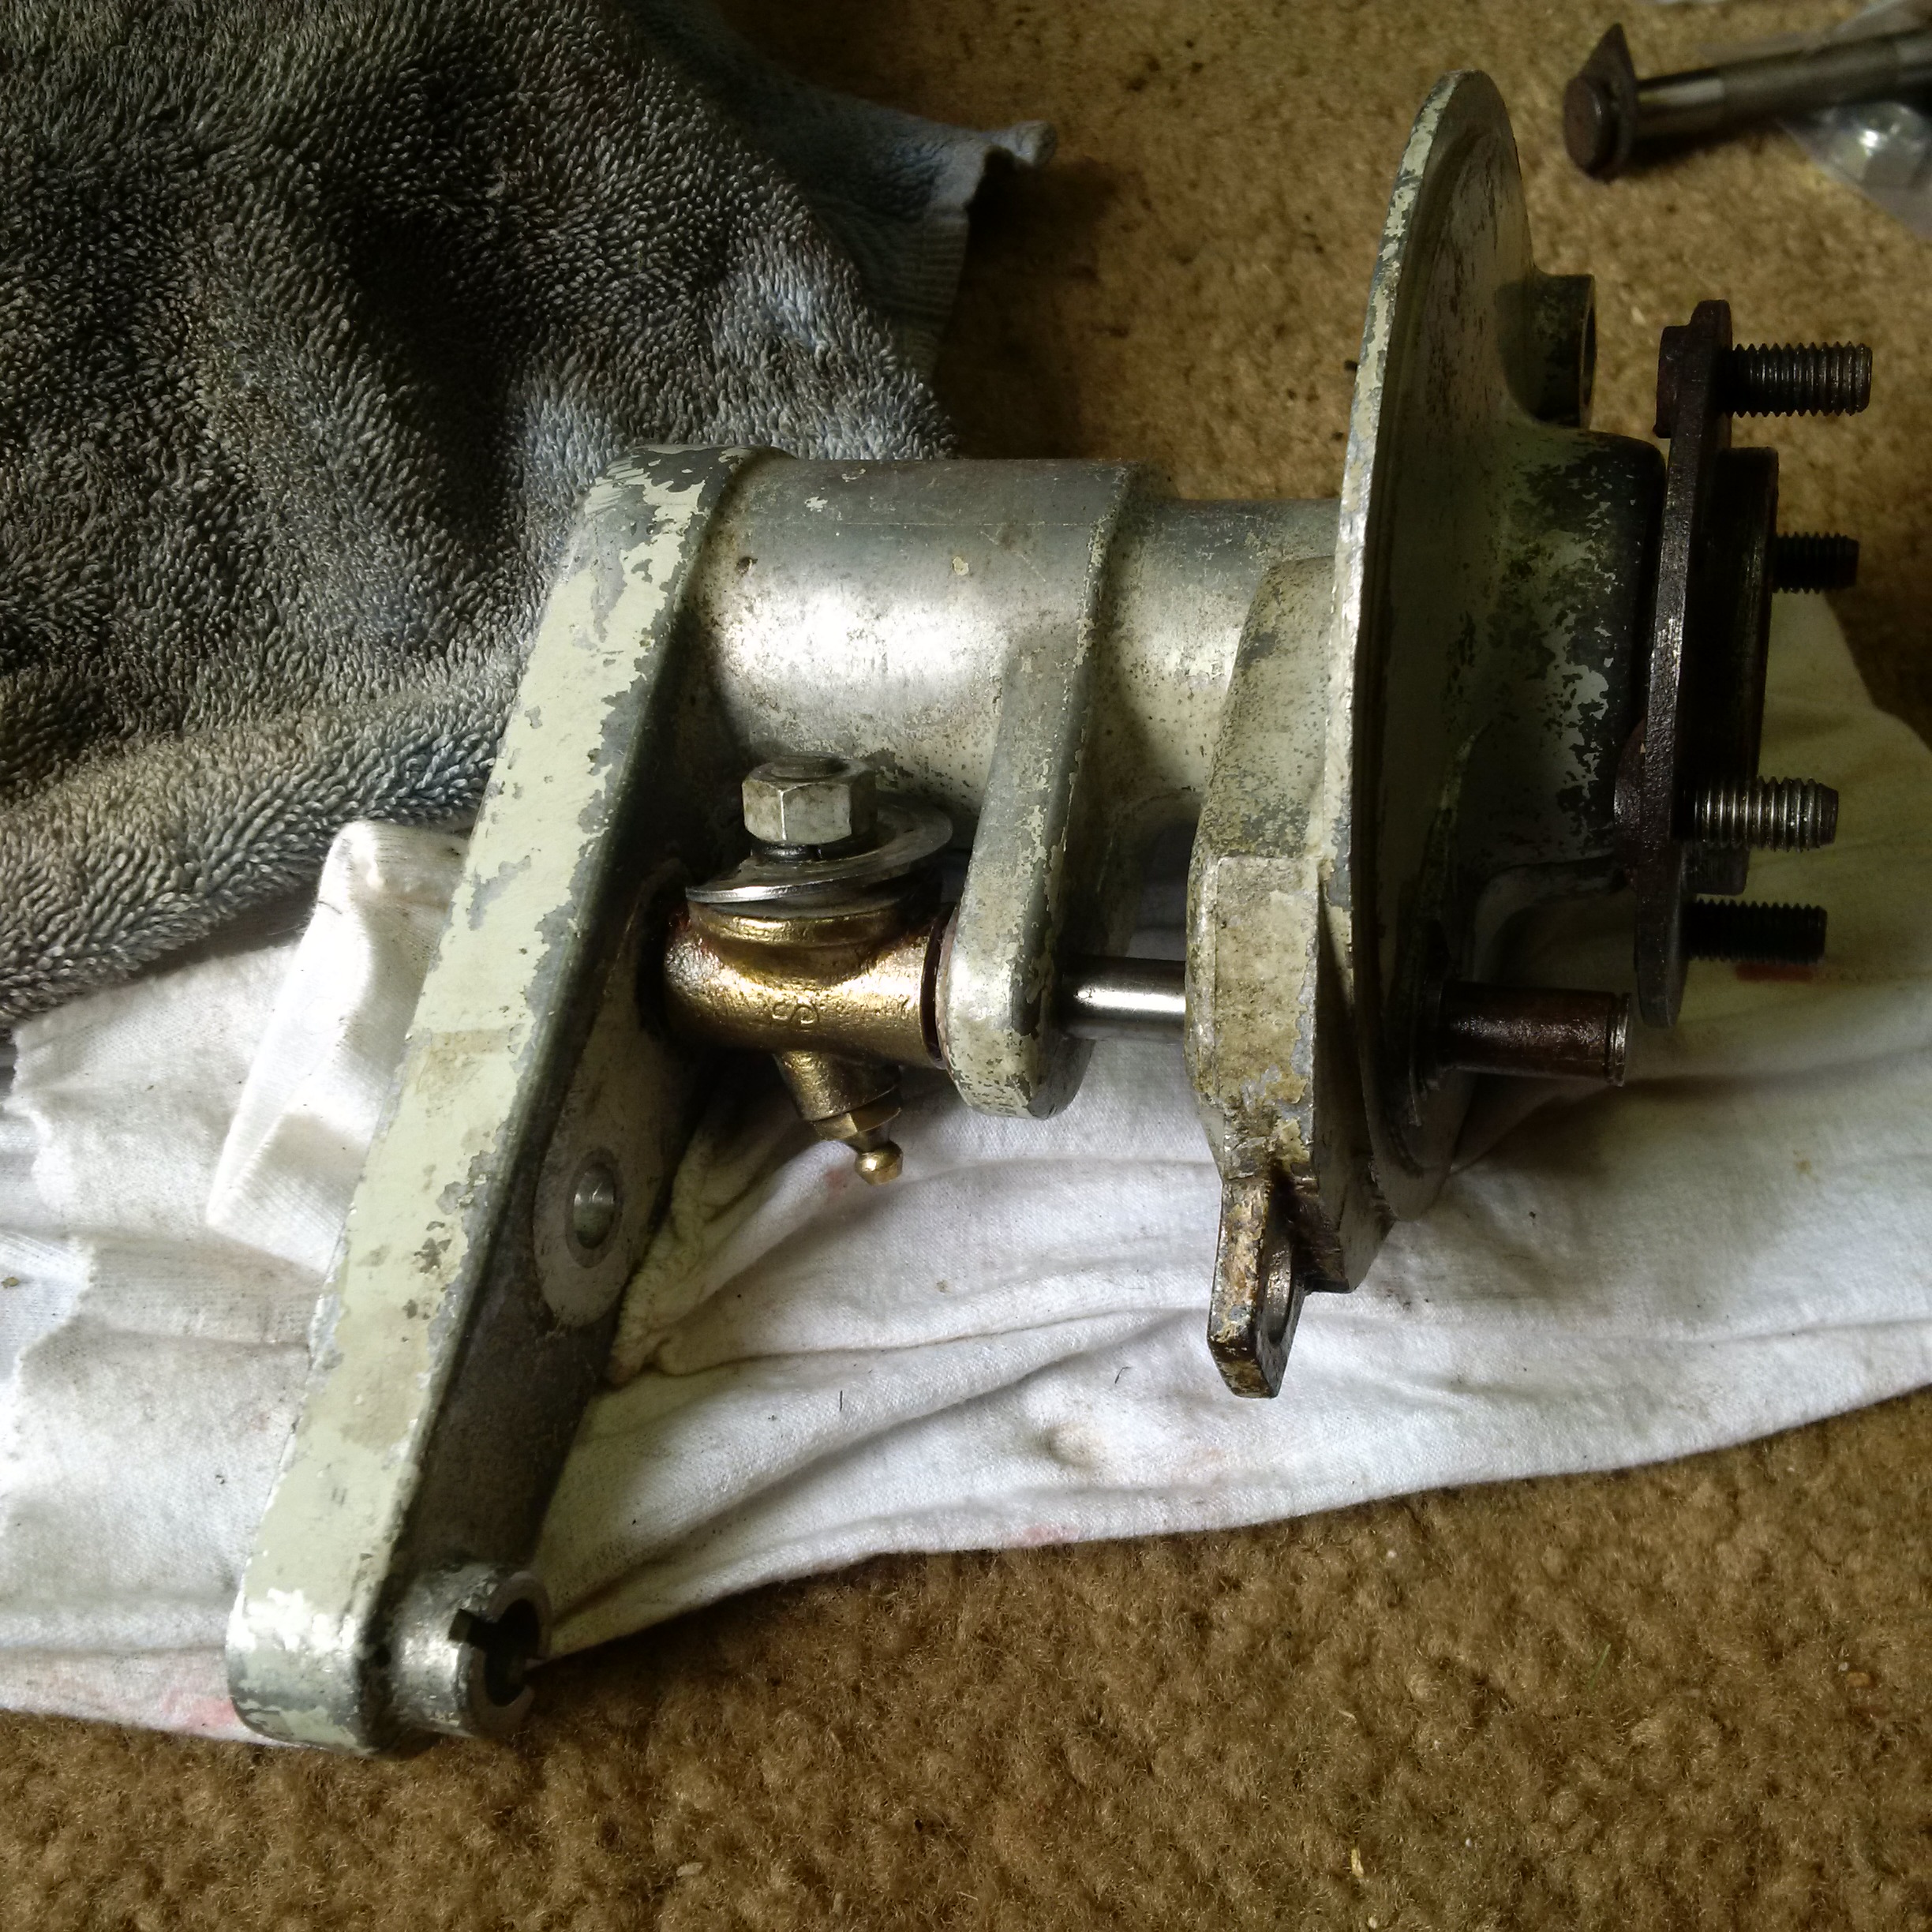
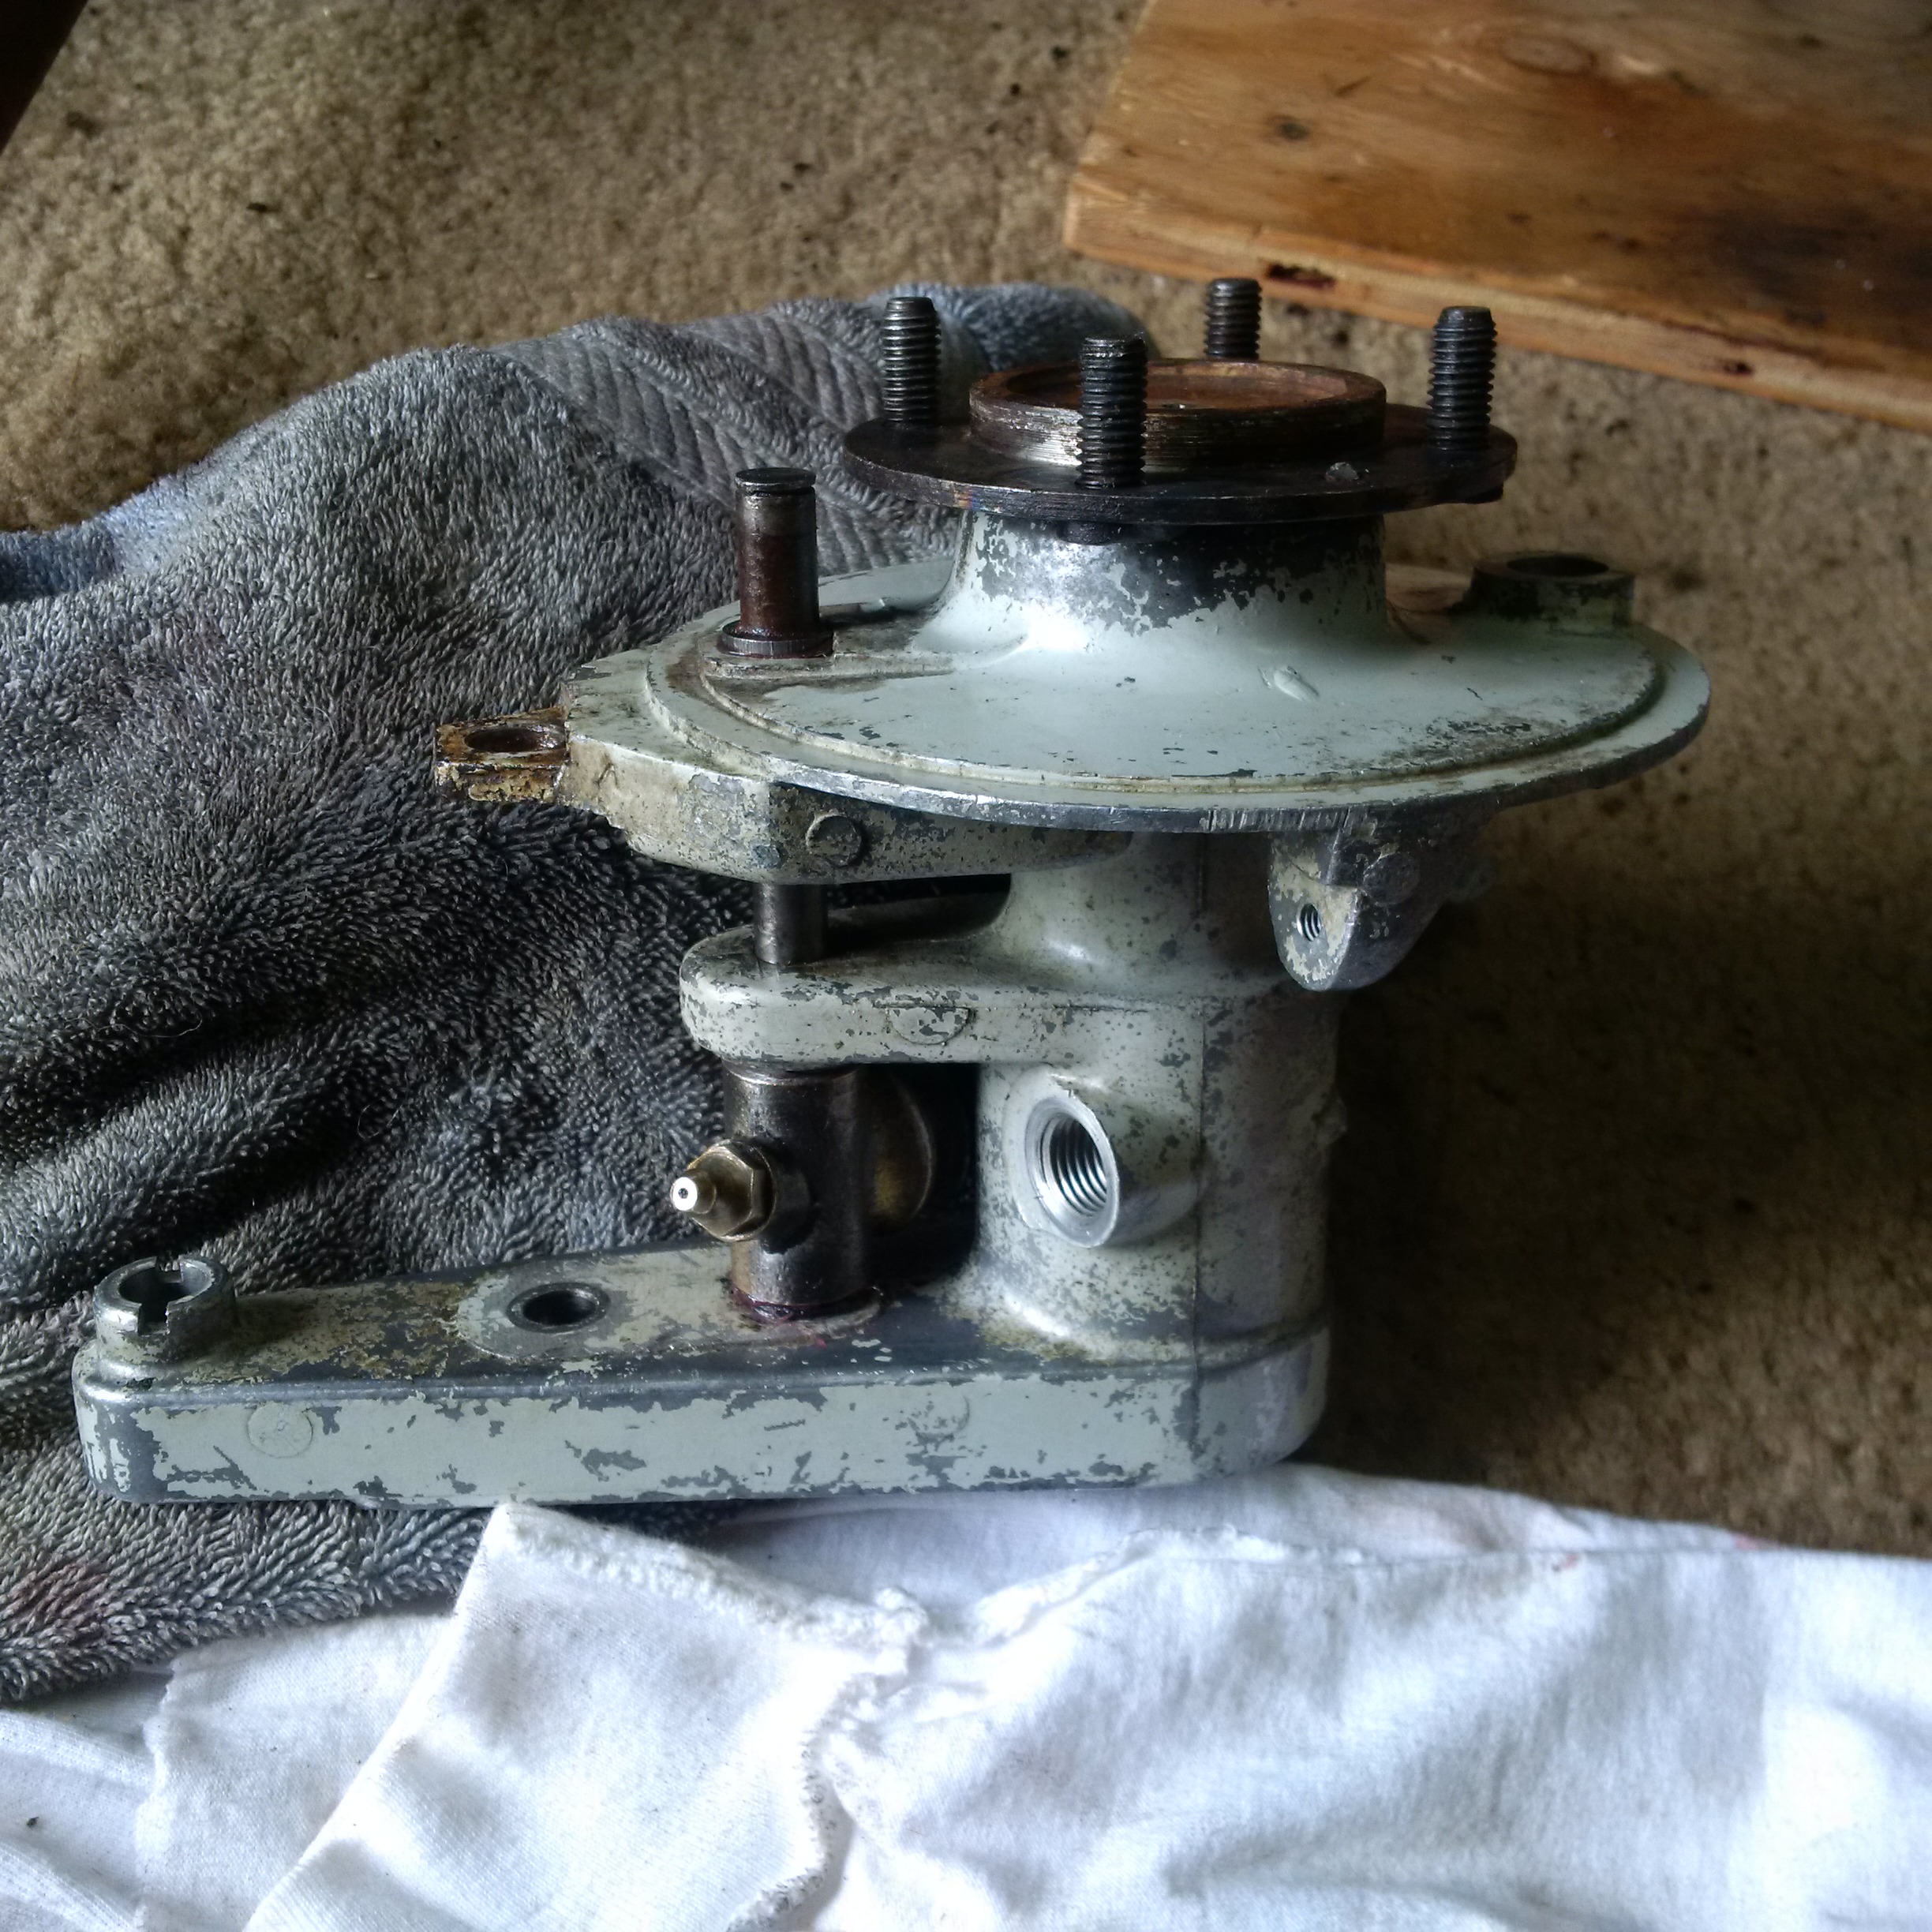
Finally
I have some photos of the whole thing put back together with new
bearings in place. I just need a new shock and brake pads for
this front fork assembly and the VL3T front end is ready to ride.
Note the p.s. below. Brake pads must be installed before the axle!
One
thing to note when driving the main axle back in to place. I
guess there are several methods but this is how I tackled the
job. I placed both the large and the small bearings in to the hub
first. Then I greased up the axle and froze it to reduce the
diameter size. I know some people complain about condensation in
this process but it has never caused me an issue. Once the axle
was good and cold I carefully drove it in to the large bearing. Once it gets started
you can then flip to the other side and attach a nut to the end of the
axle and "pull" the axle in to place using the small end bearing for
leverage. Now the way this whole thing works if you use just the
nut on the end of the axle and pull you would be using the inner race
of the small bearing for leverage. I did not really like that
idea. I am not a real fan of putting pressure on a bearing if not
necessary. So I found a proper sized washer that would allow me
to spread the pressue over the entire body of the small bearing all the
way to the outer race which in turn is supported by the hub. This
will all make sense if you are doing this in your shop. I should
have taken a picture.
Once the axle is pulled (or driven) all the way in to place the
securing nut goes on the small end and you fit the cover. Good luck.
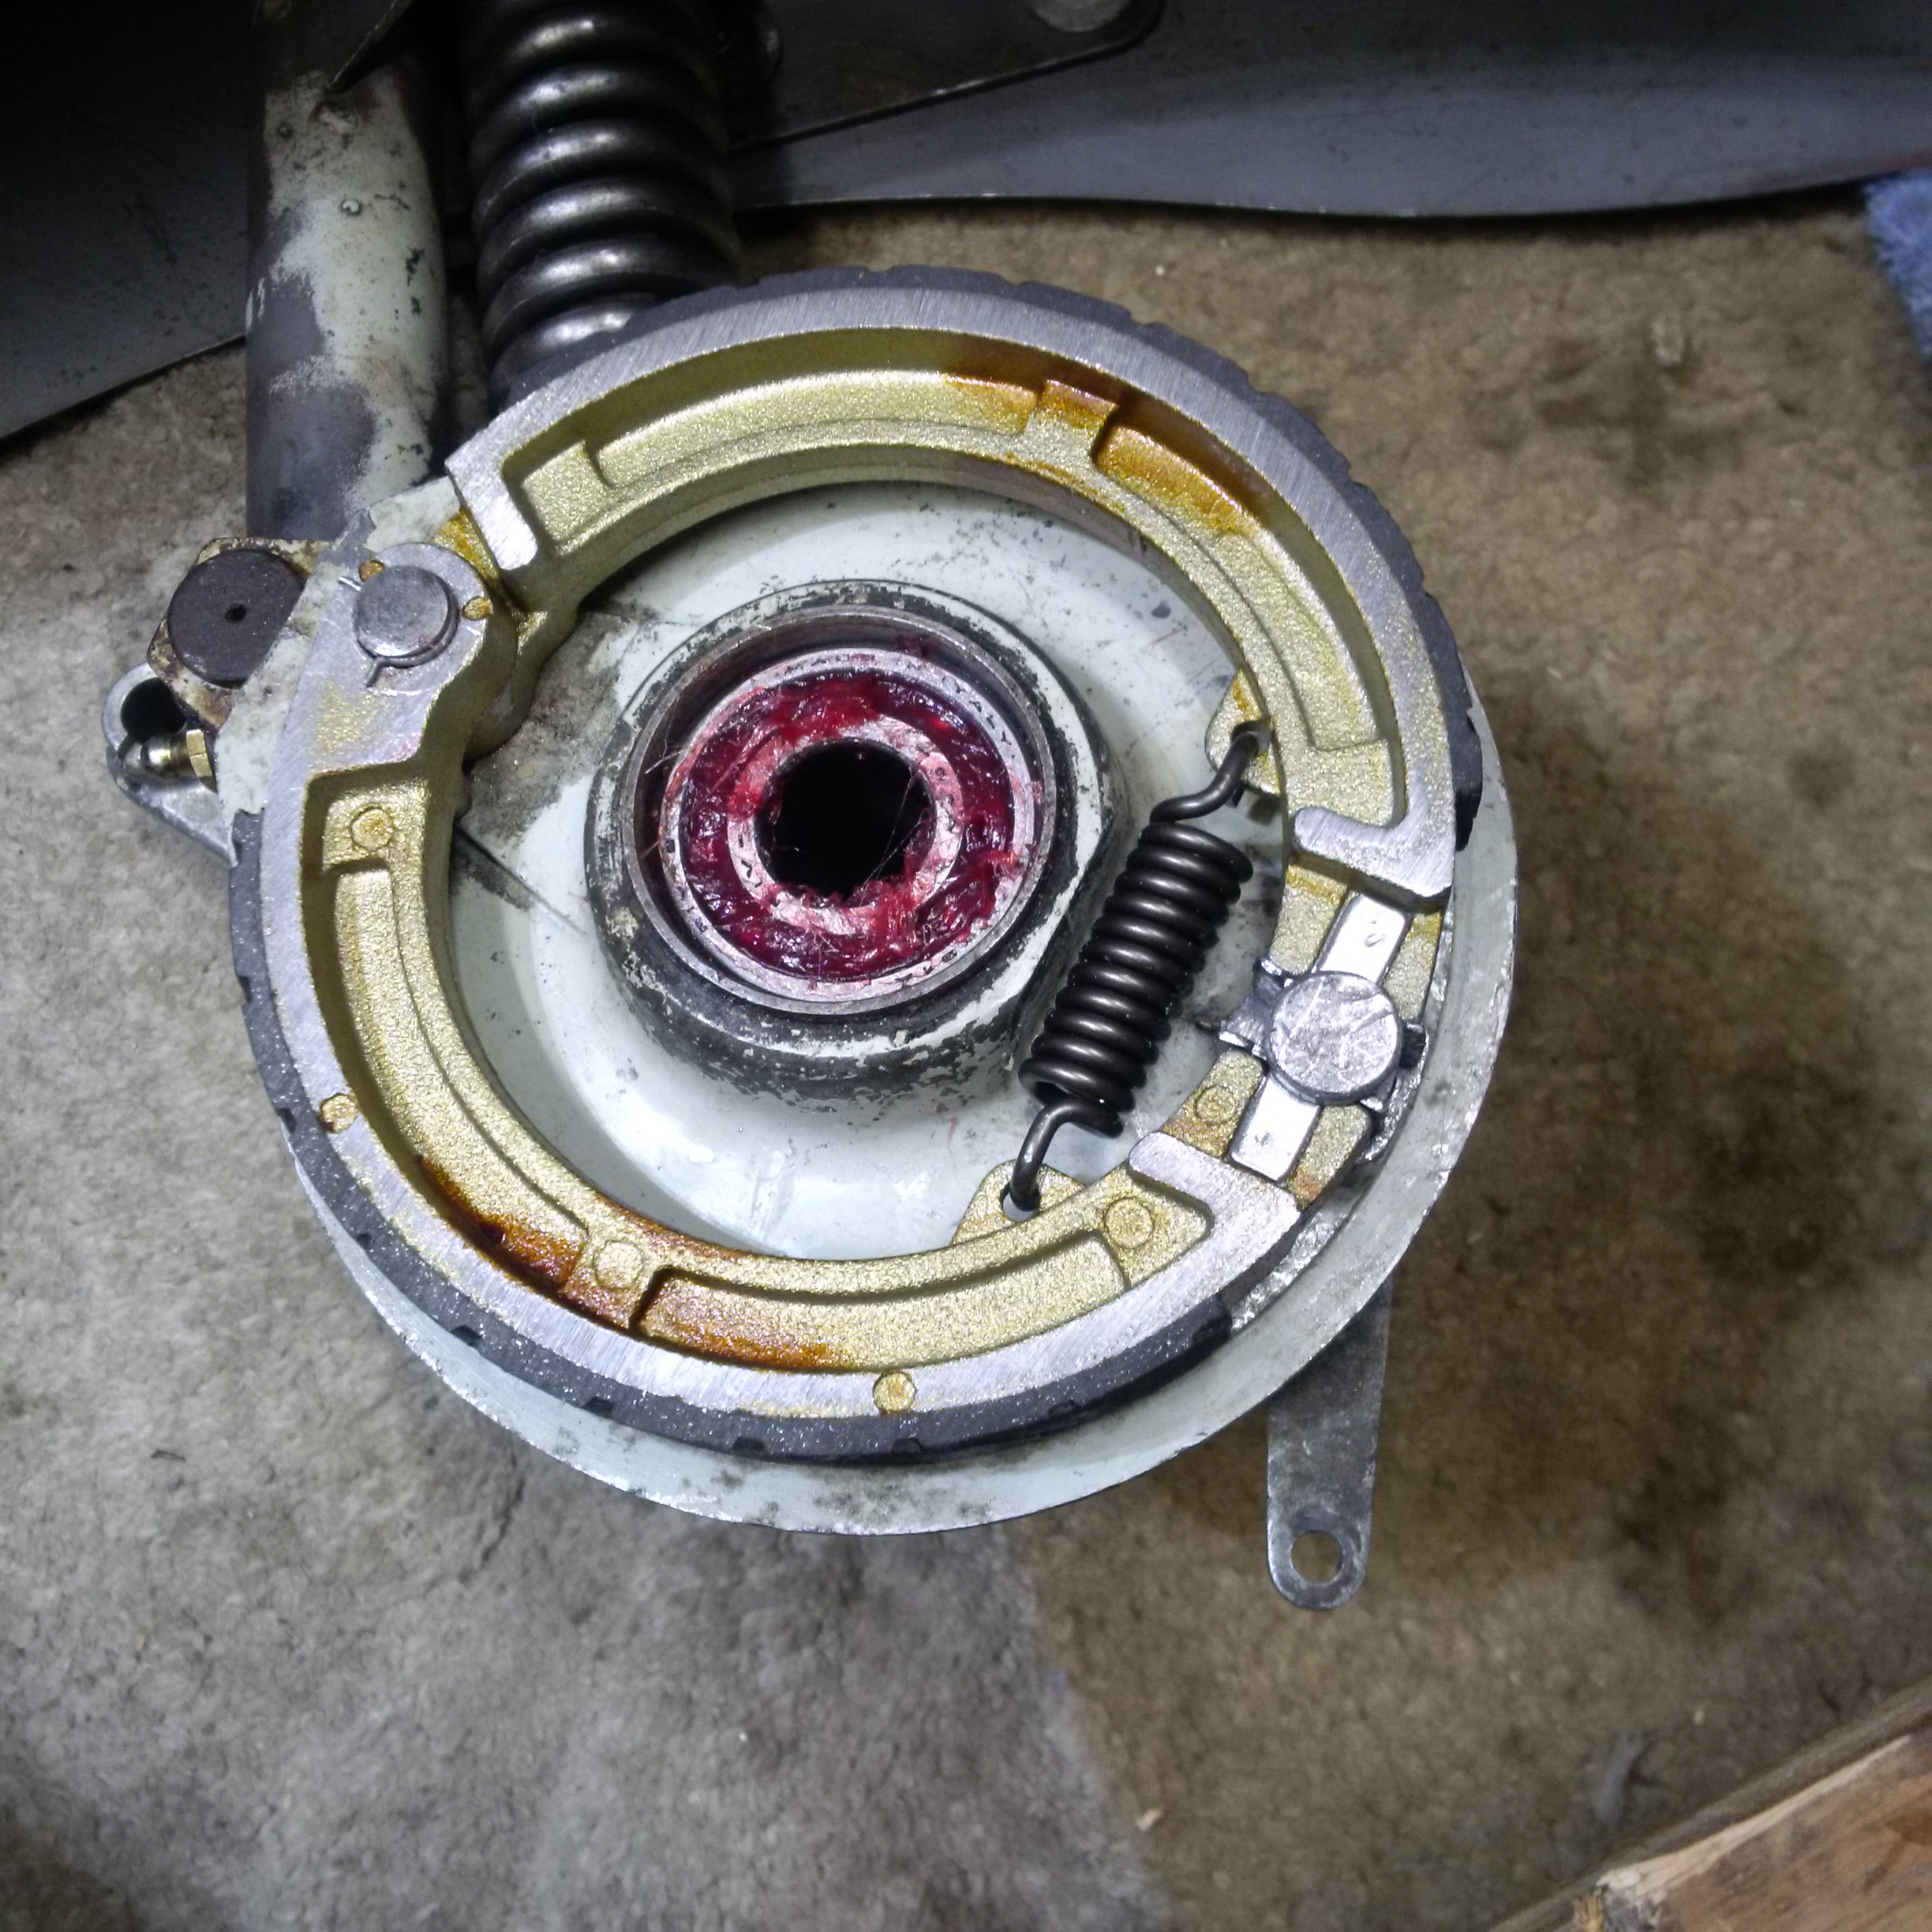
p.s. rookie mistake.
You must fit the brake pads first before you fit the axle.
Otherwise it is impossible to fit the brake pads and the spring.
A quick look at the pictures below will show the problem.
So unless you like doing things twice (like I have just done) Brakes pads first, then the axle.
|