|
1956
Vespa VL3T
Engine Dismantle
|
|
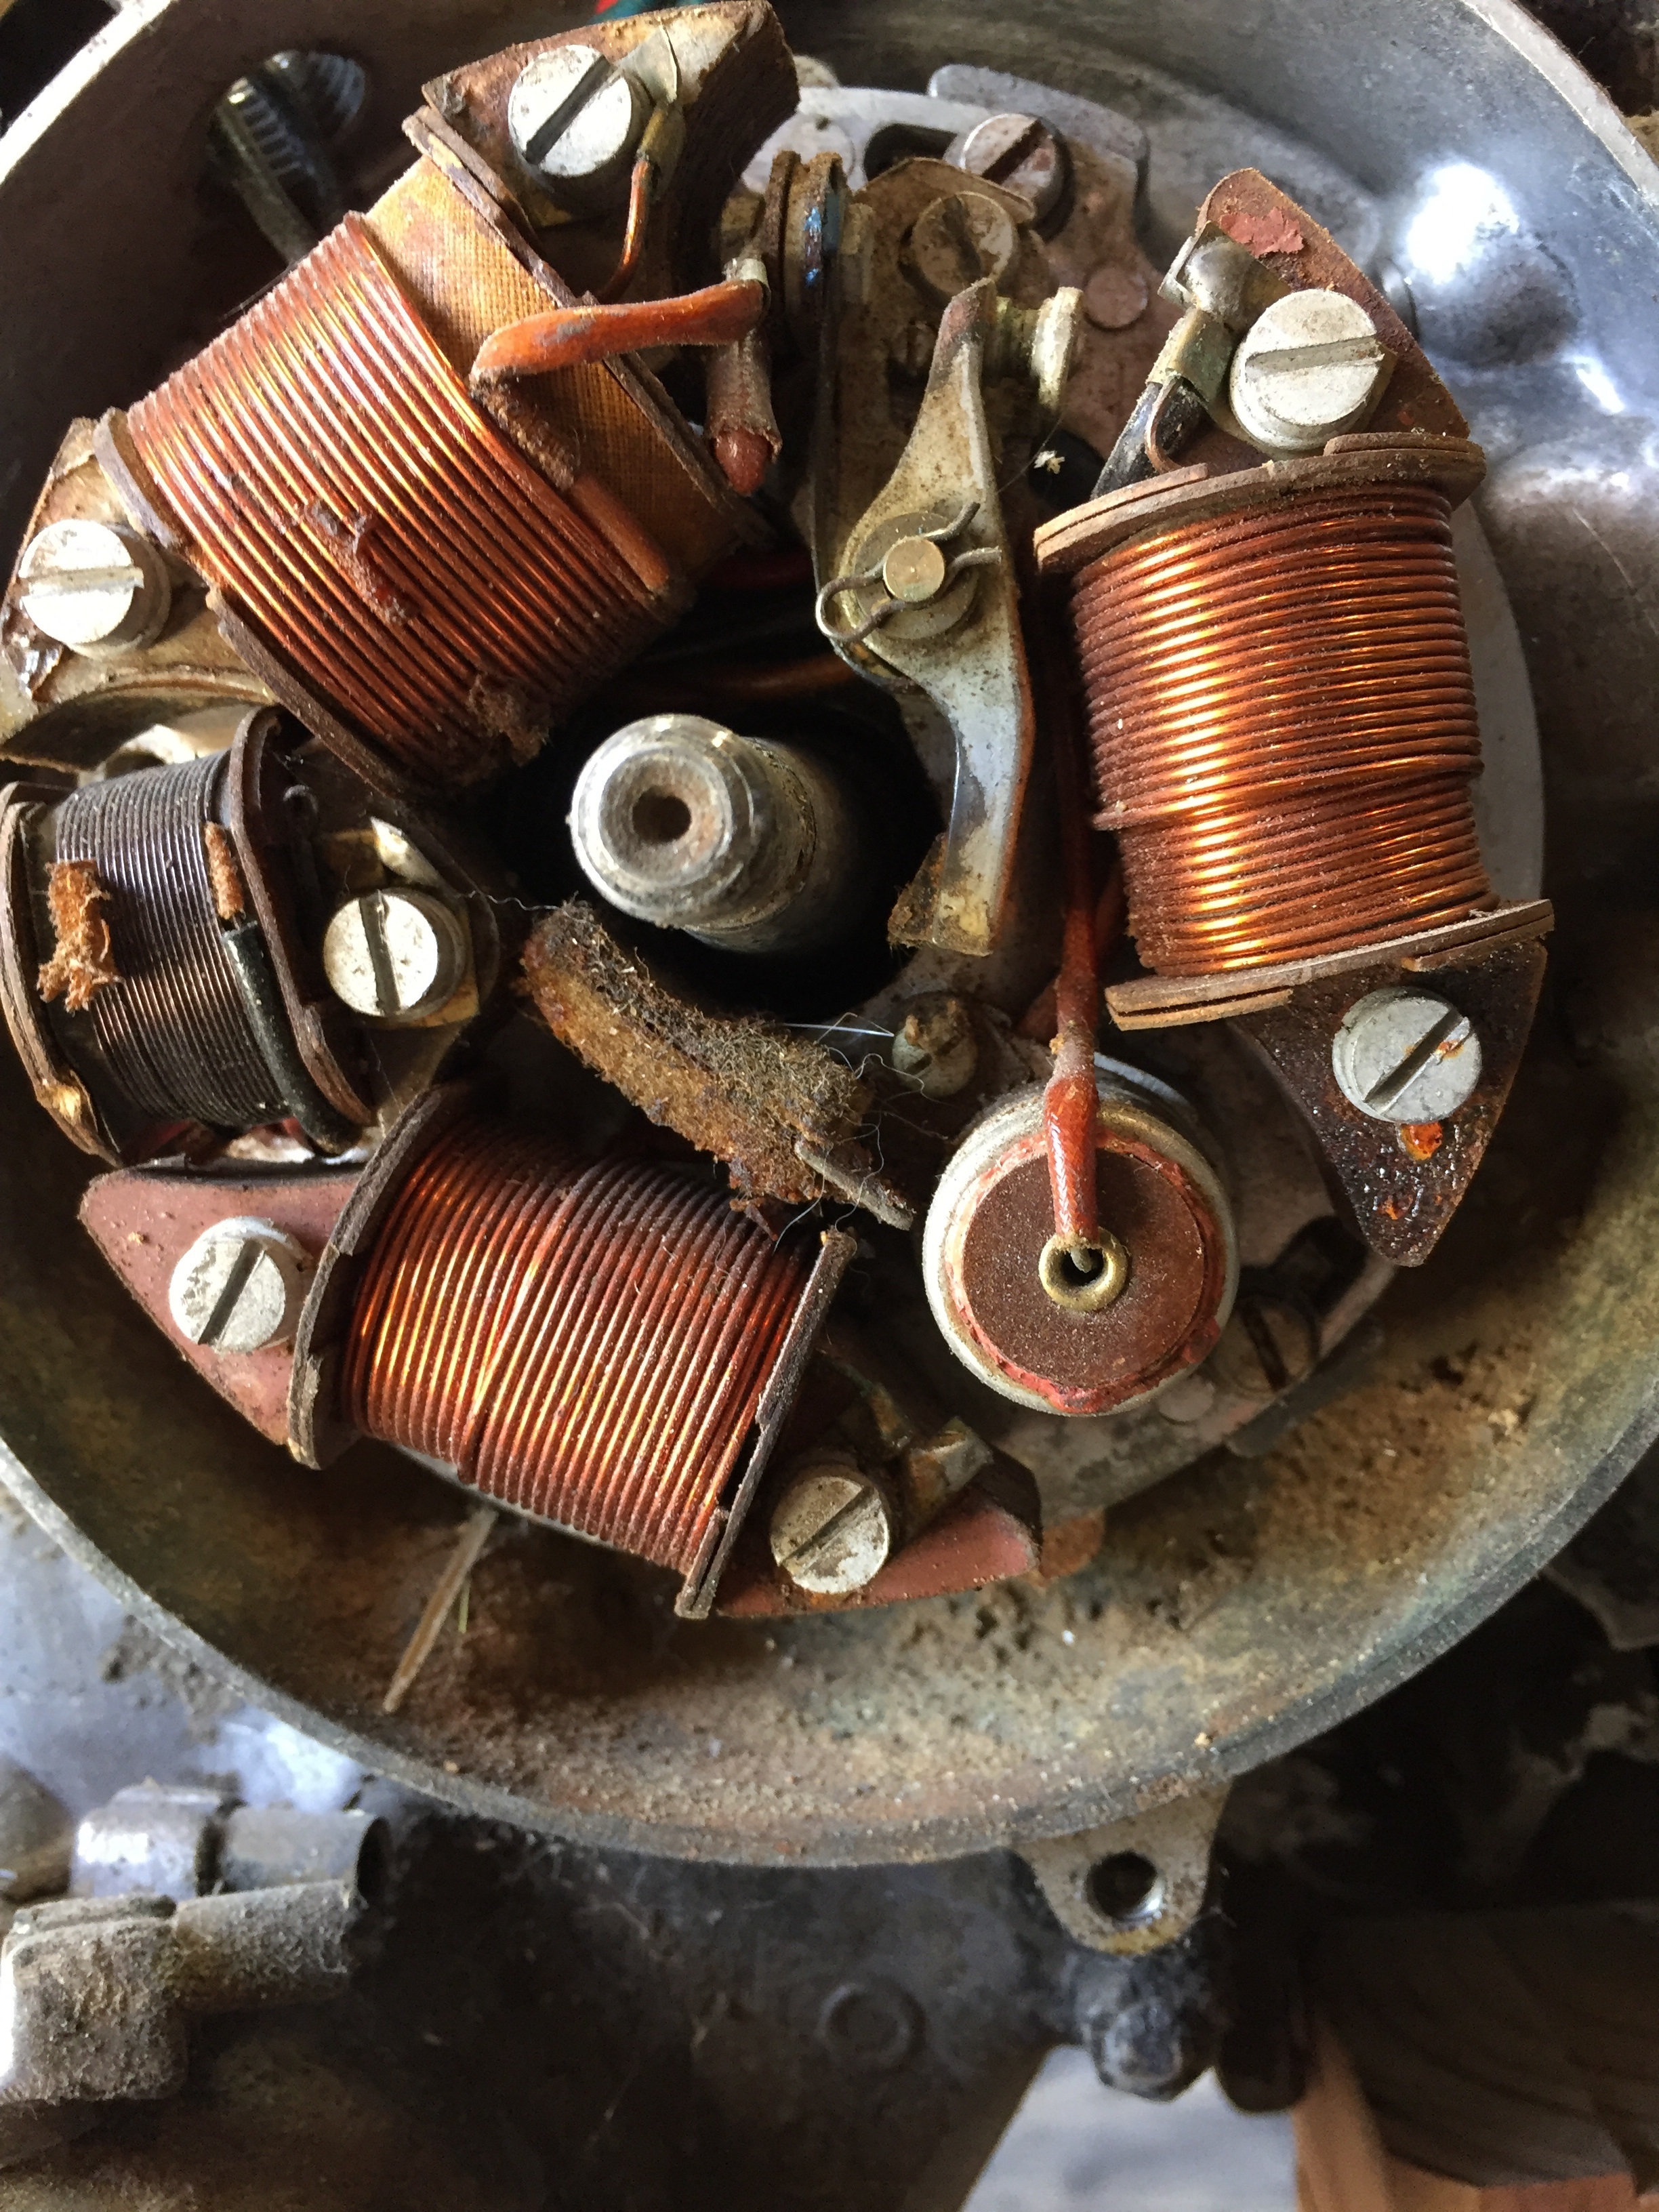
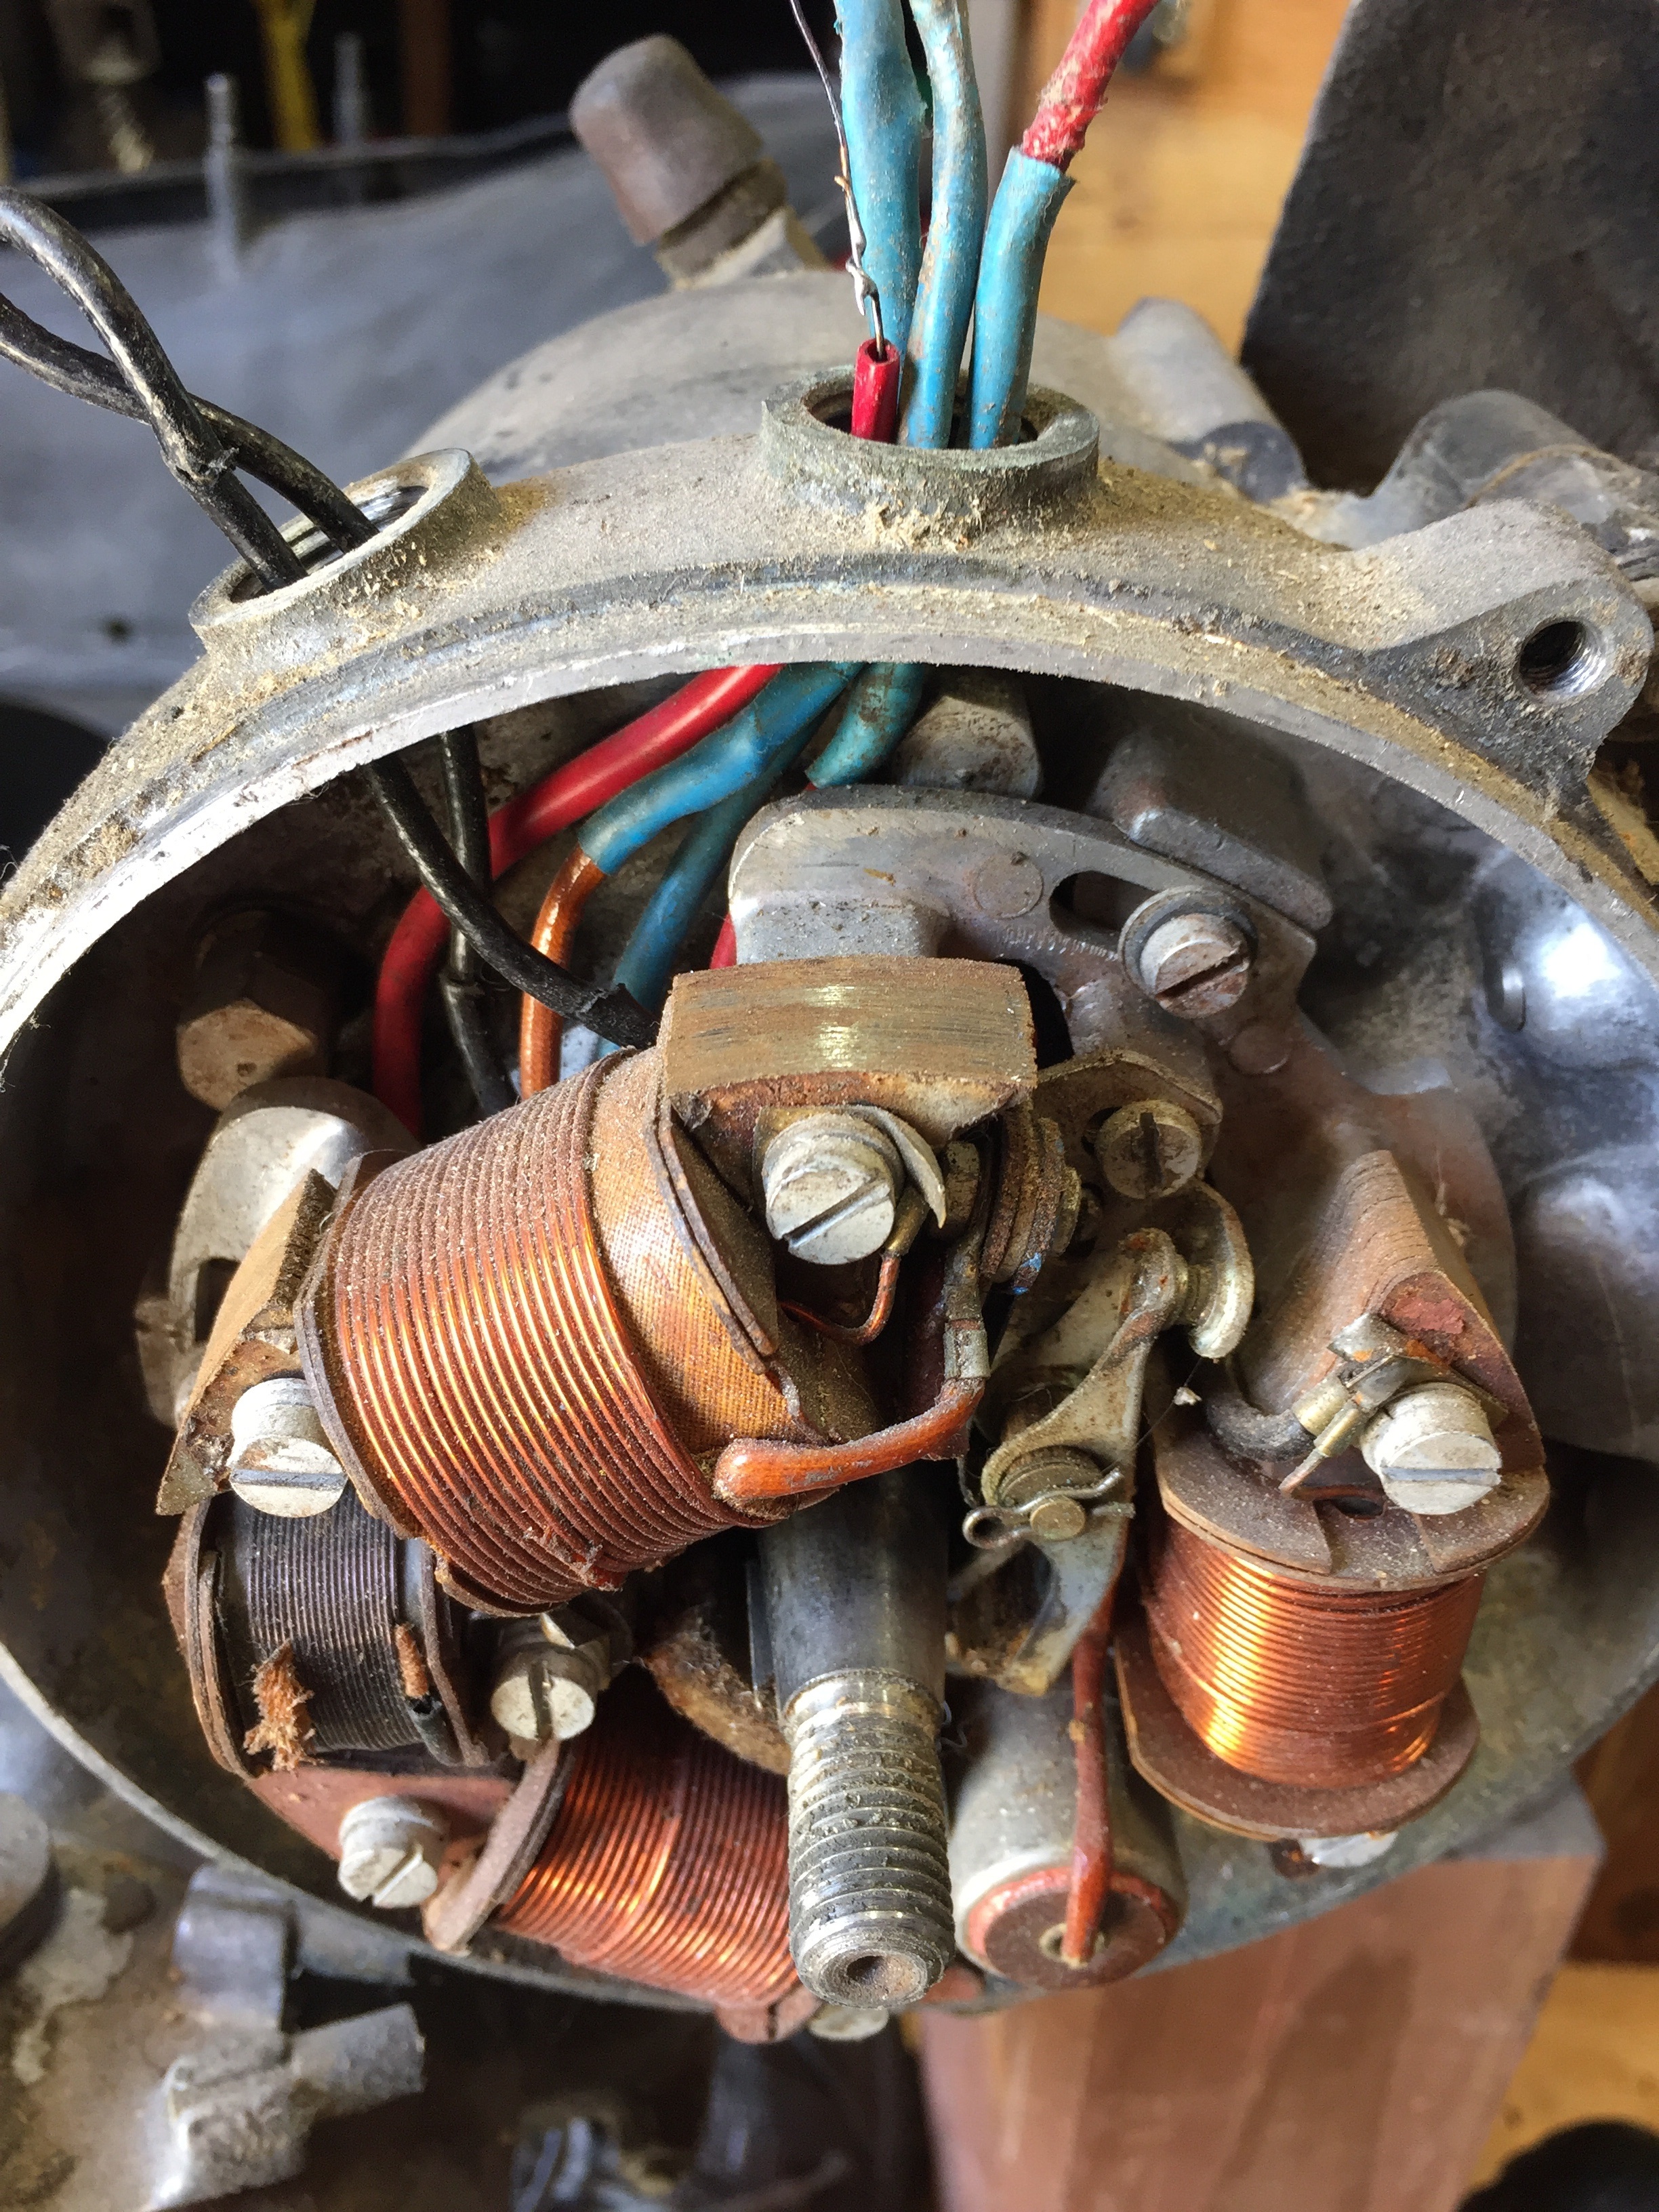
Vespa VL3T Engine Dismantle
Just a ton of
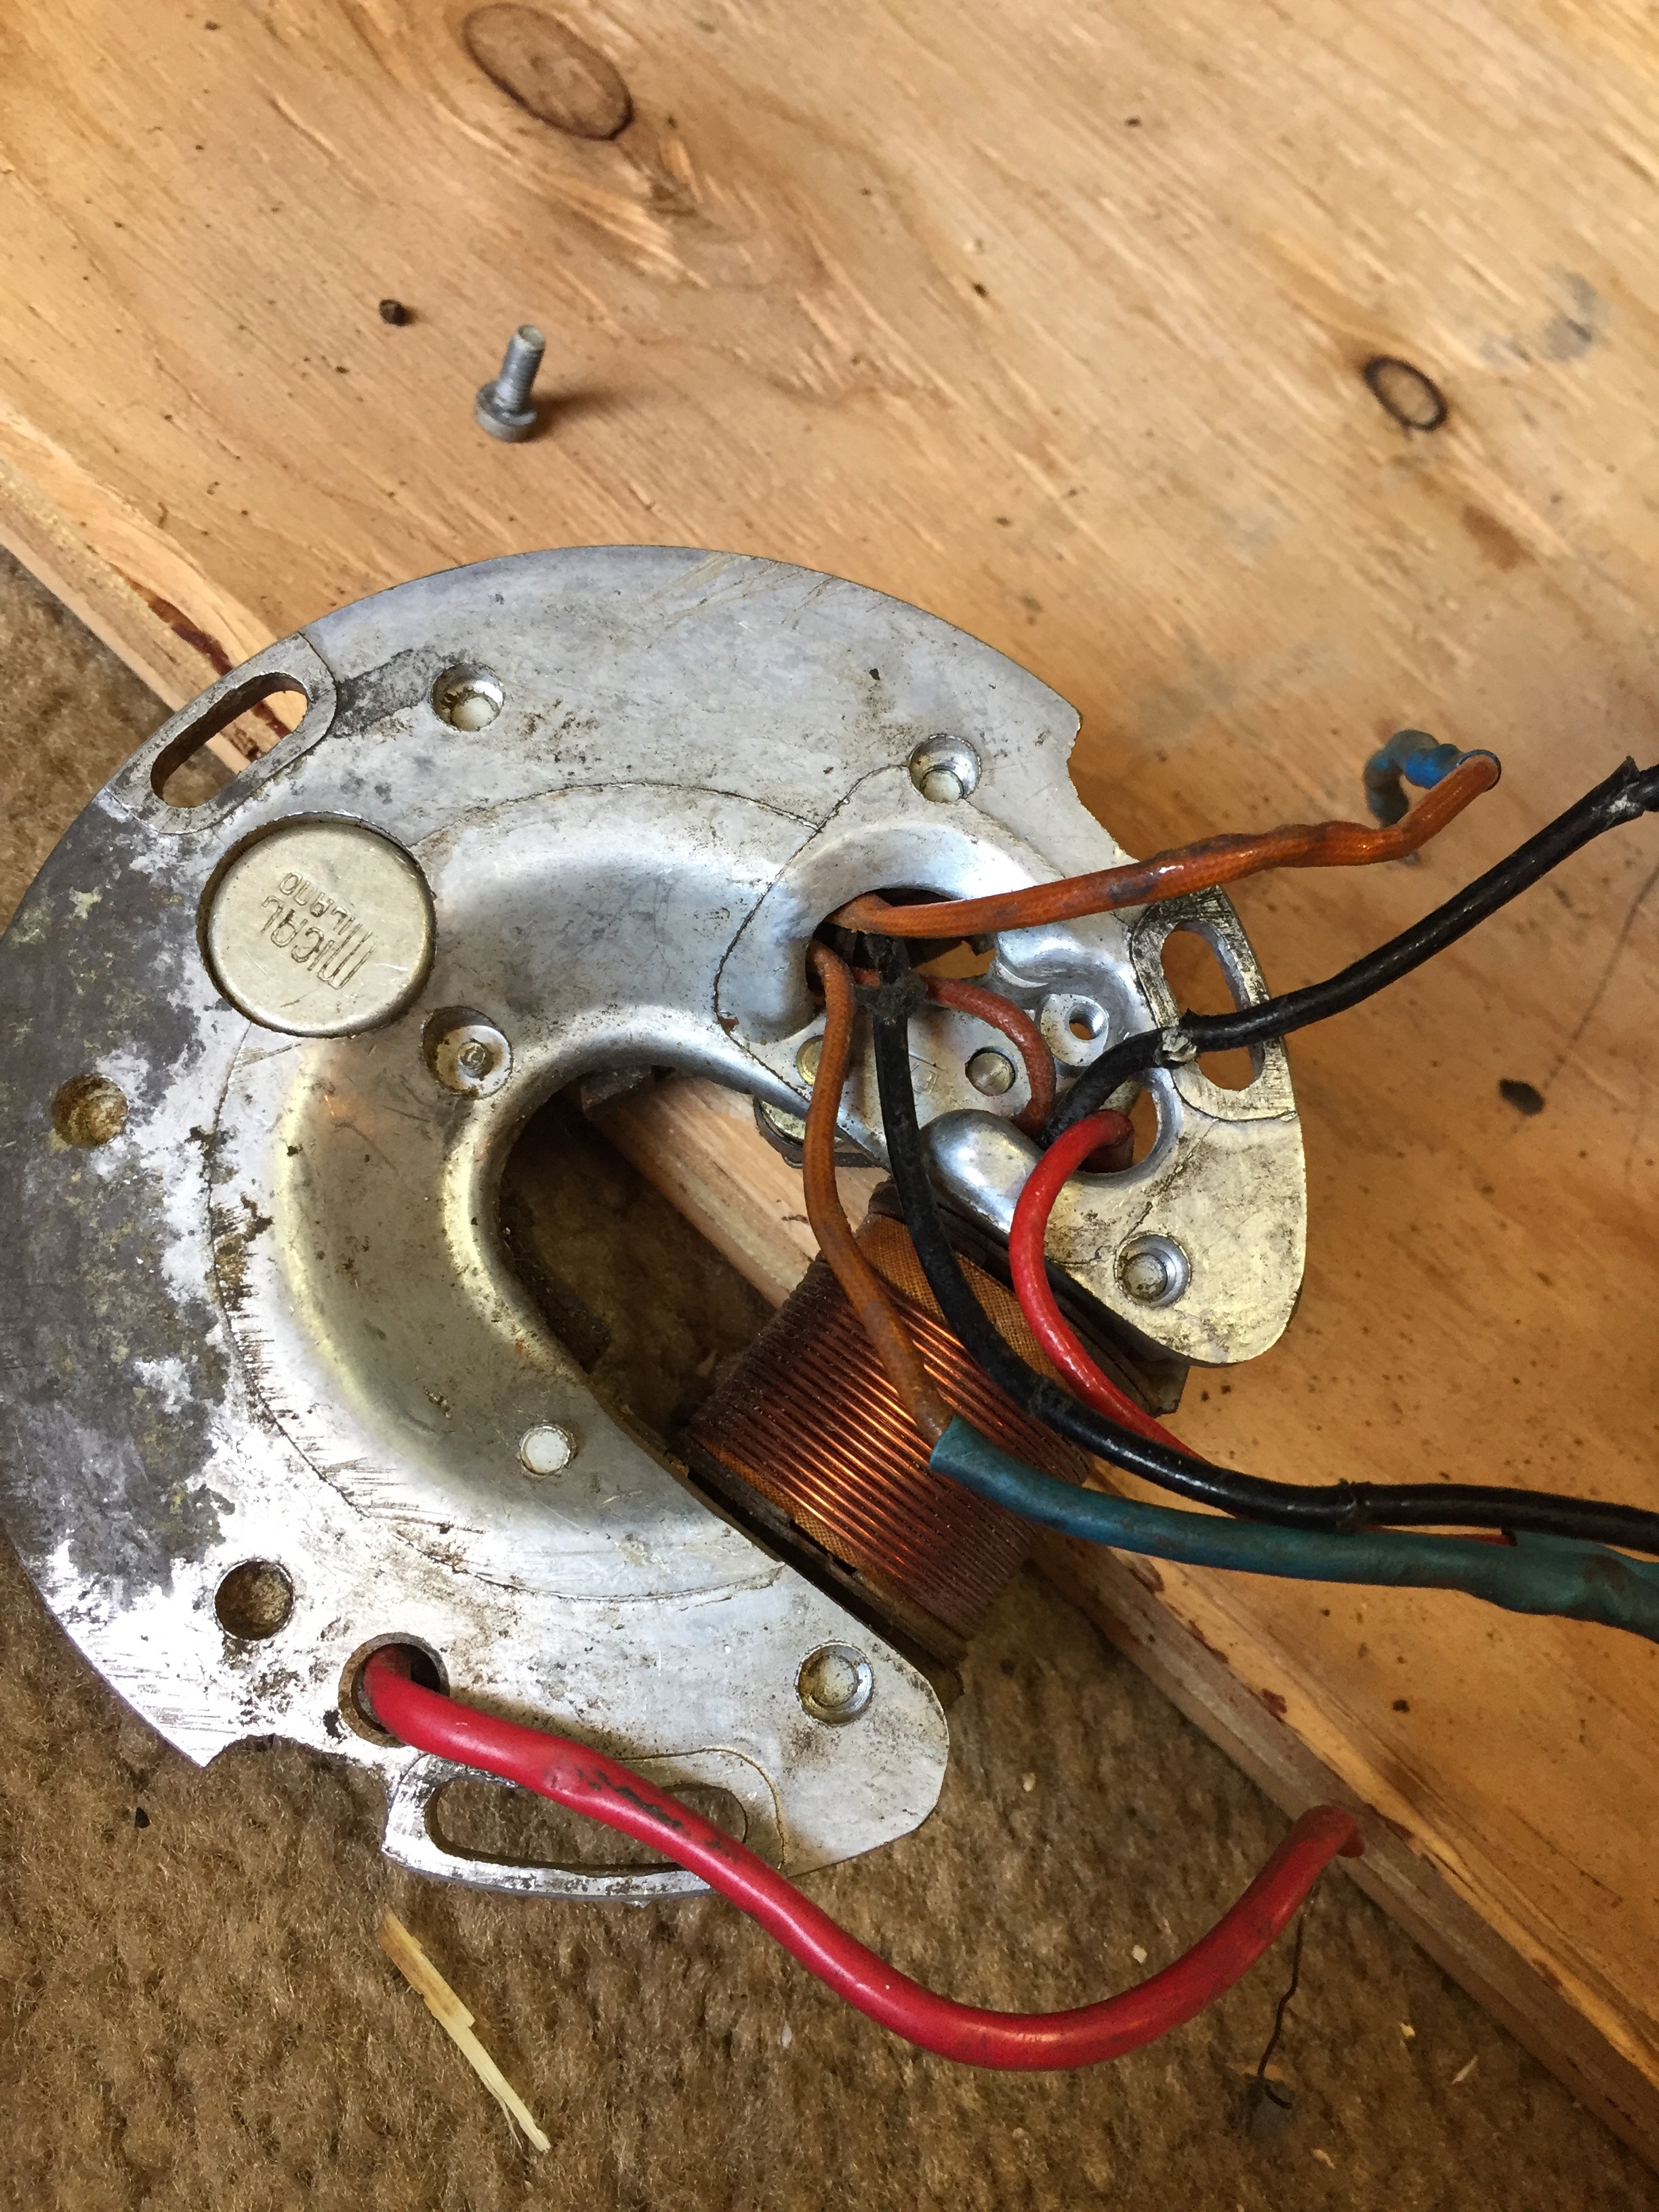
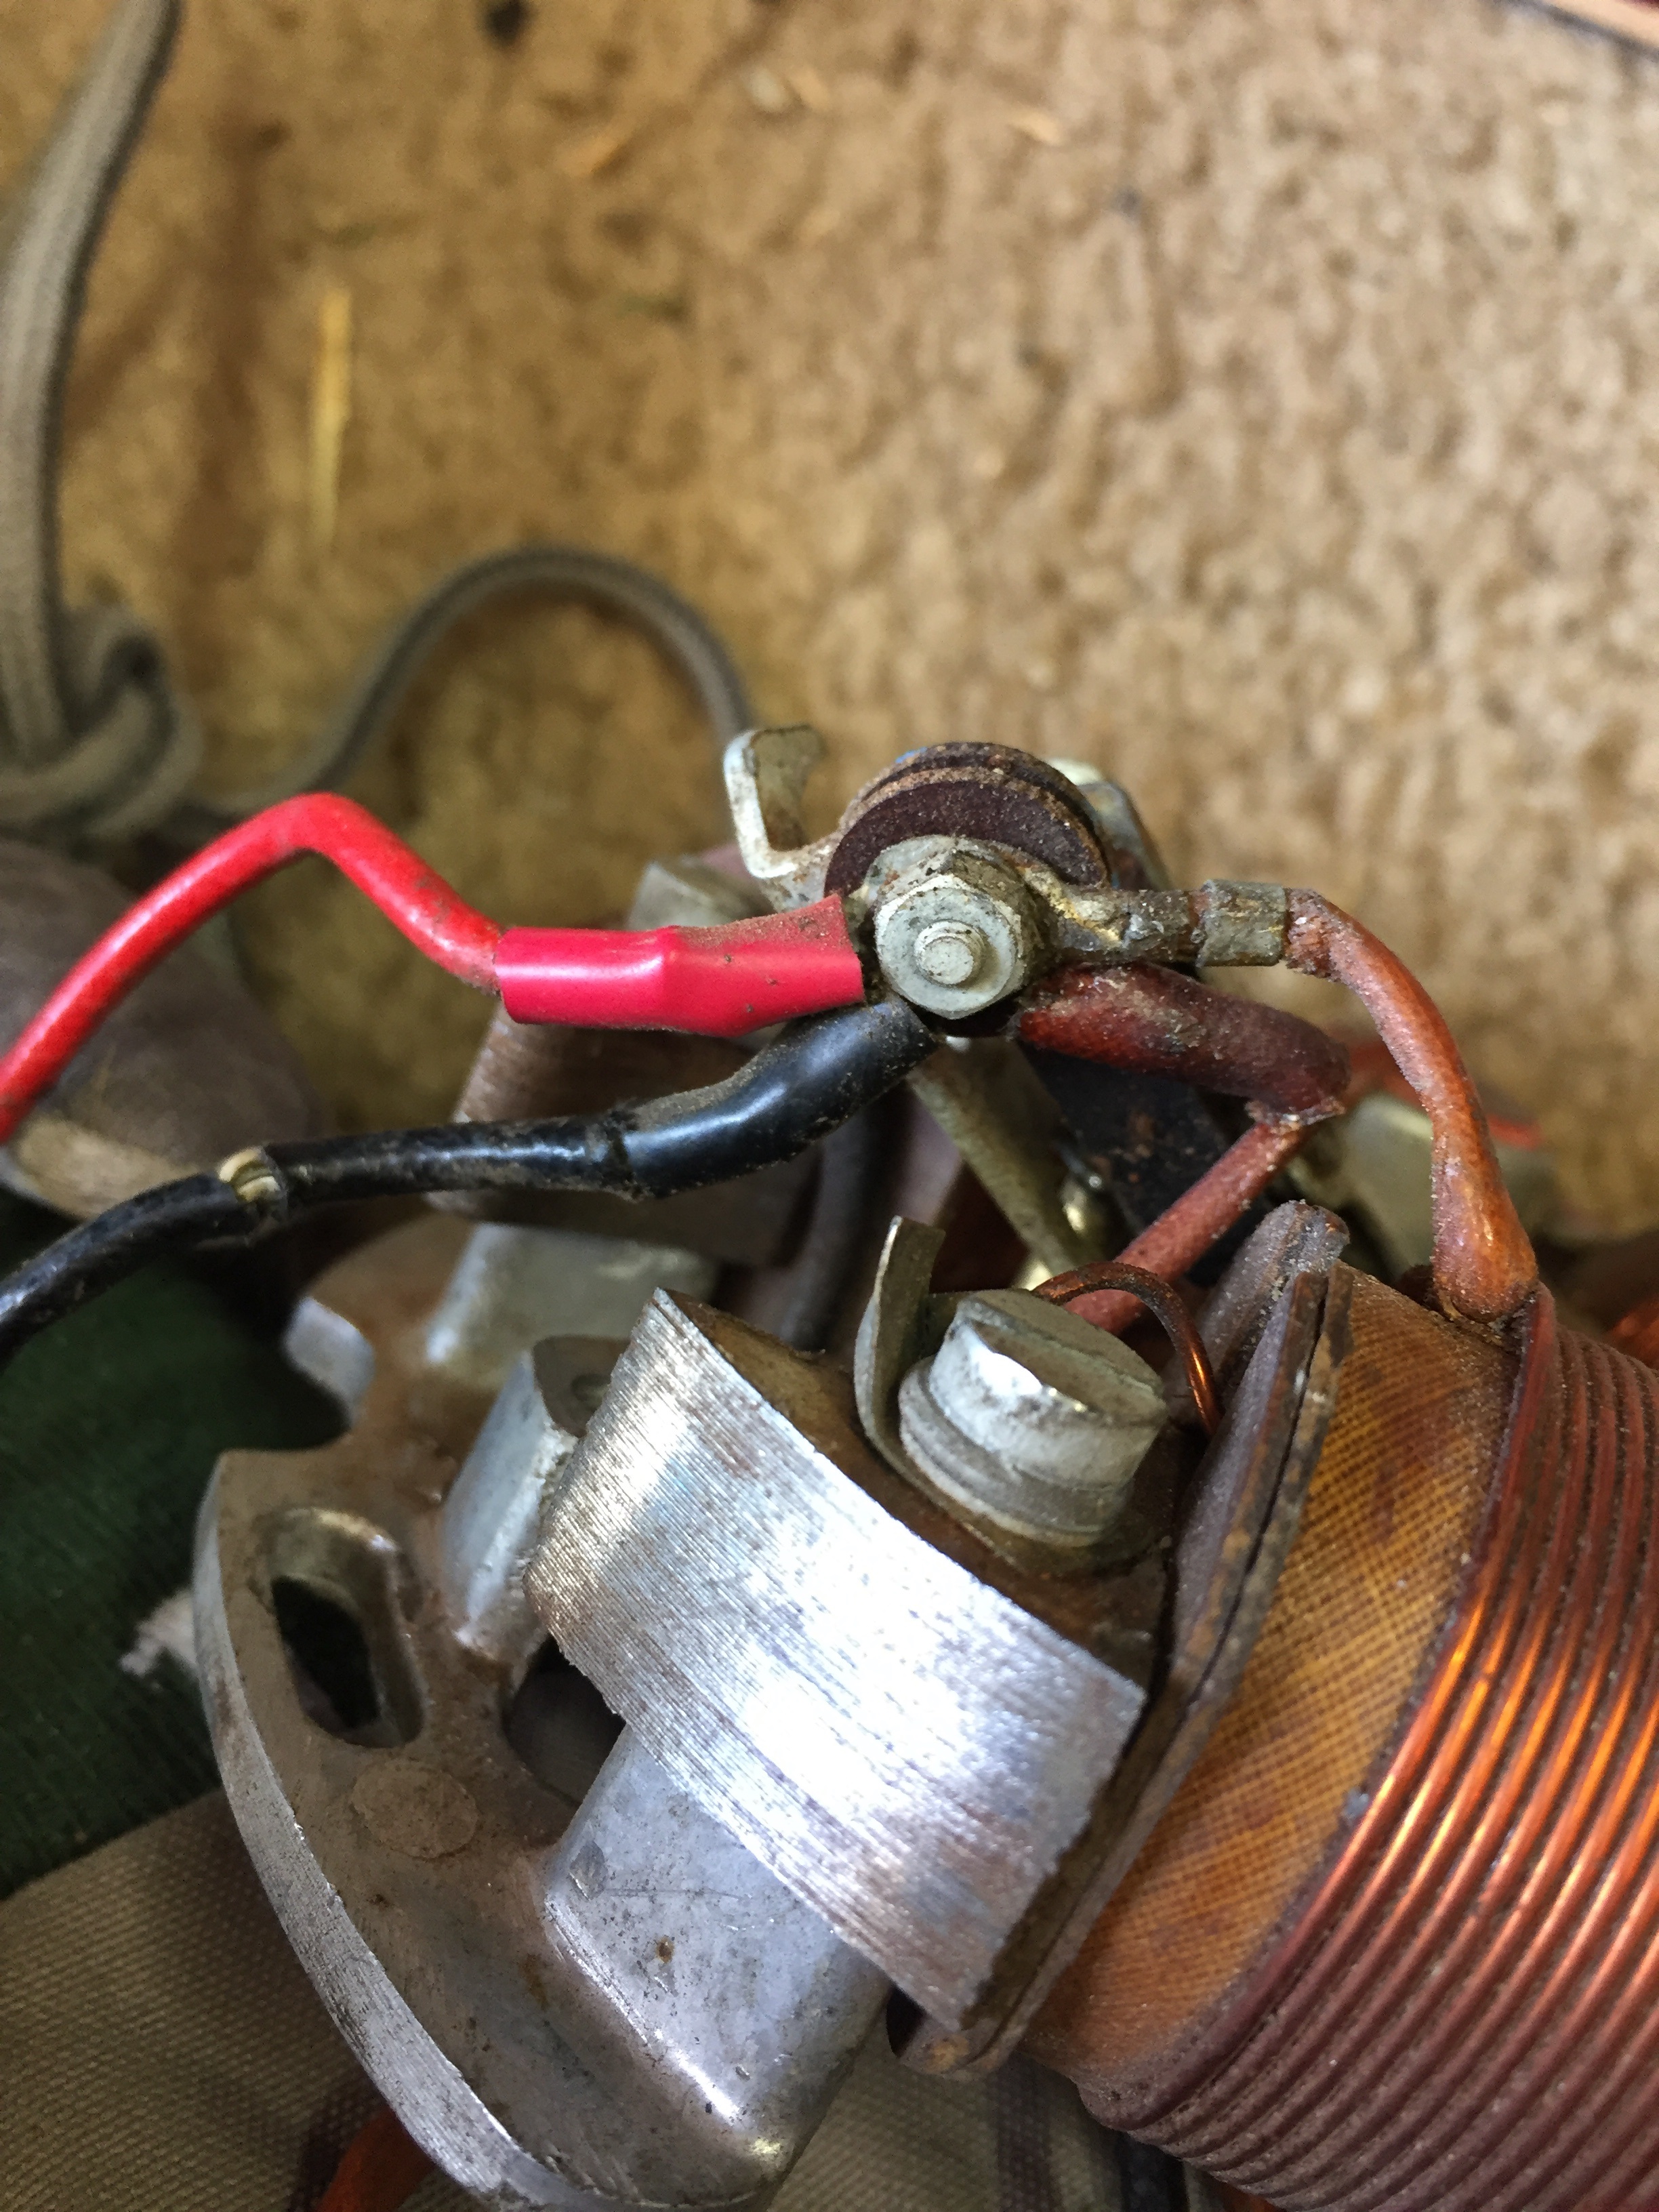
pictures Here is some work on the Vespa VL3T stator showing
original condition as well as the timing mark you can see punched into
the case.
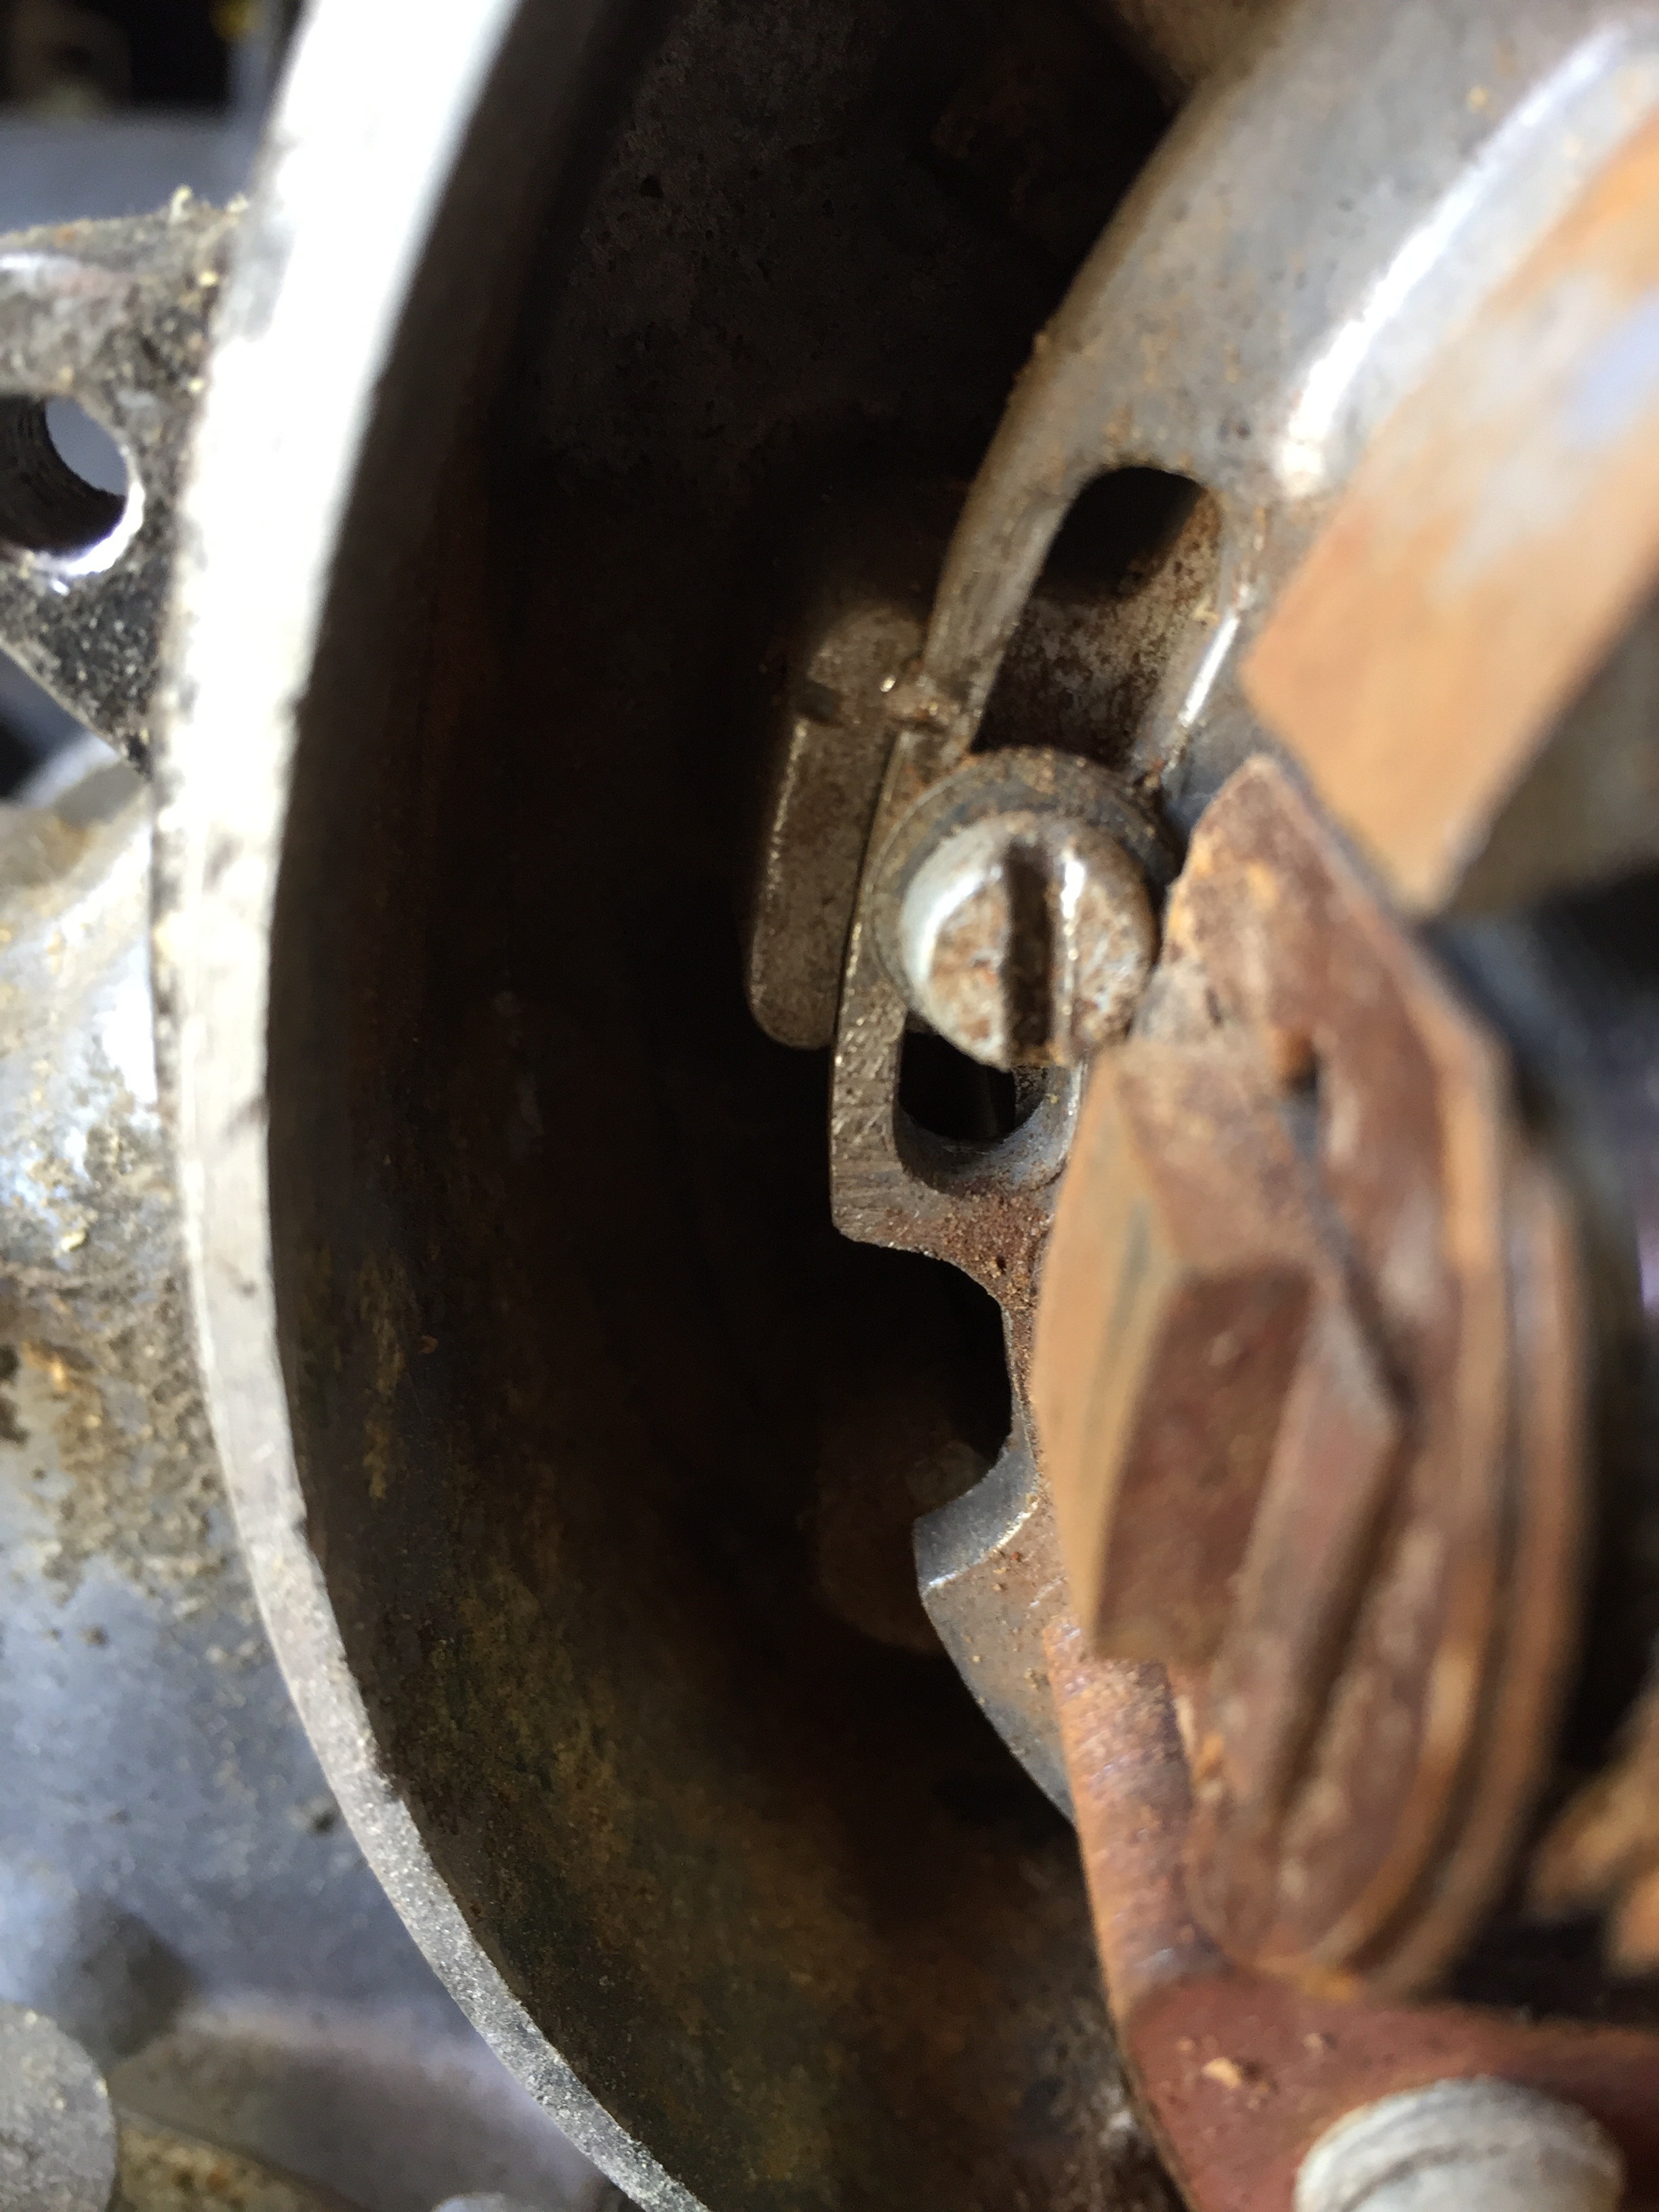
here are some close up shots of the points off the original stator from
the Vespa VL3T
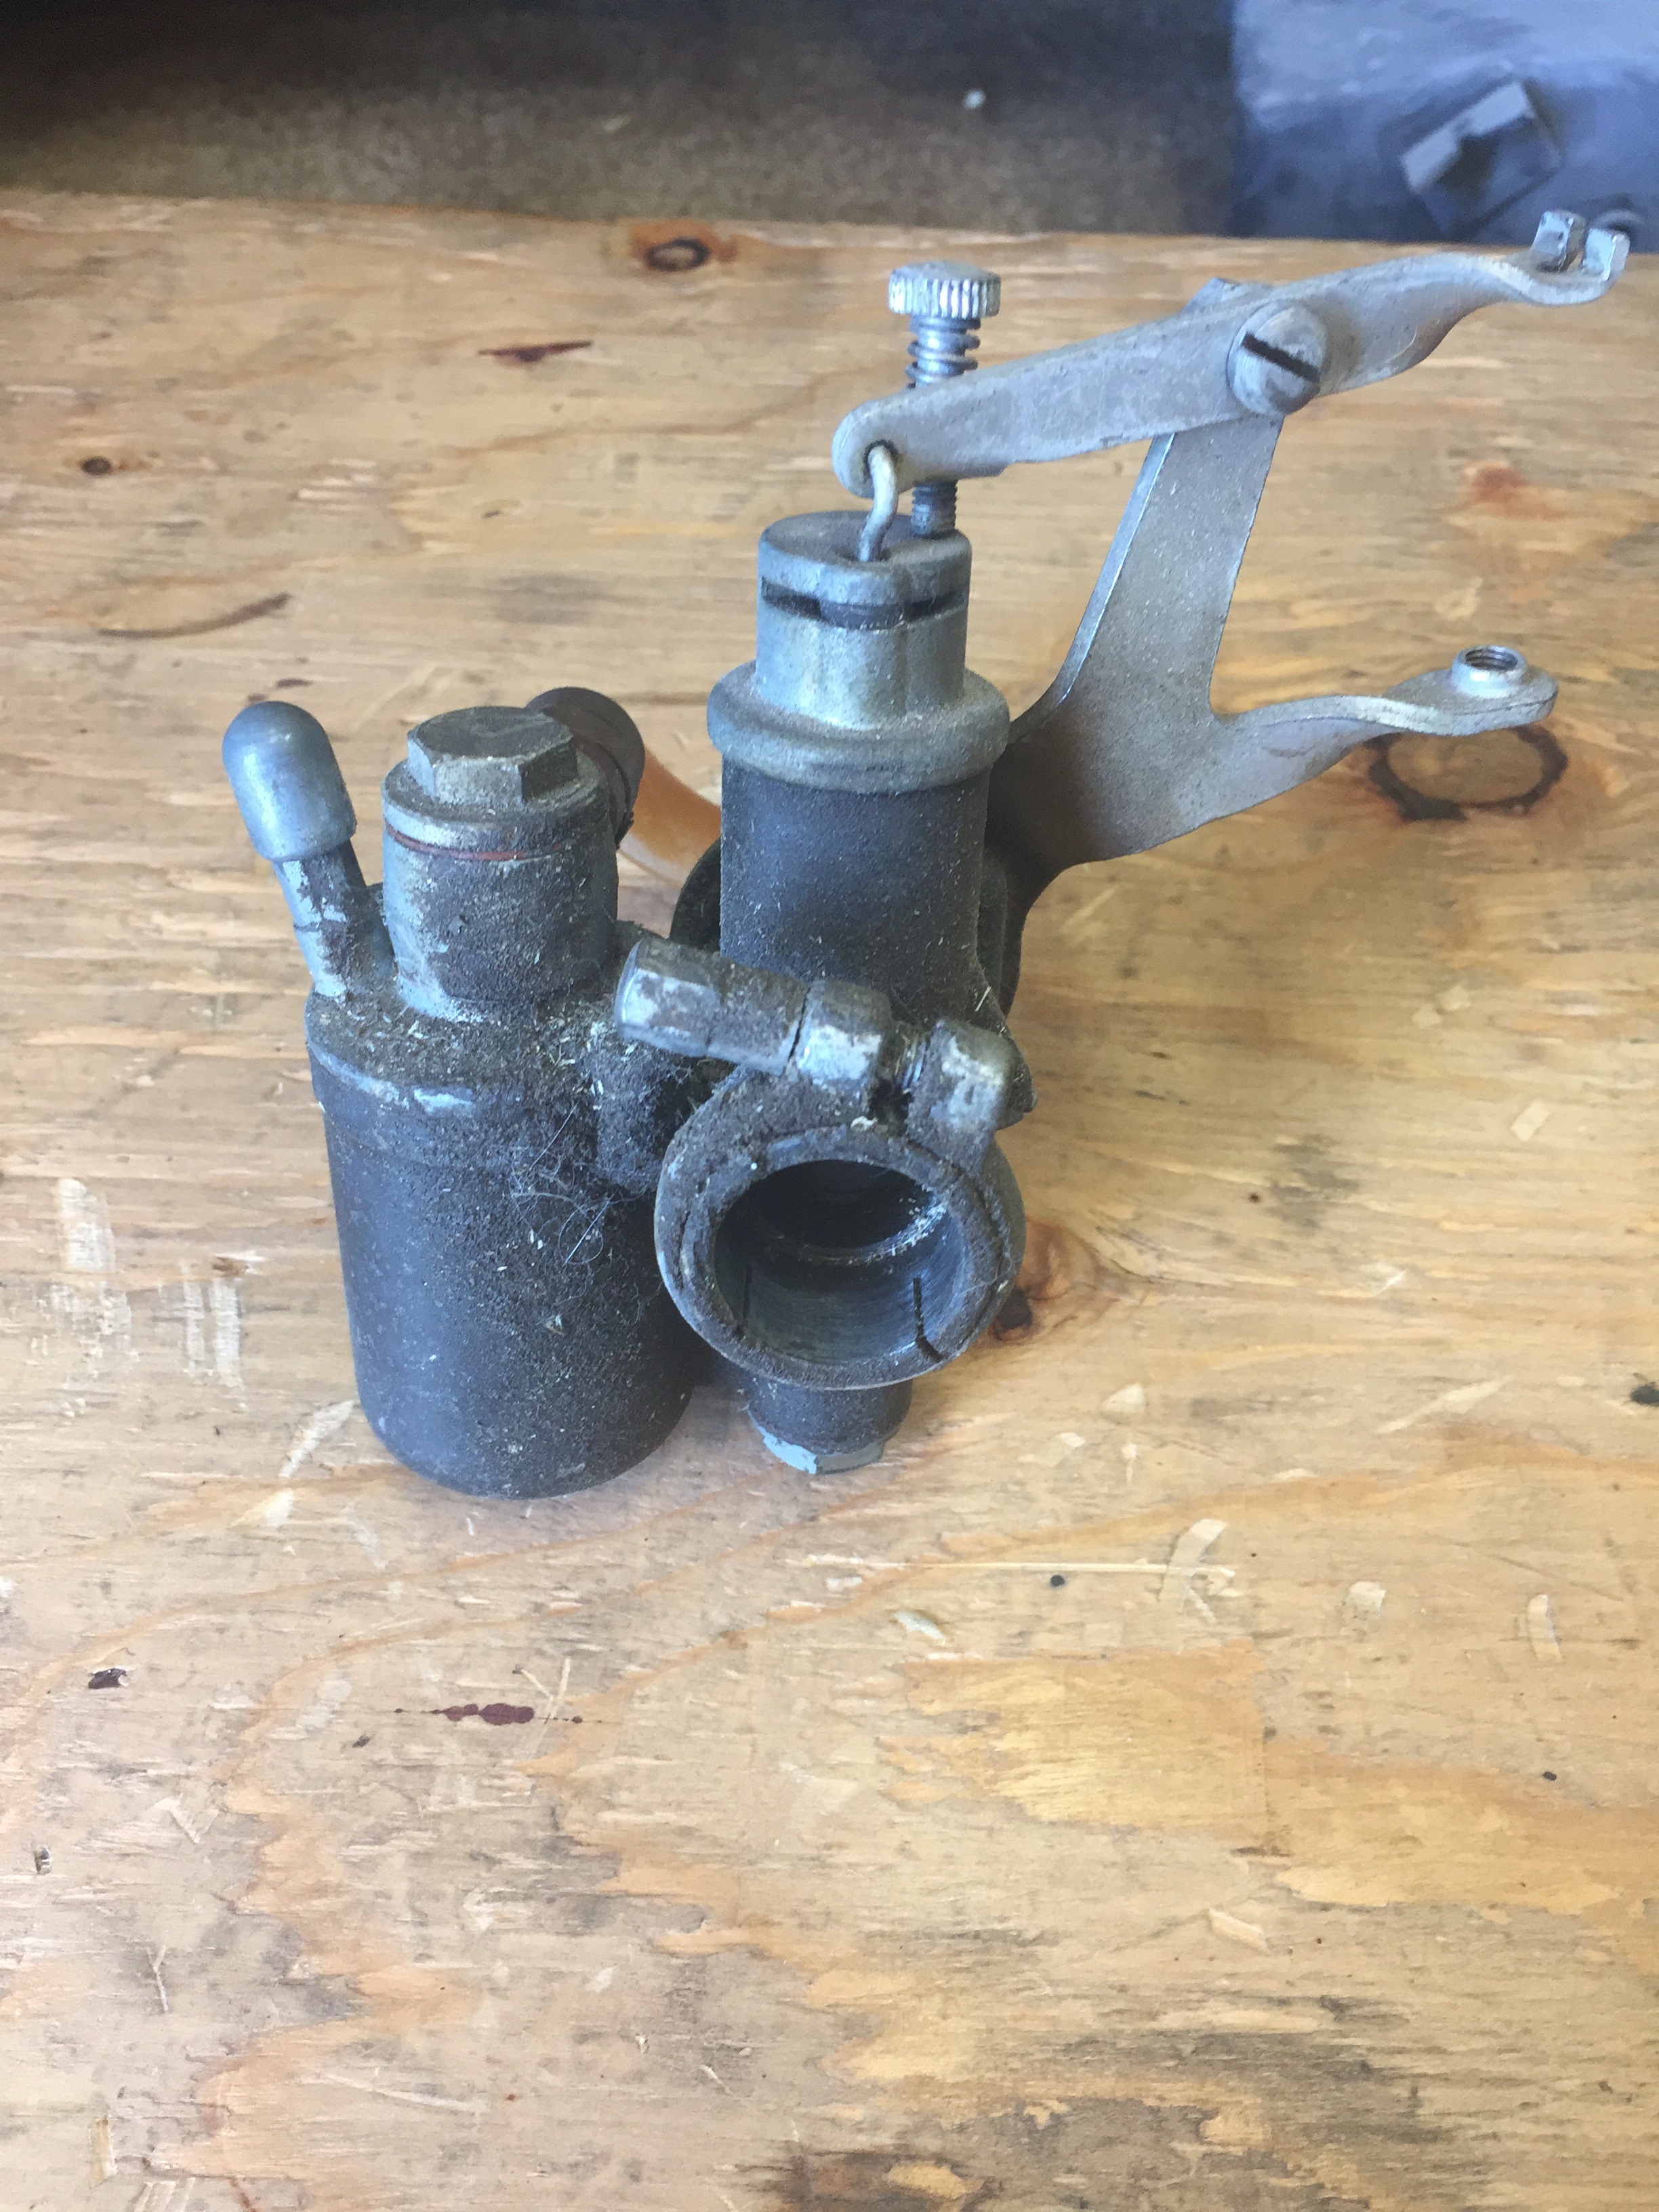
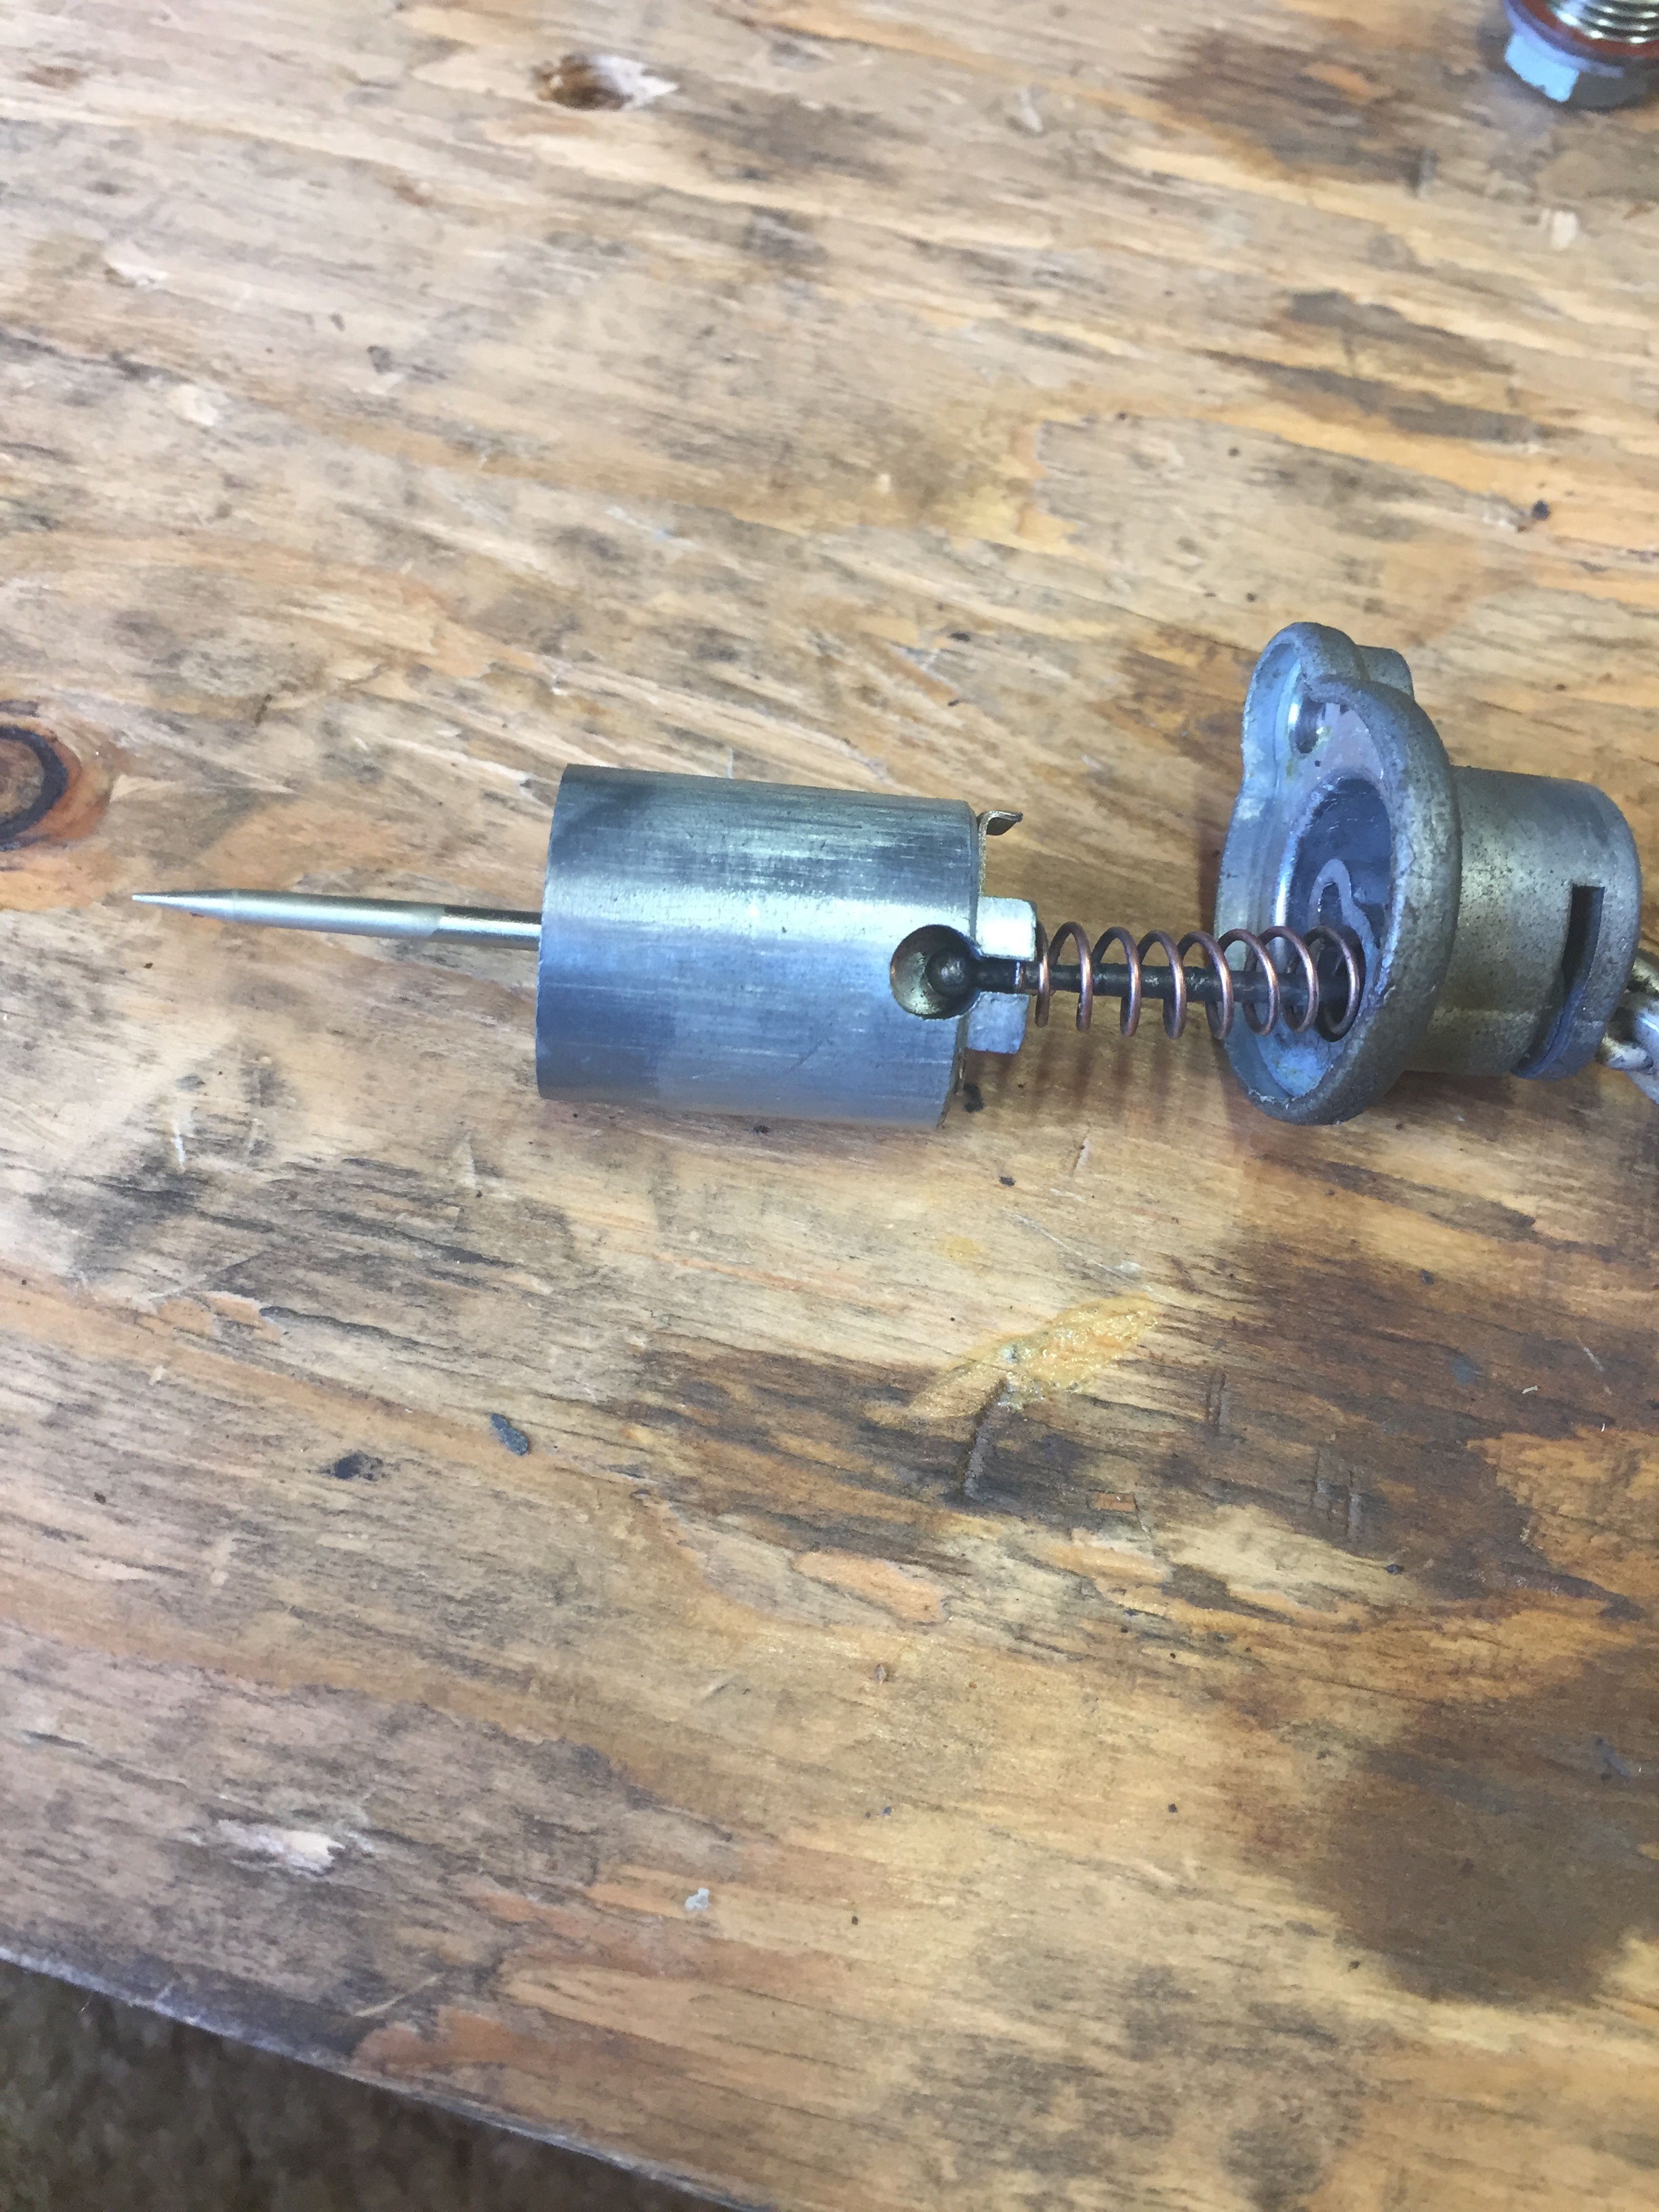
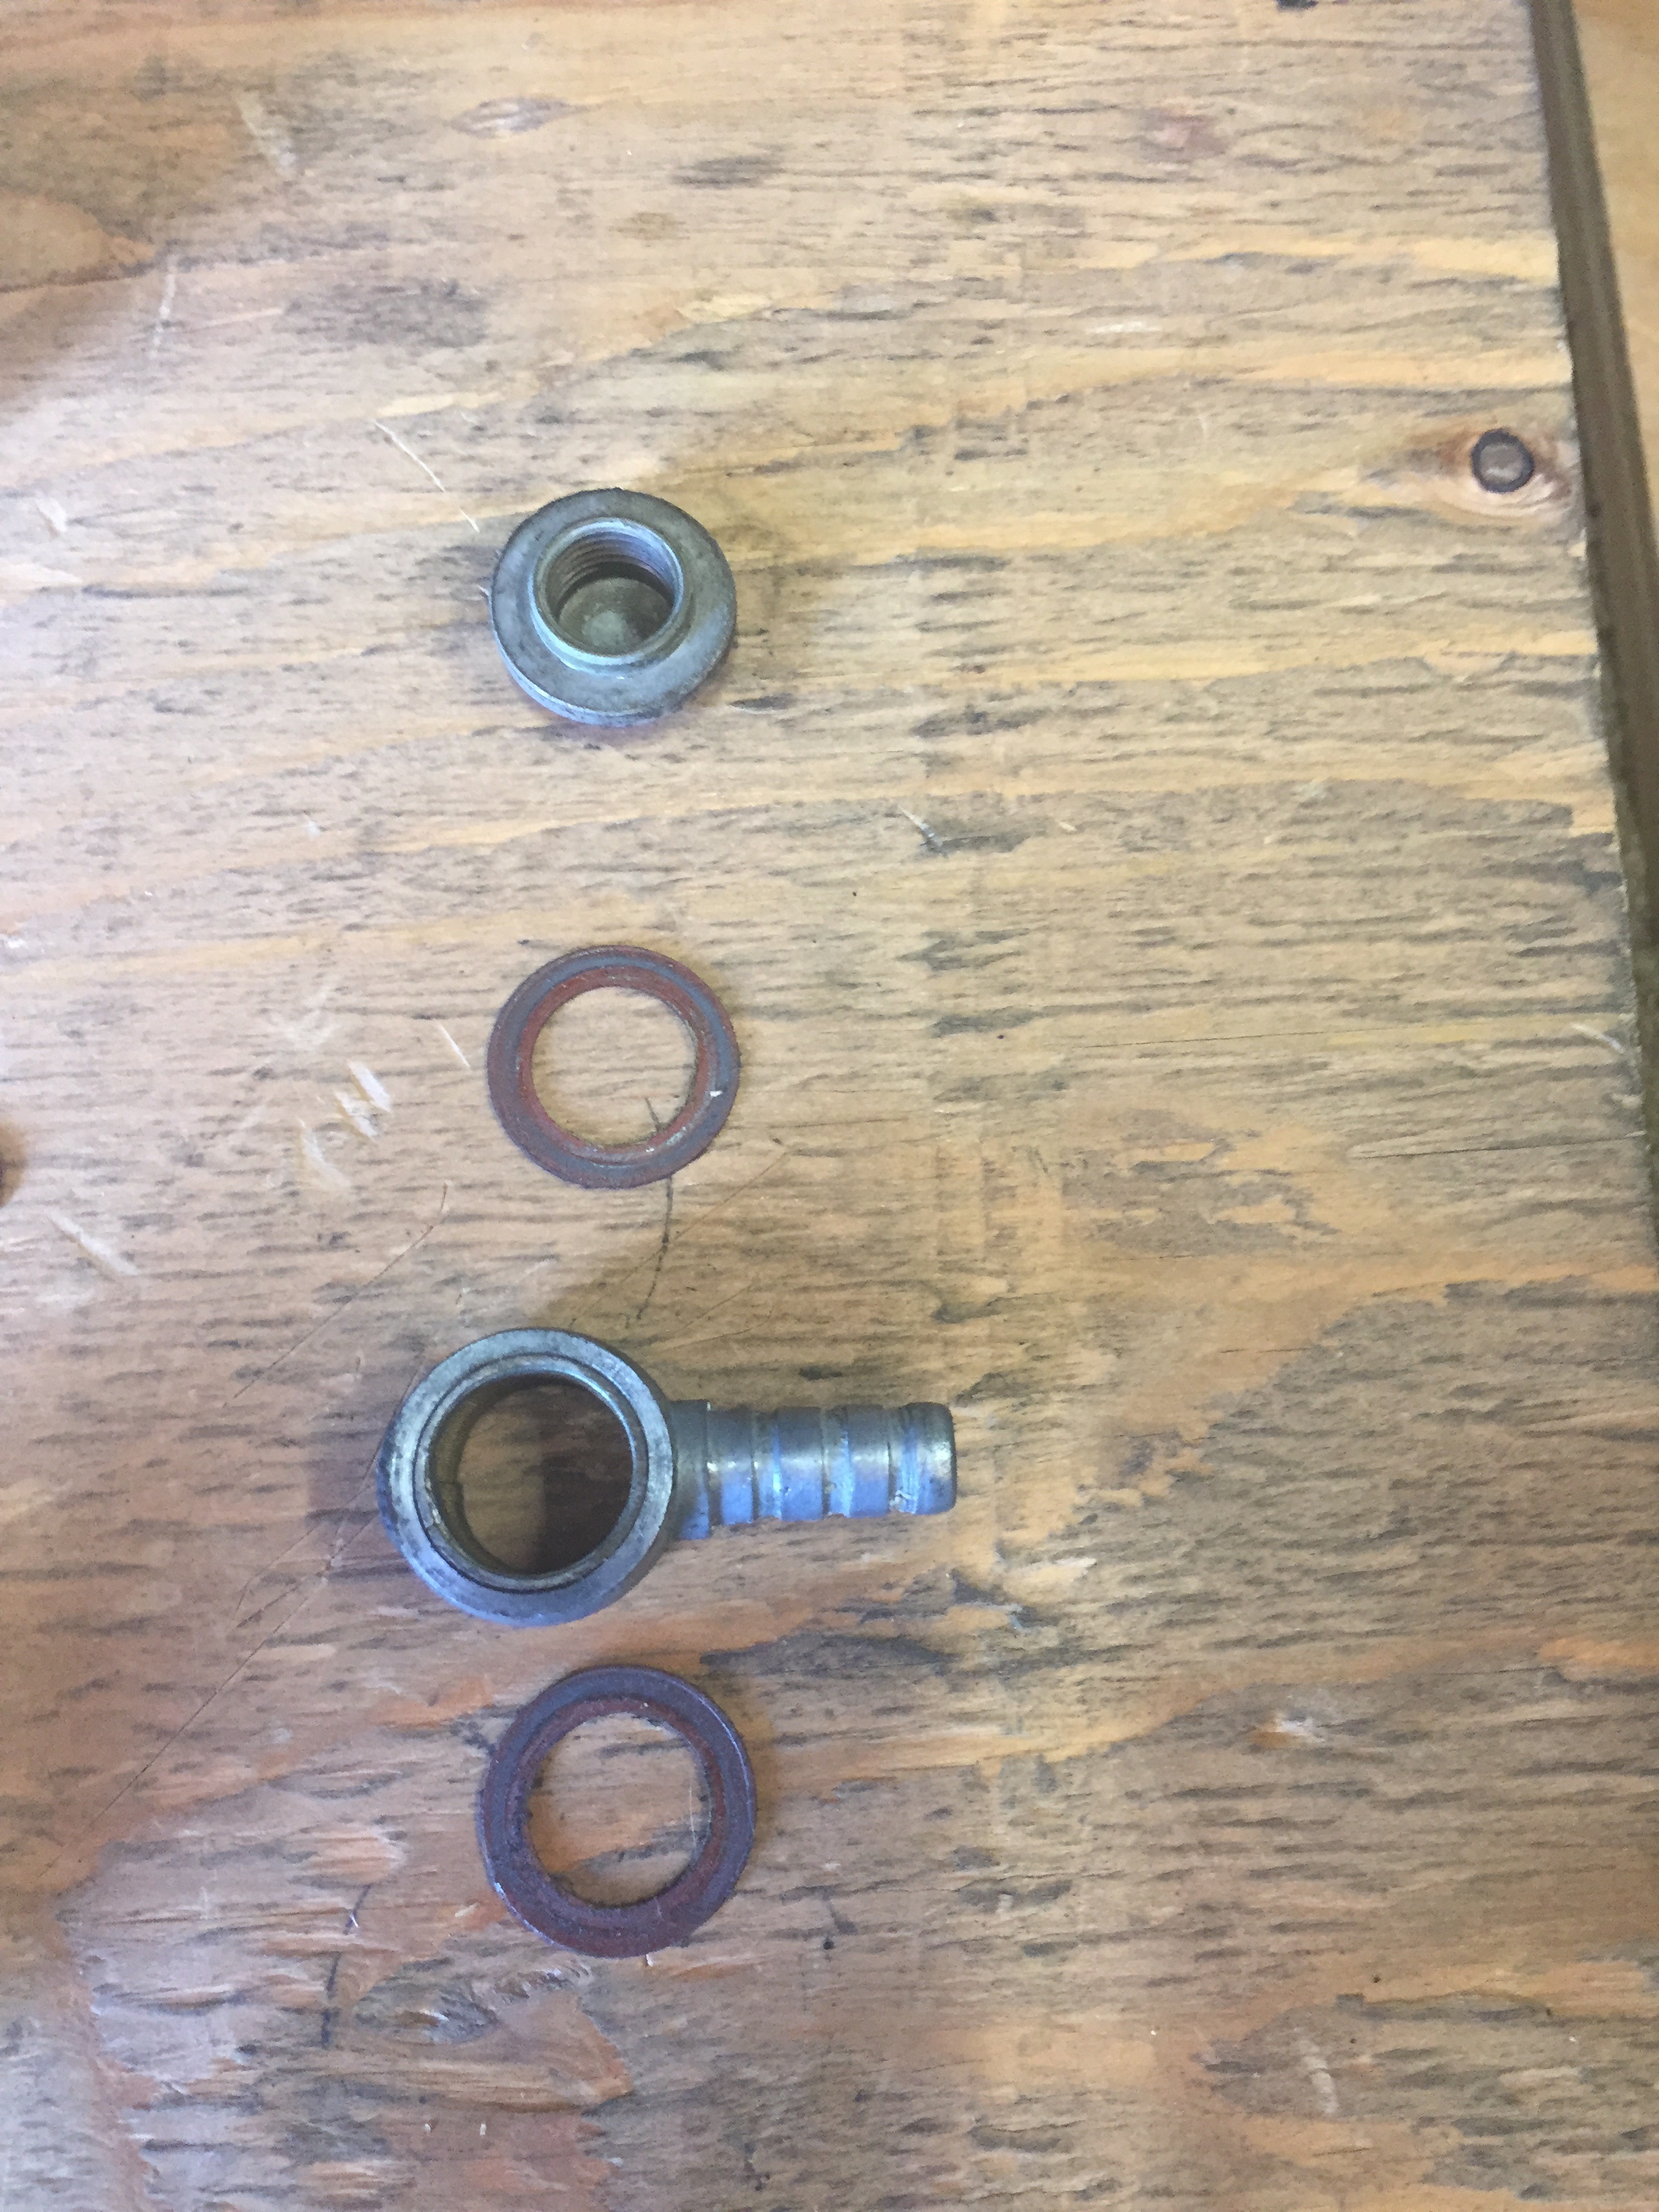
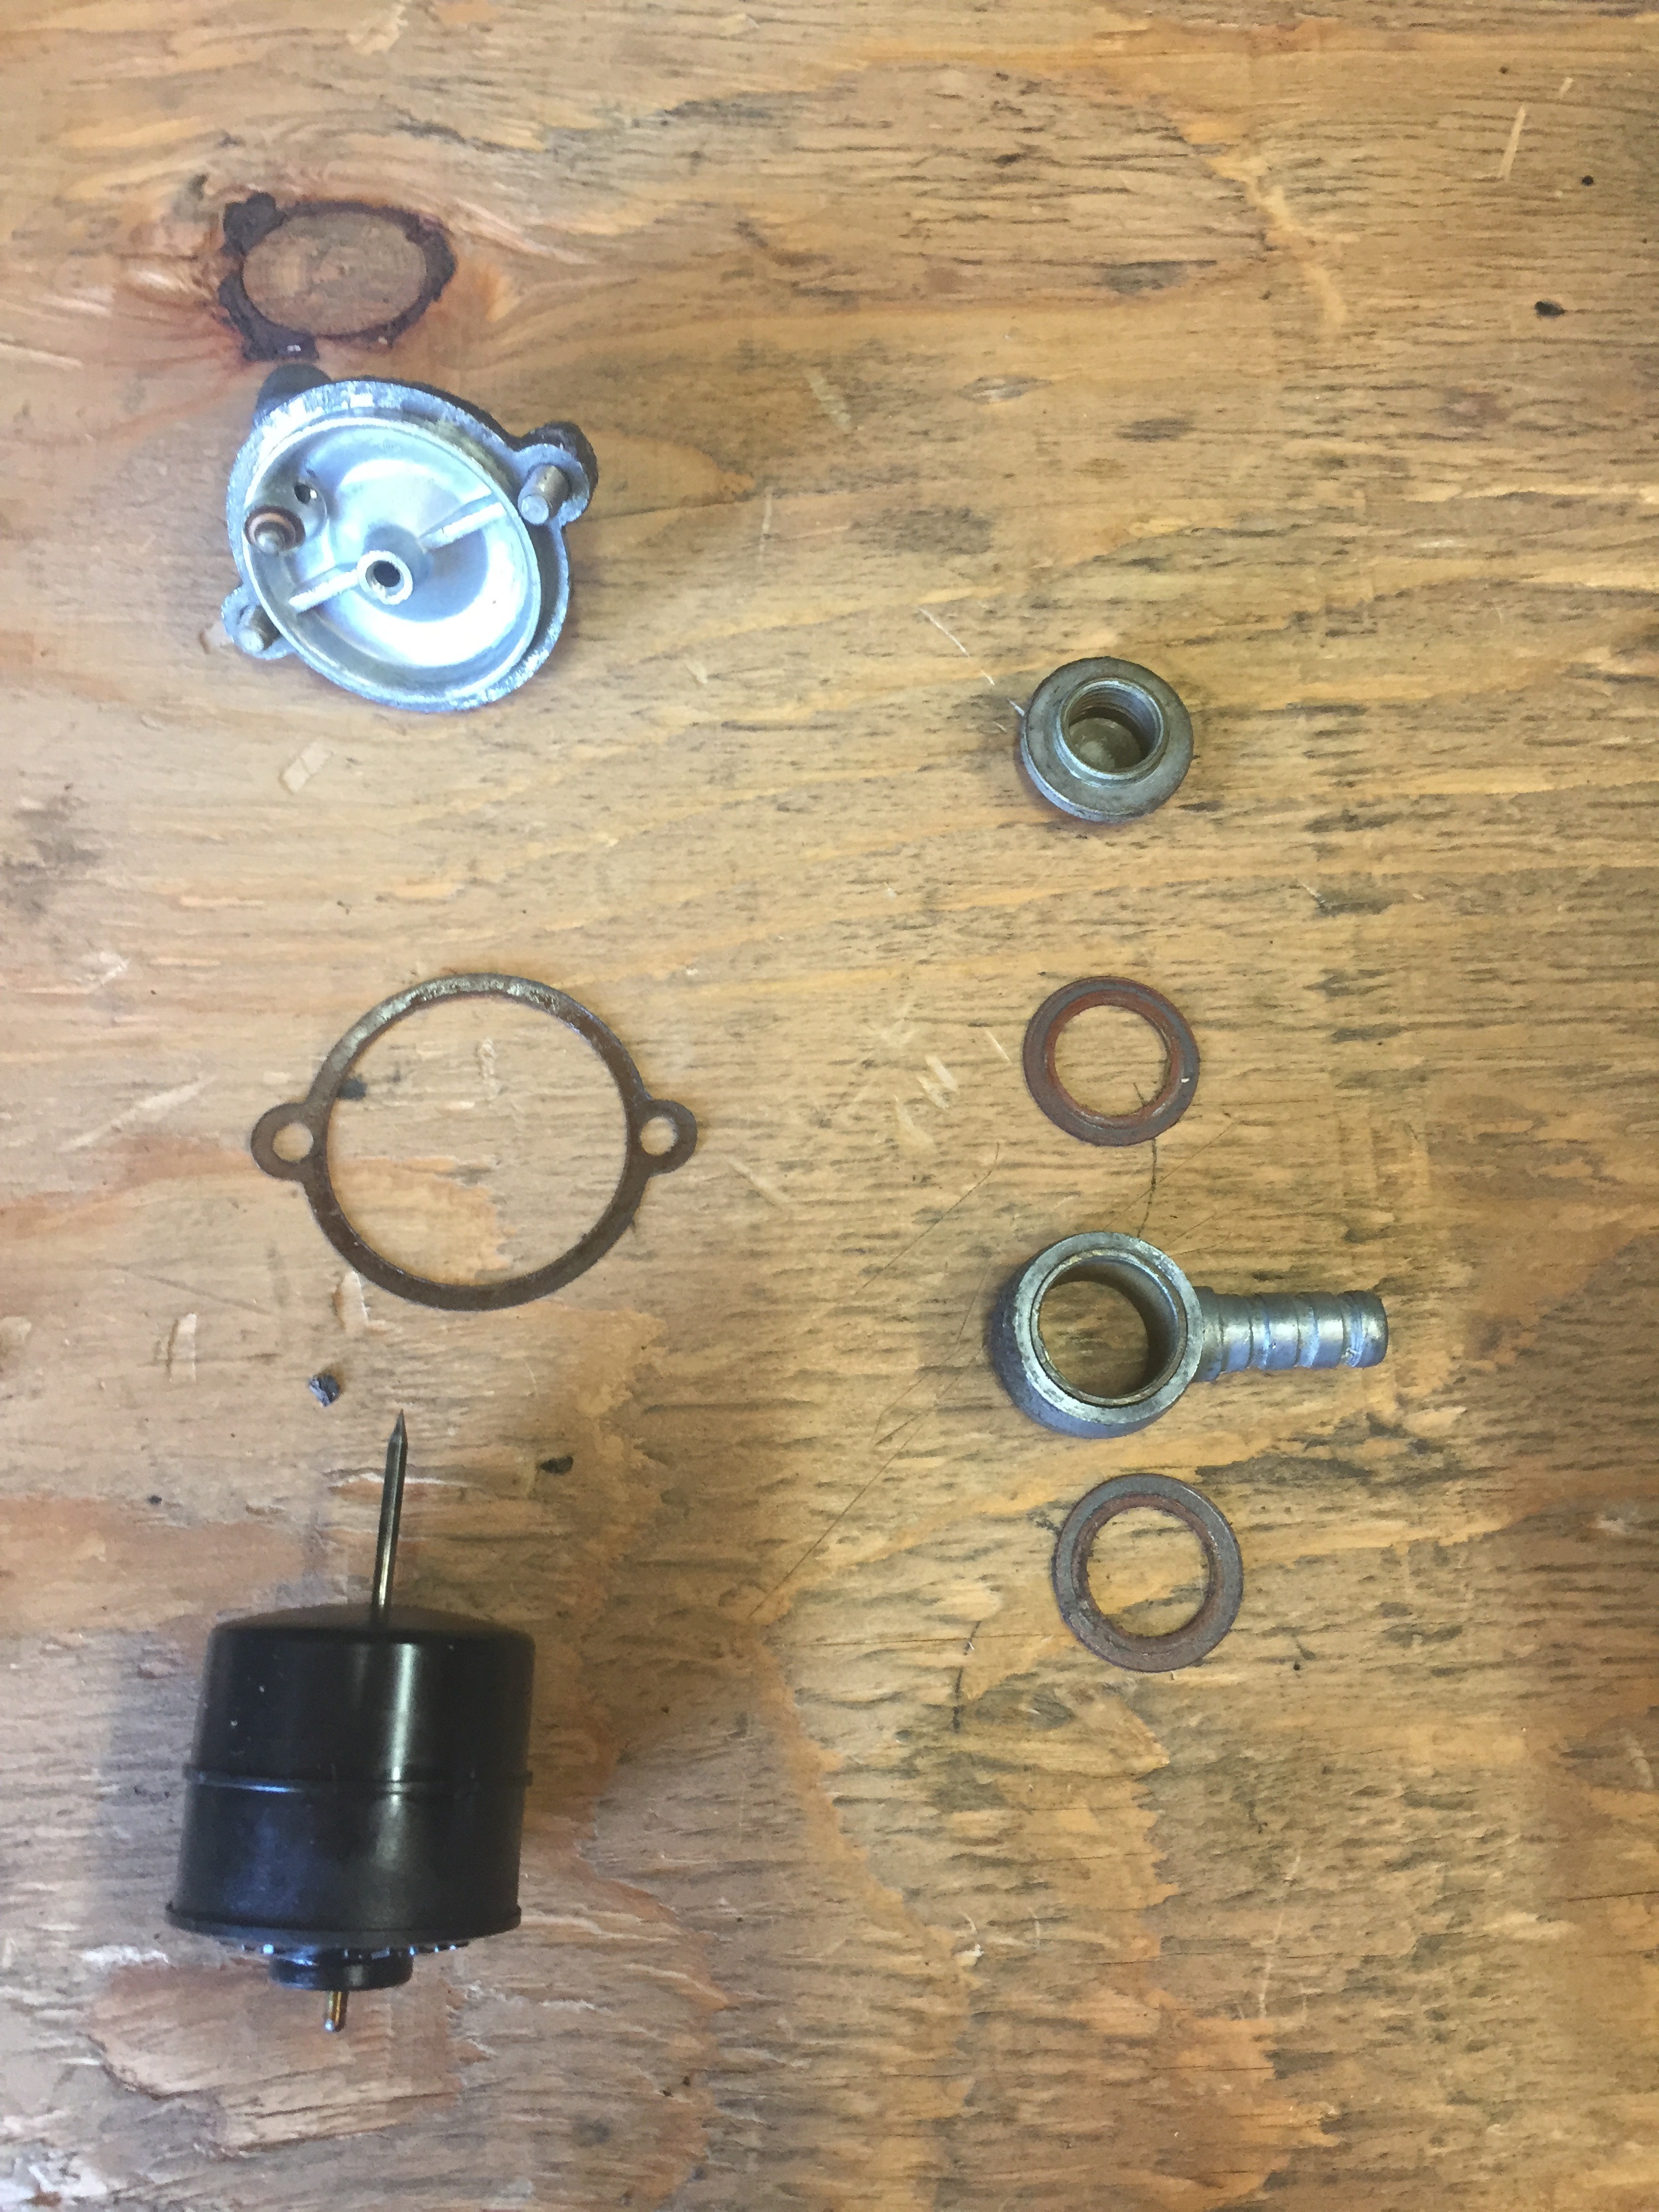
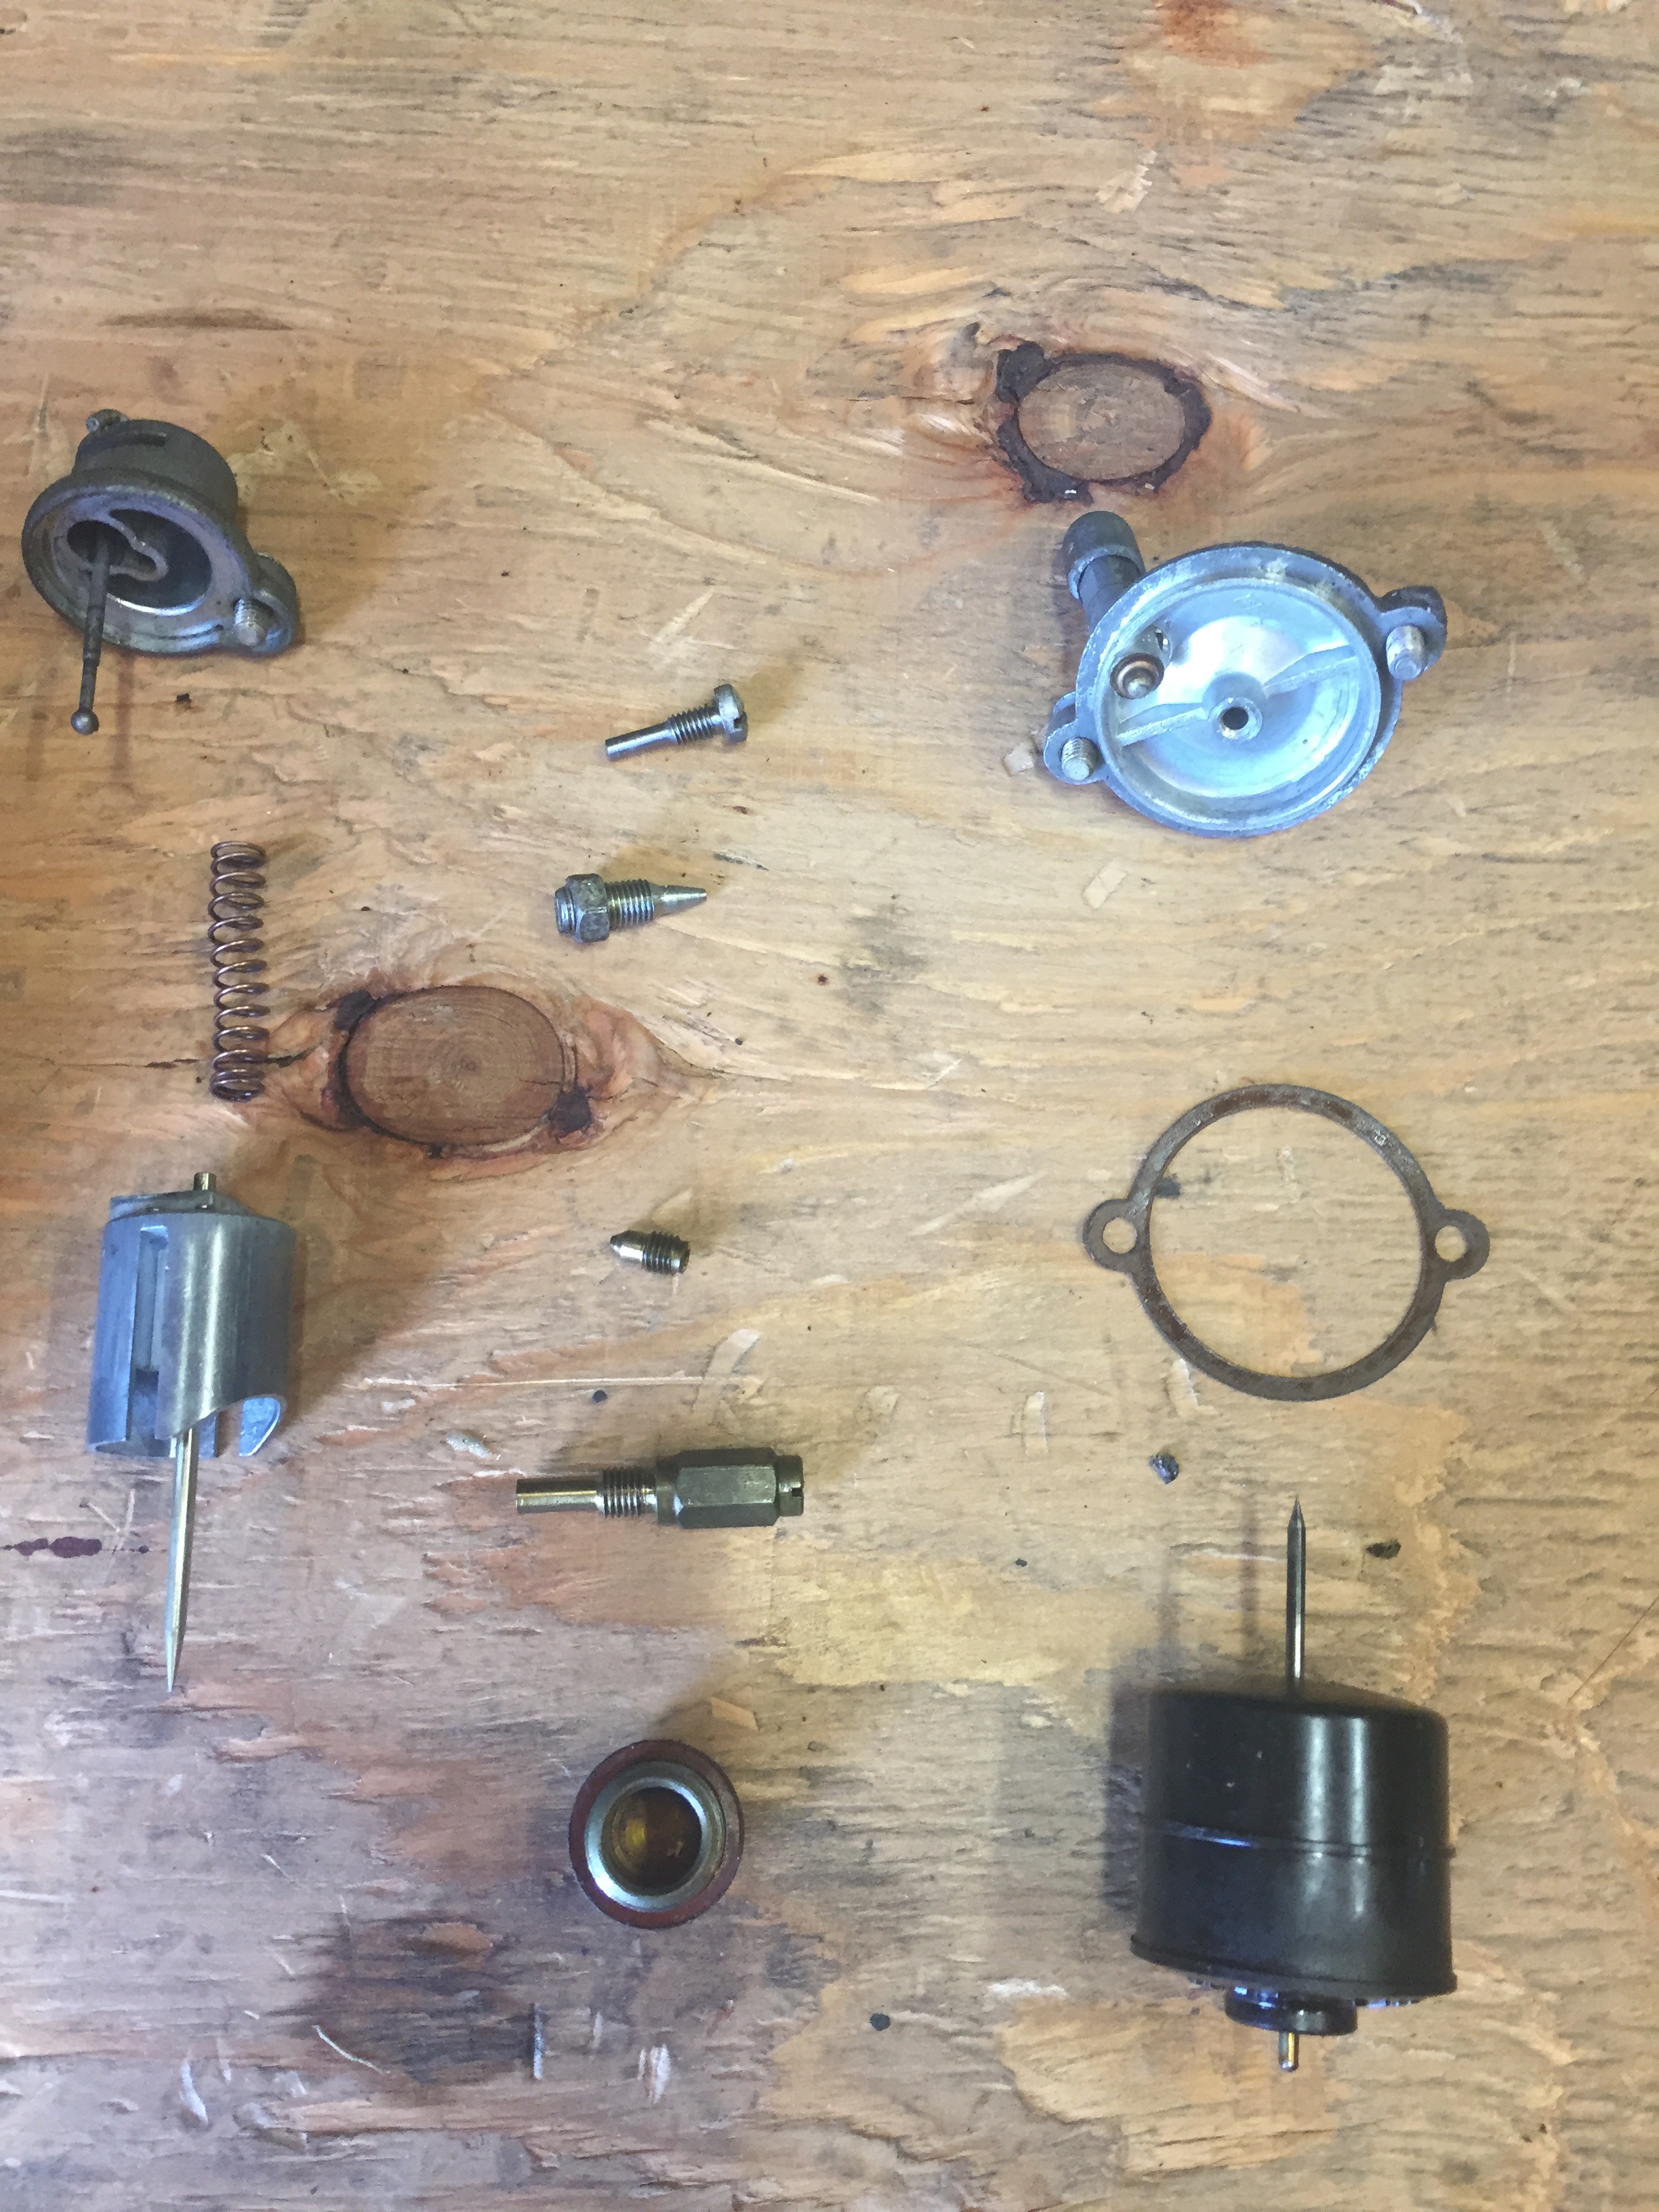
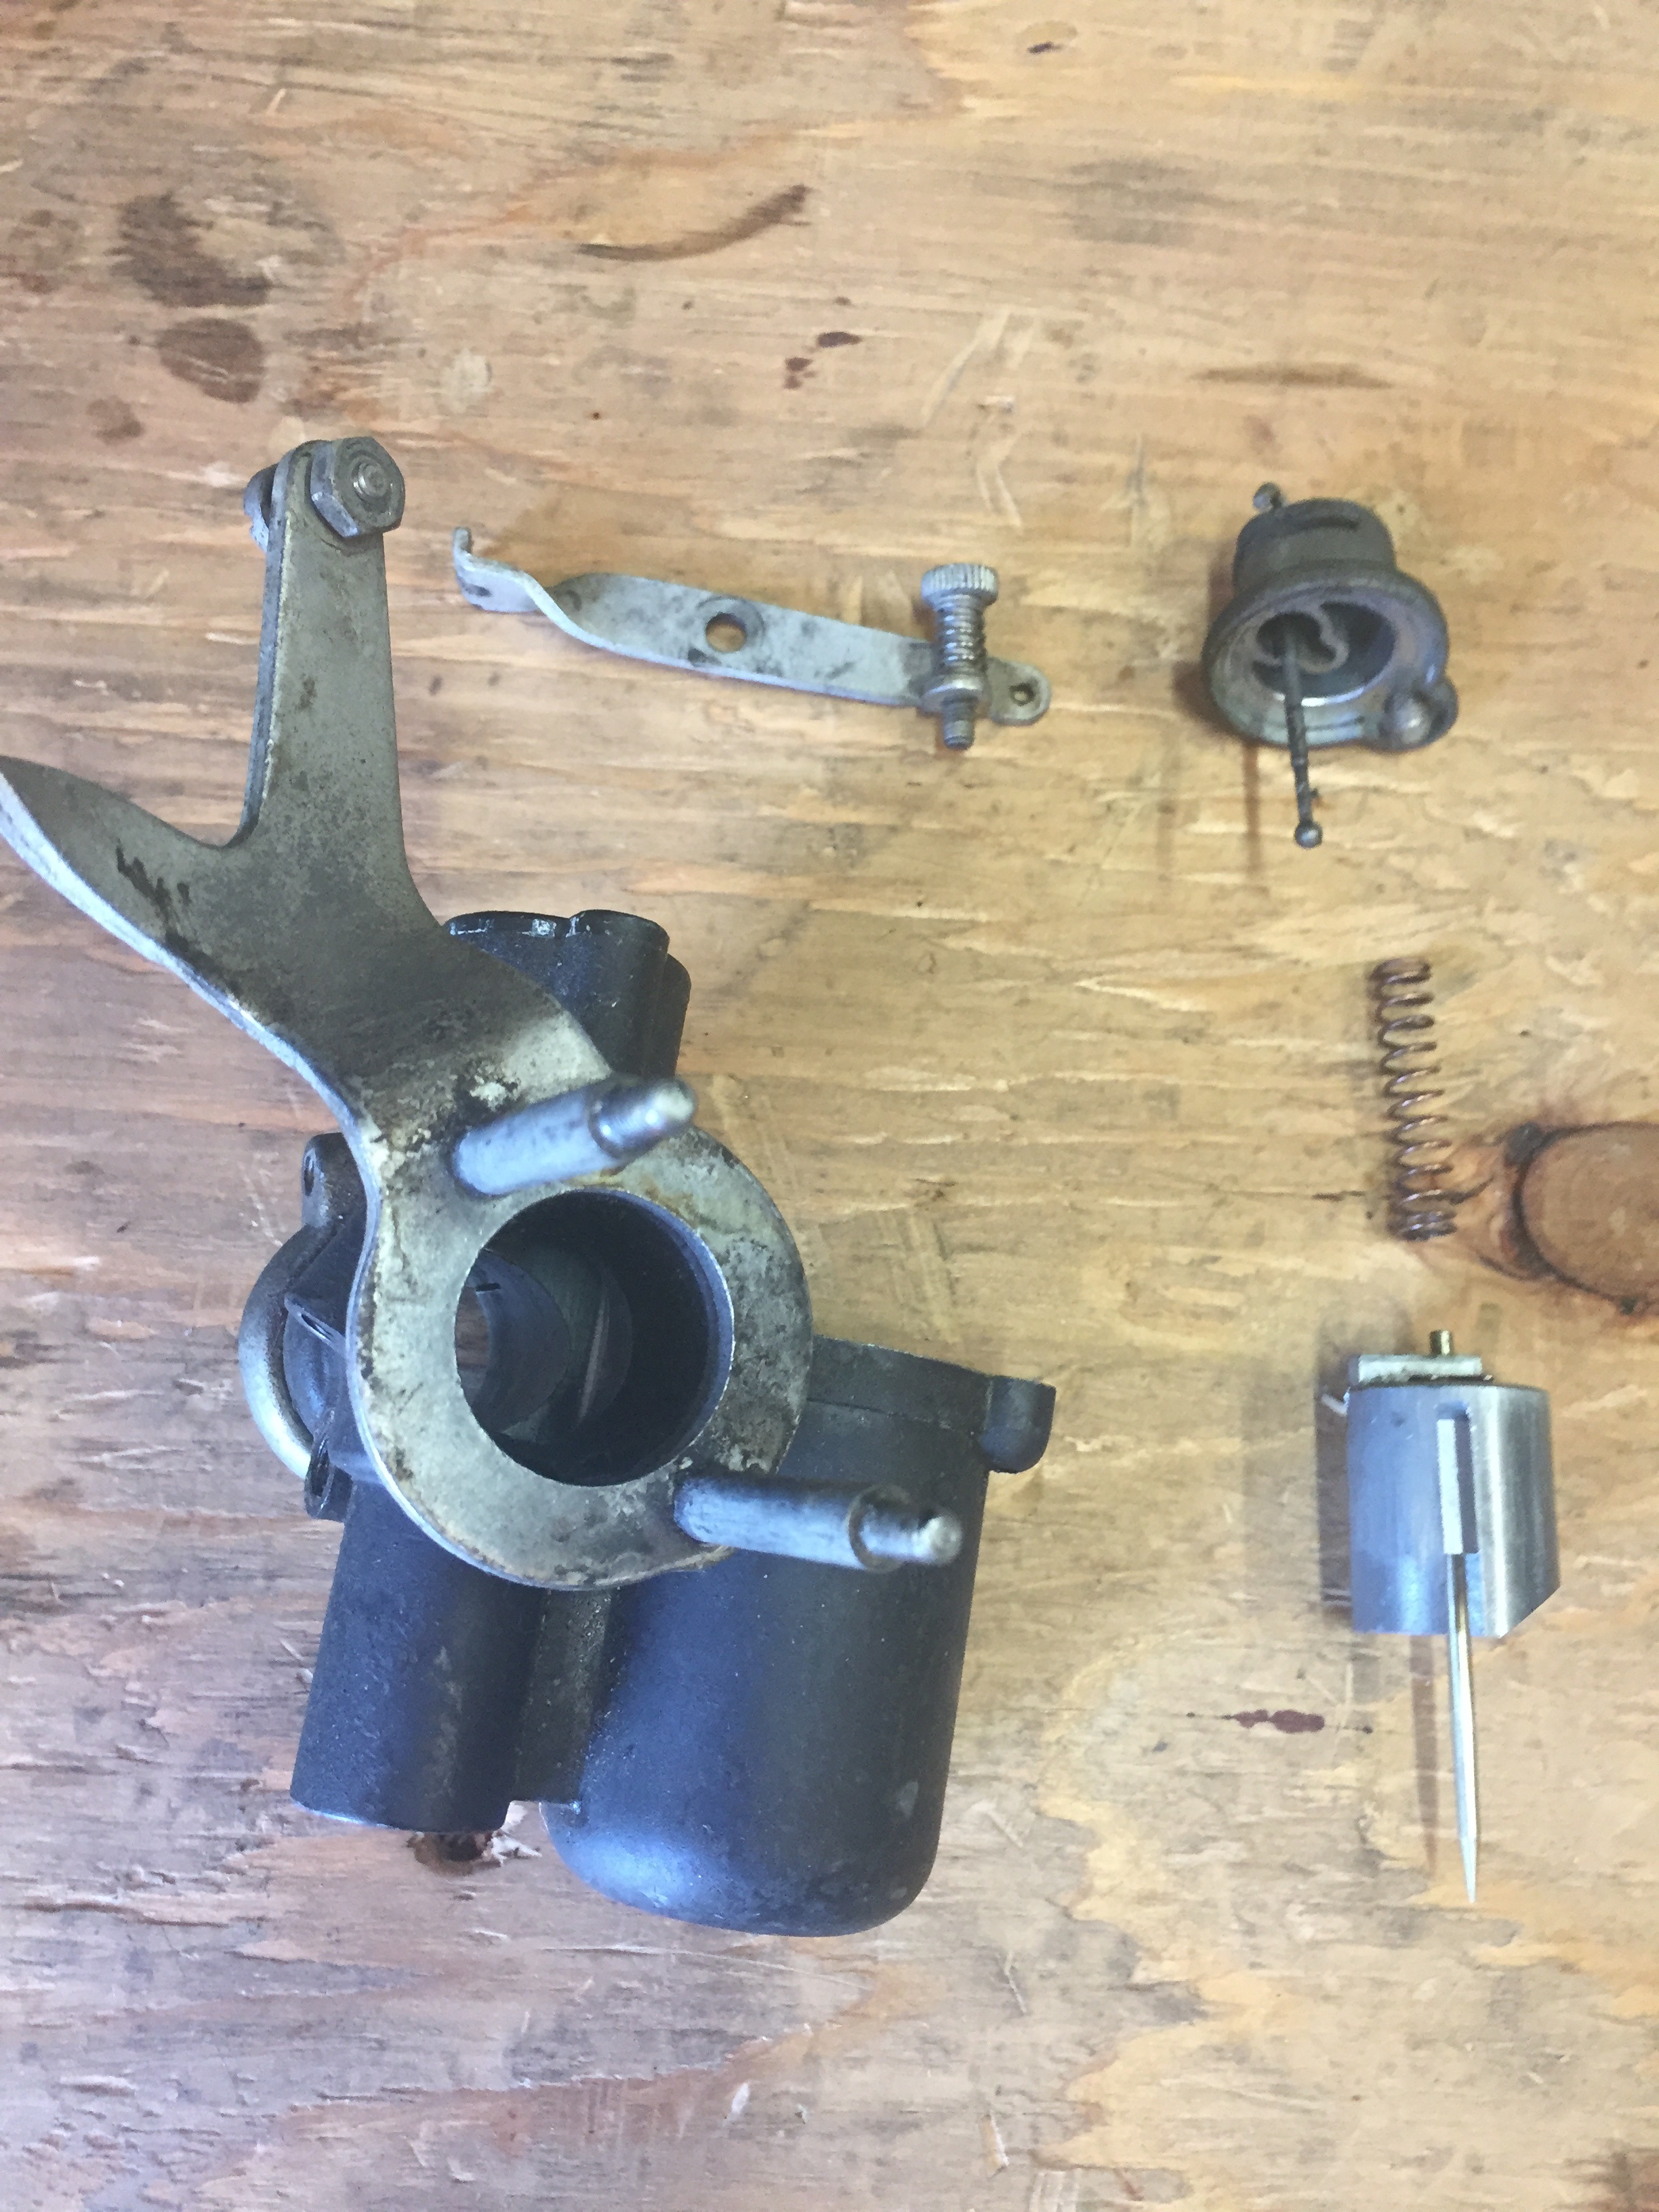
Below you will find some photos of the carb dismantle from the Vespa
VL3T. This shows the carb pieces all laid out in proper order as
they were taken out and cleaned from the carb body
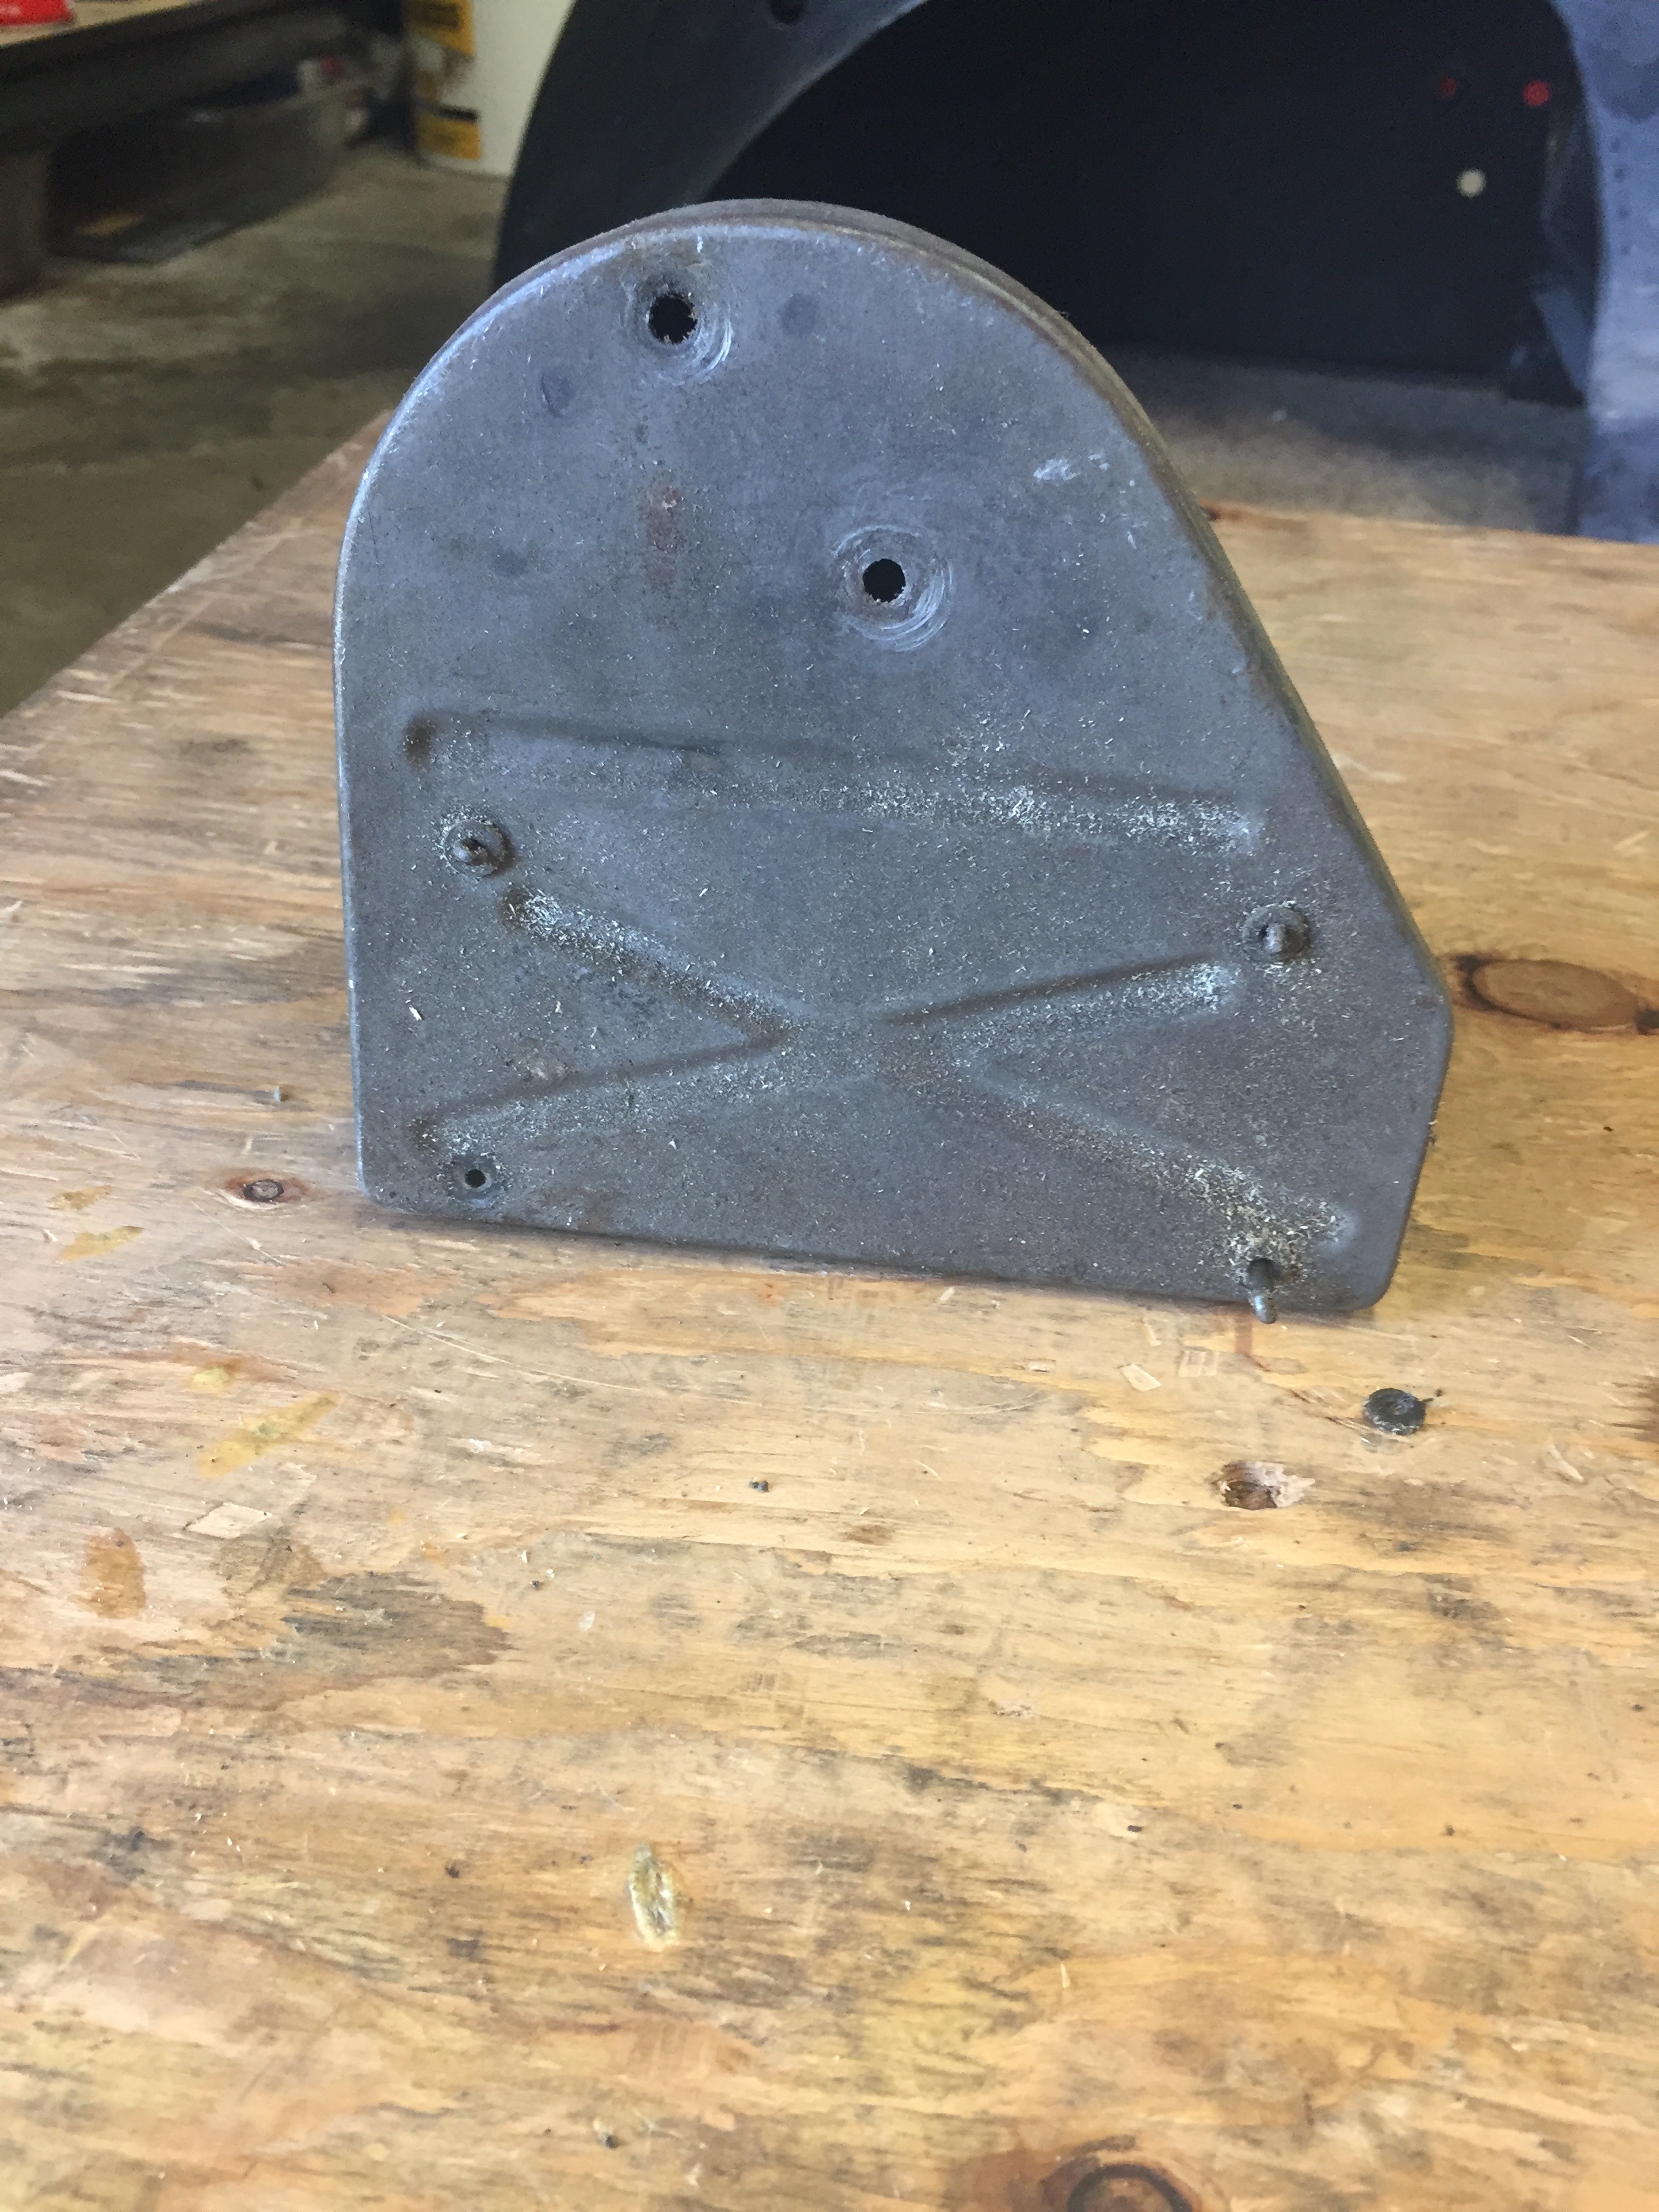
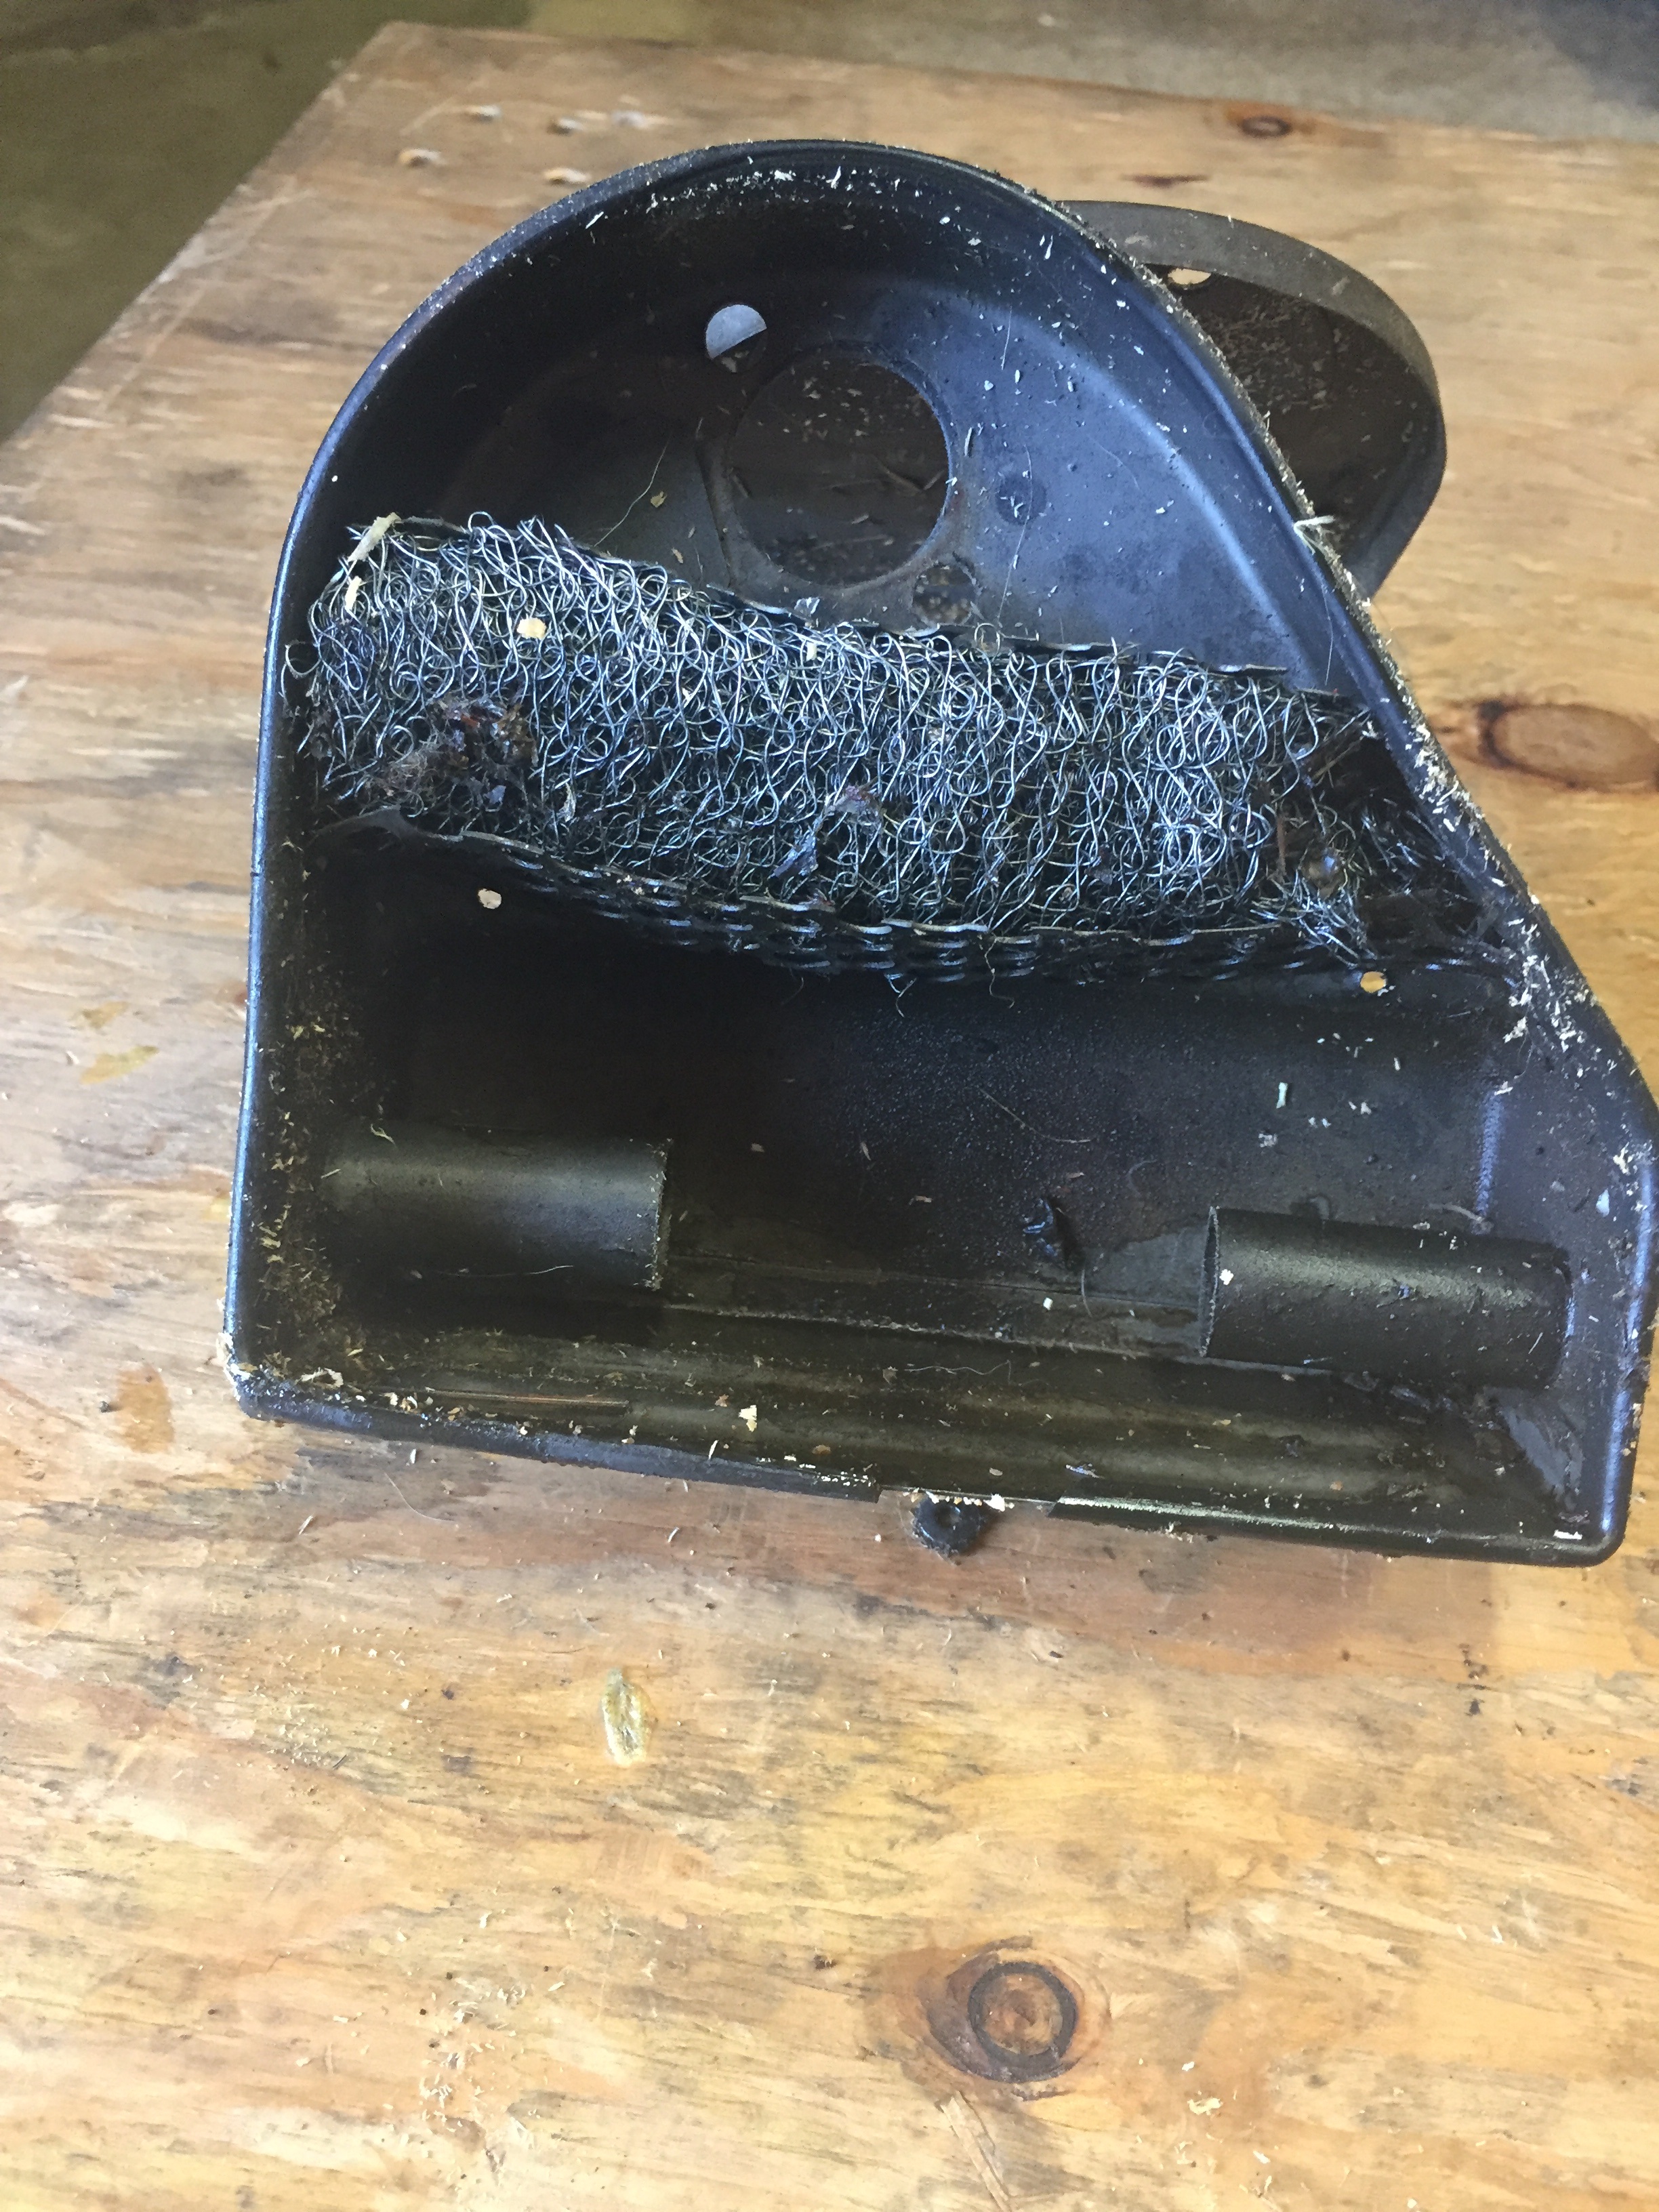
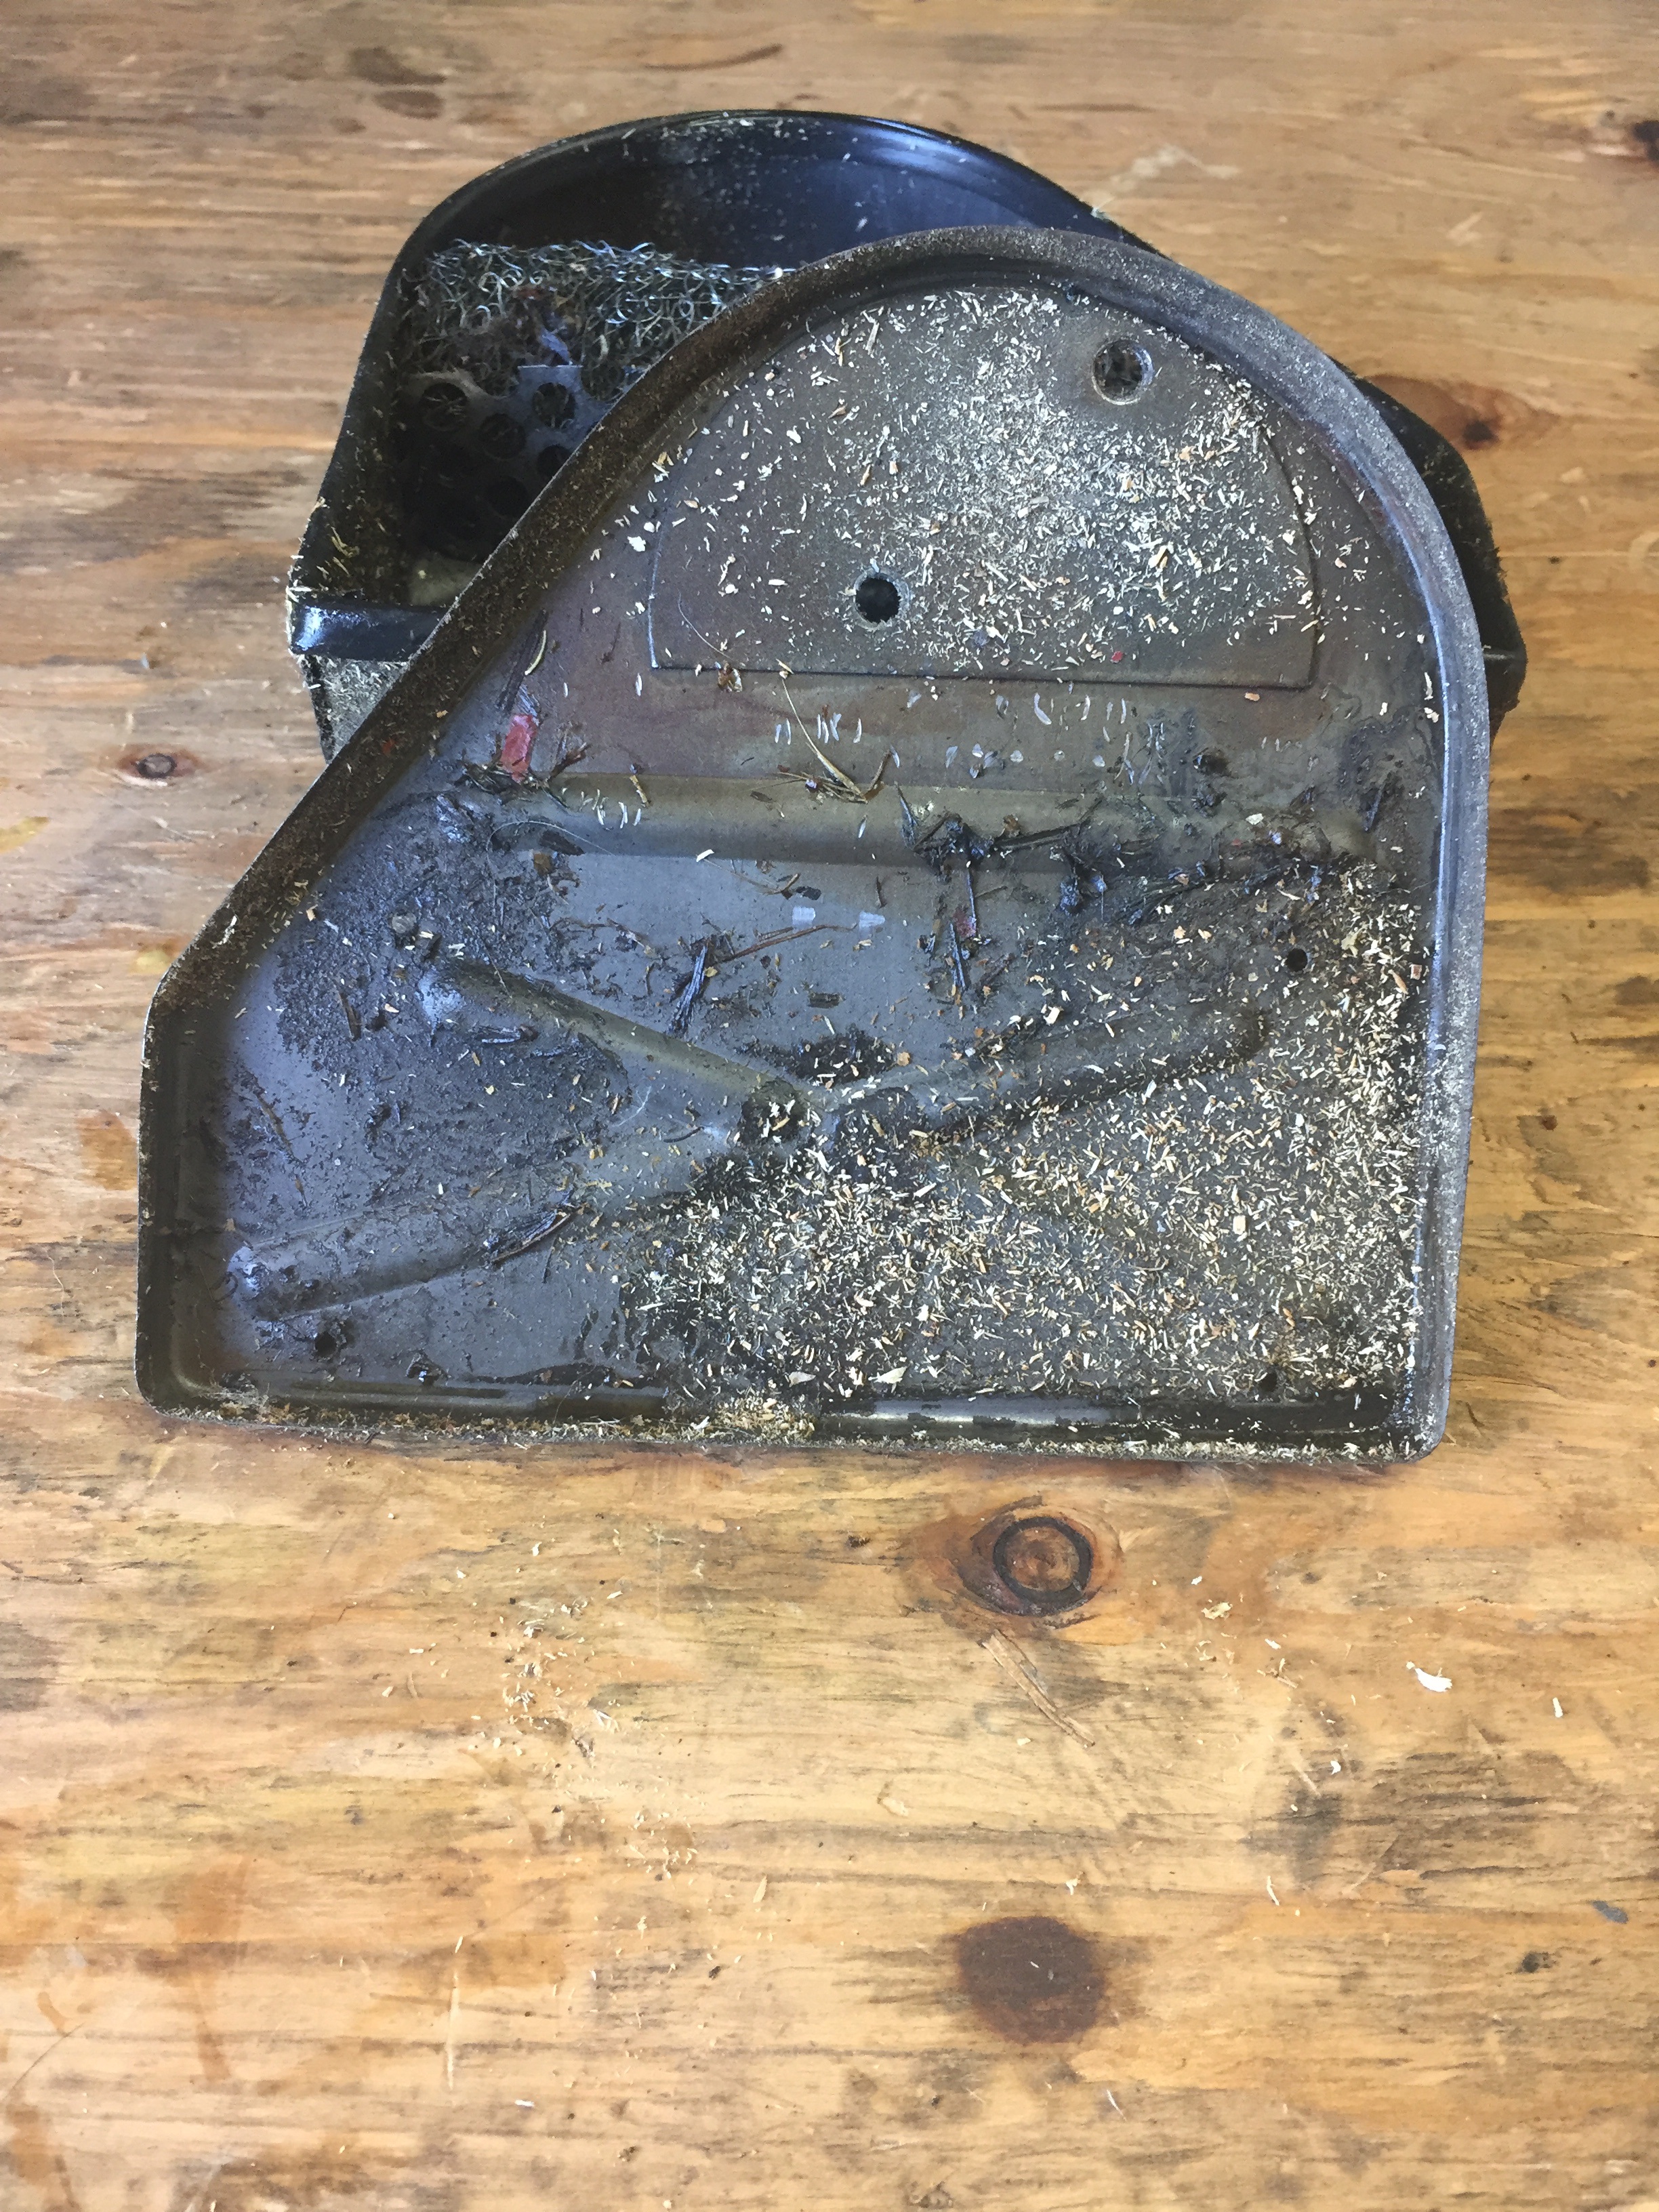
Here are a few photos of the VL3T Vespa Airbox before cleaning
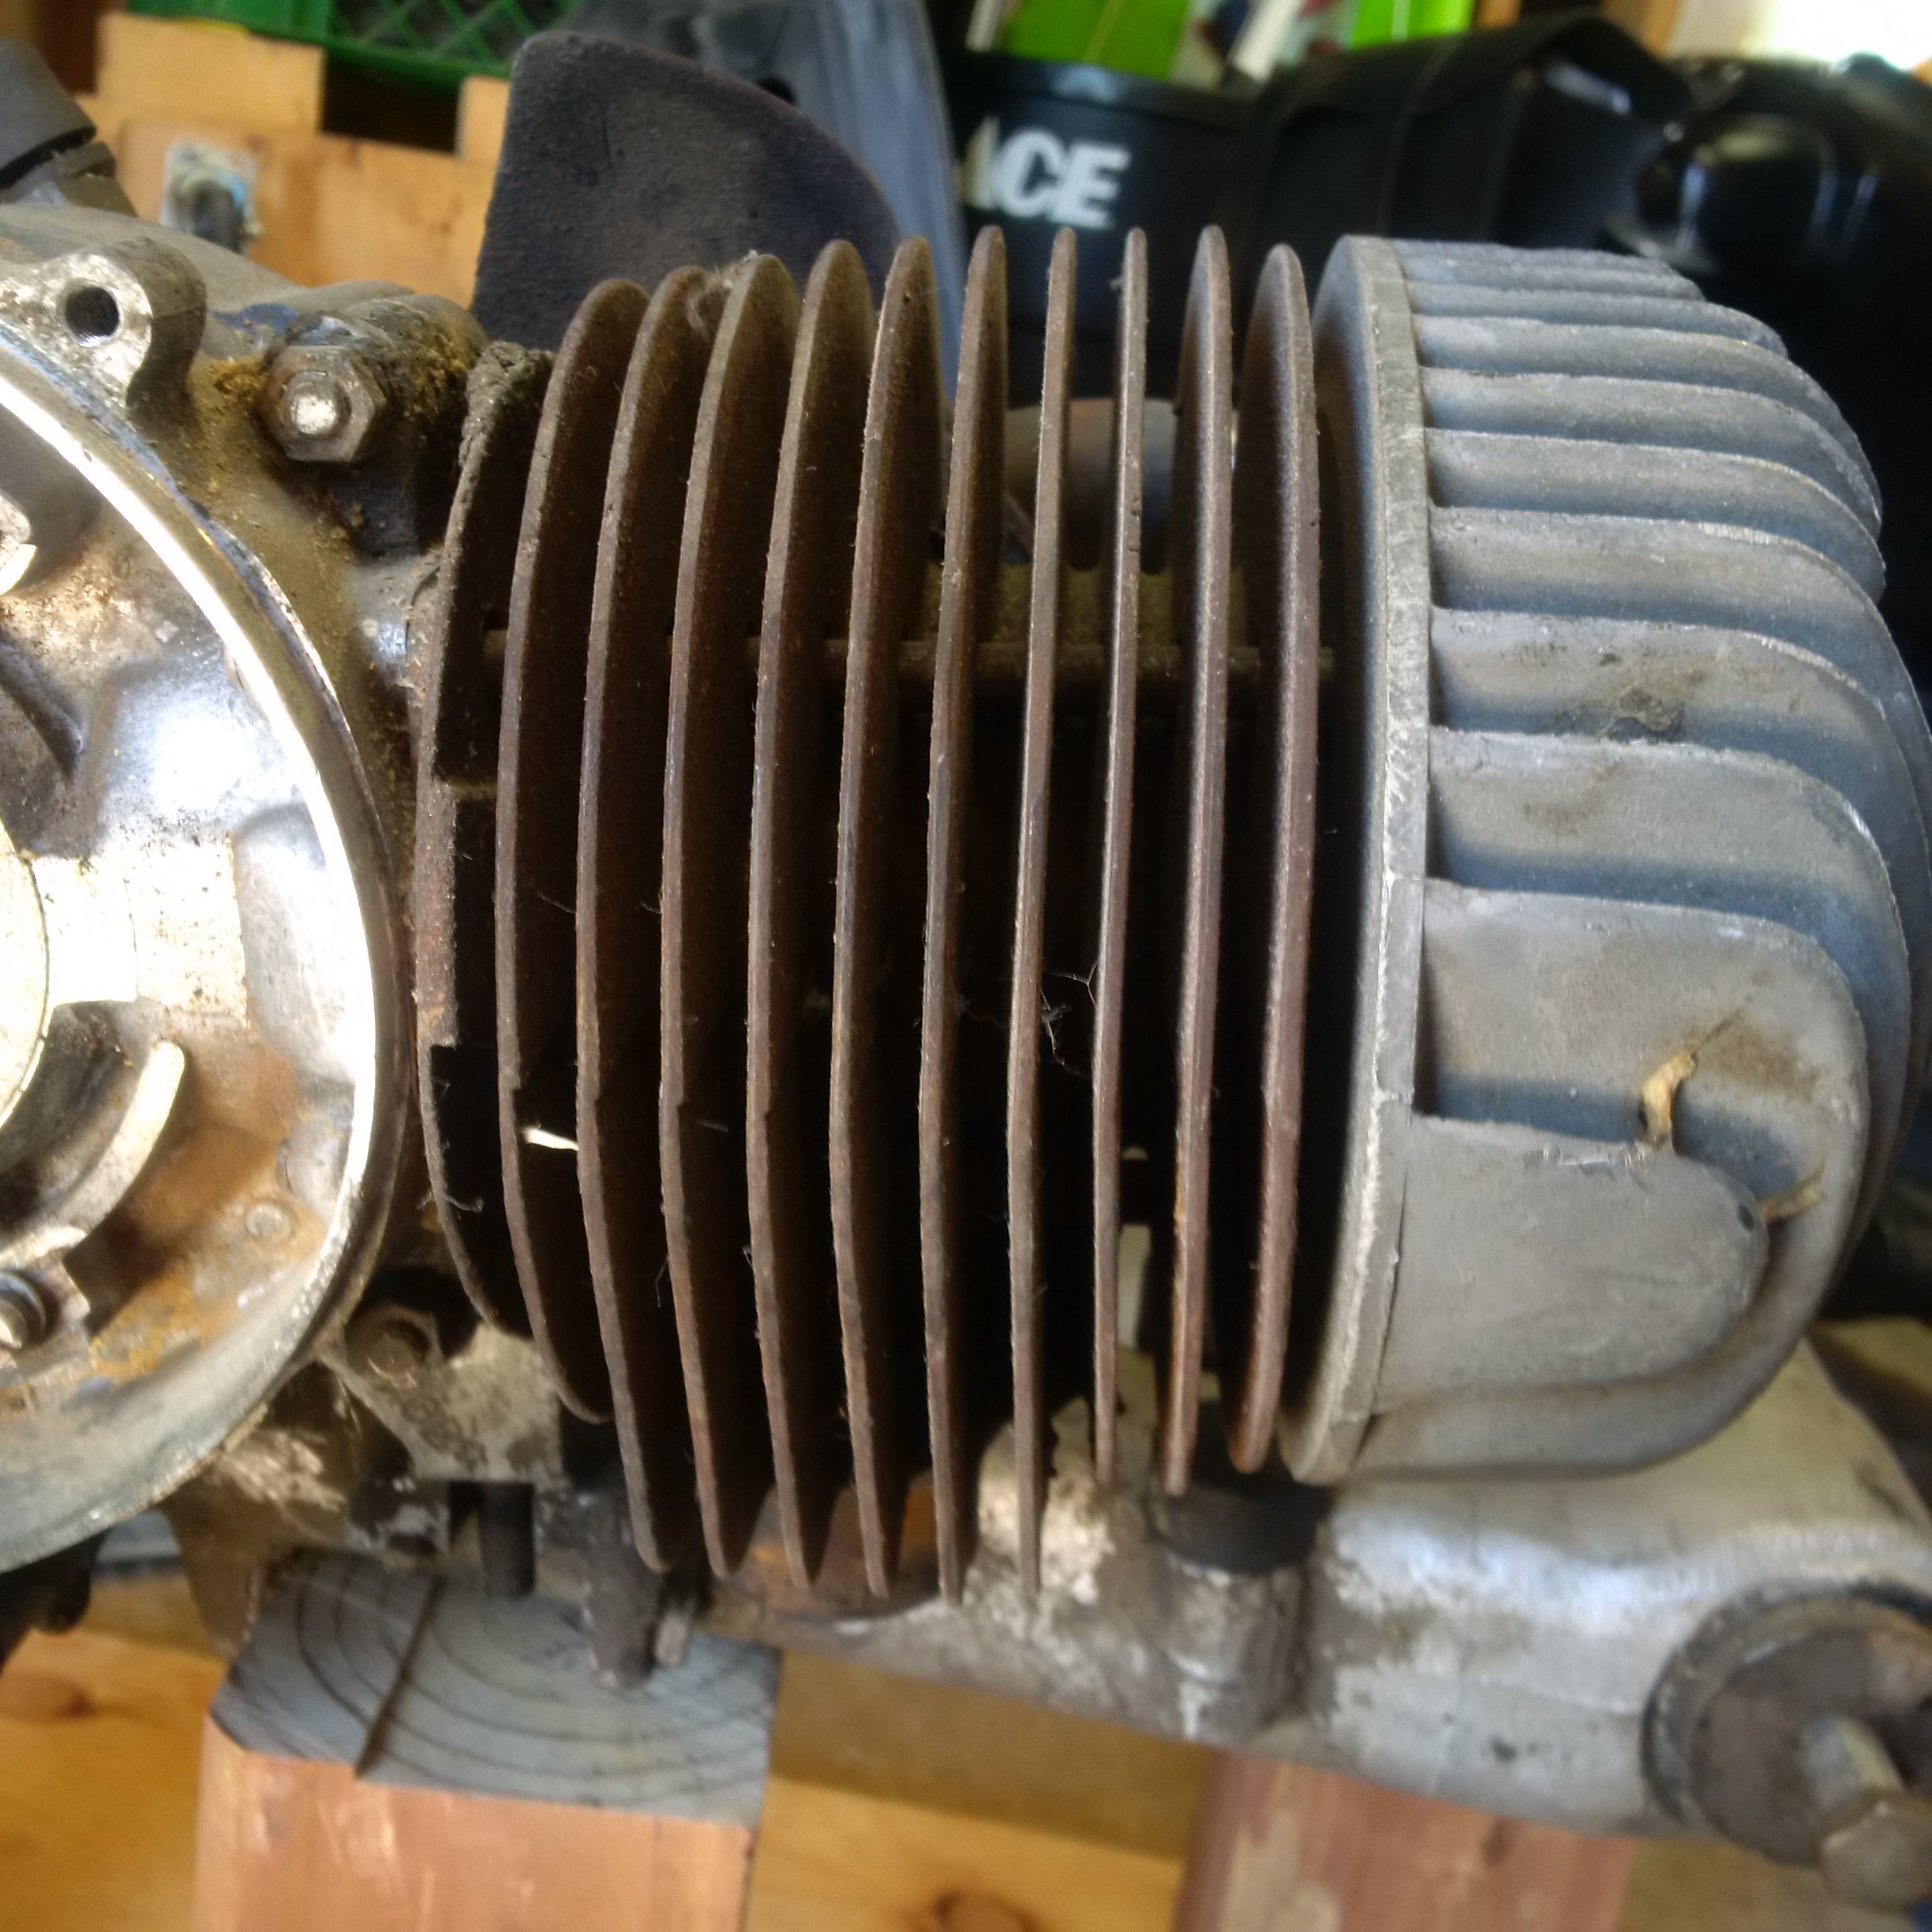
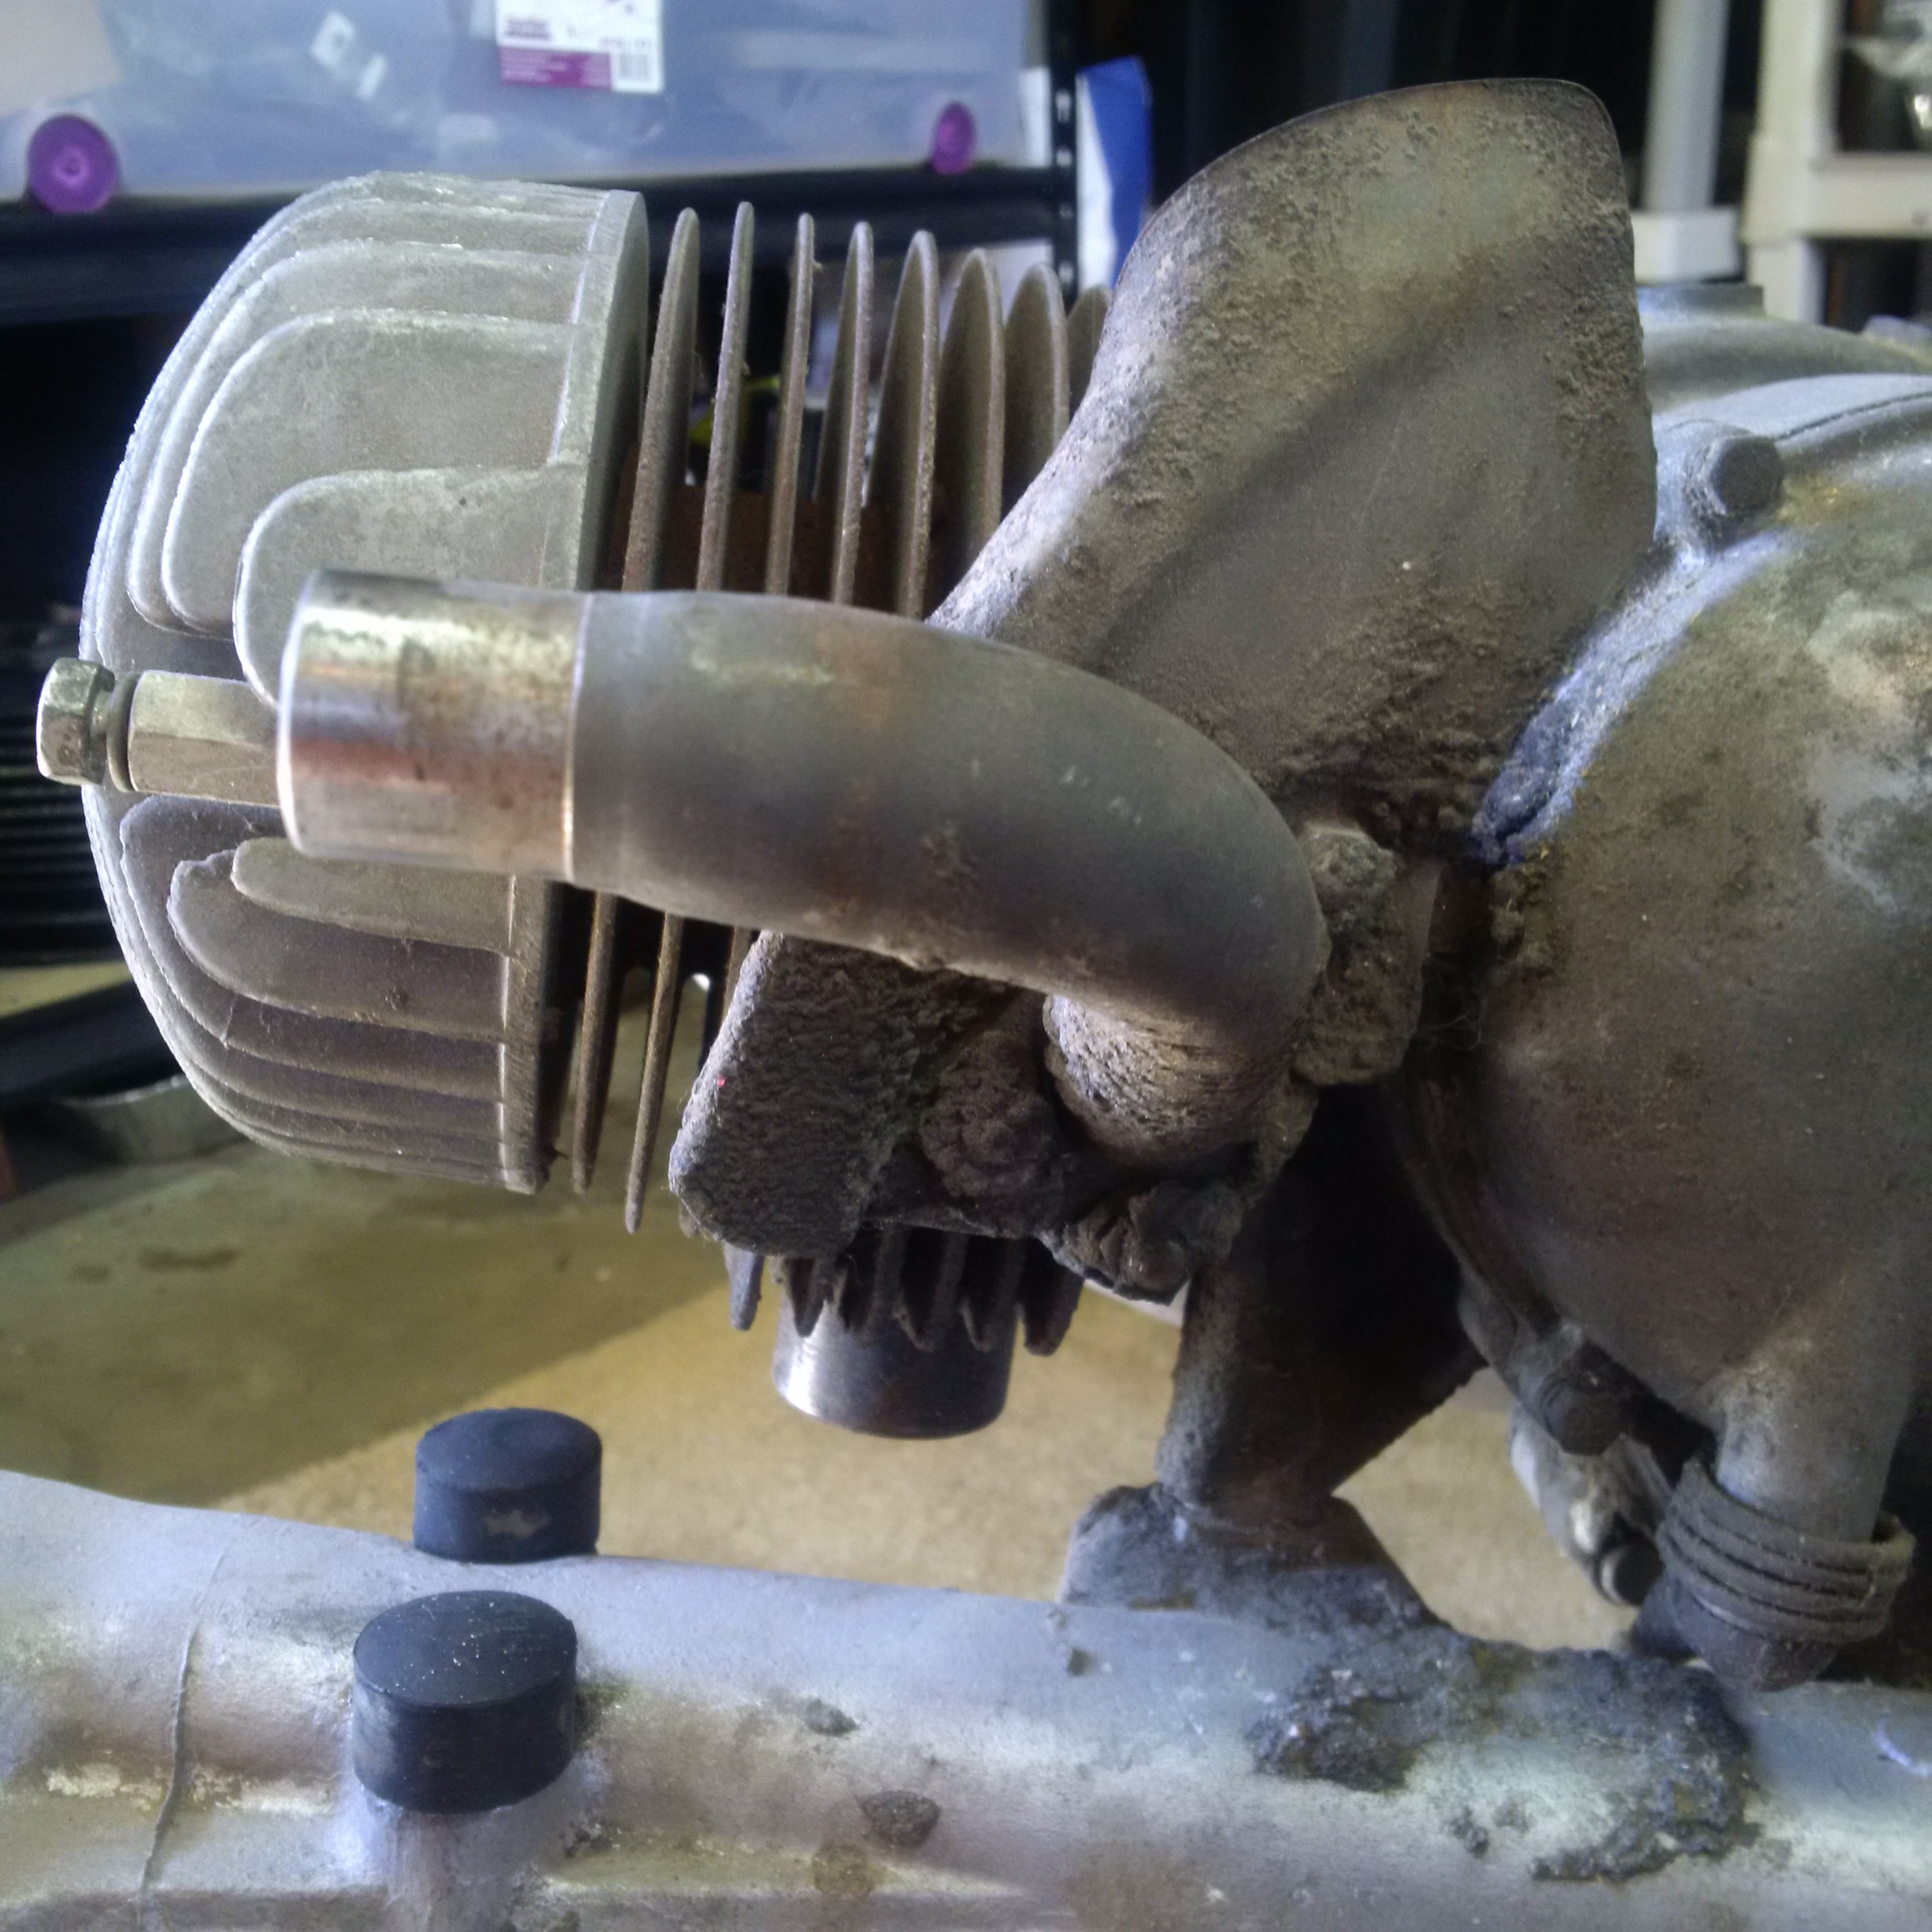
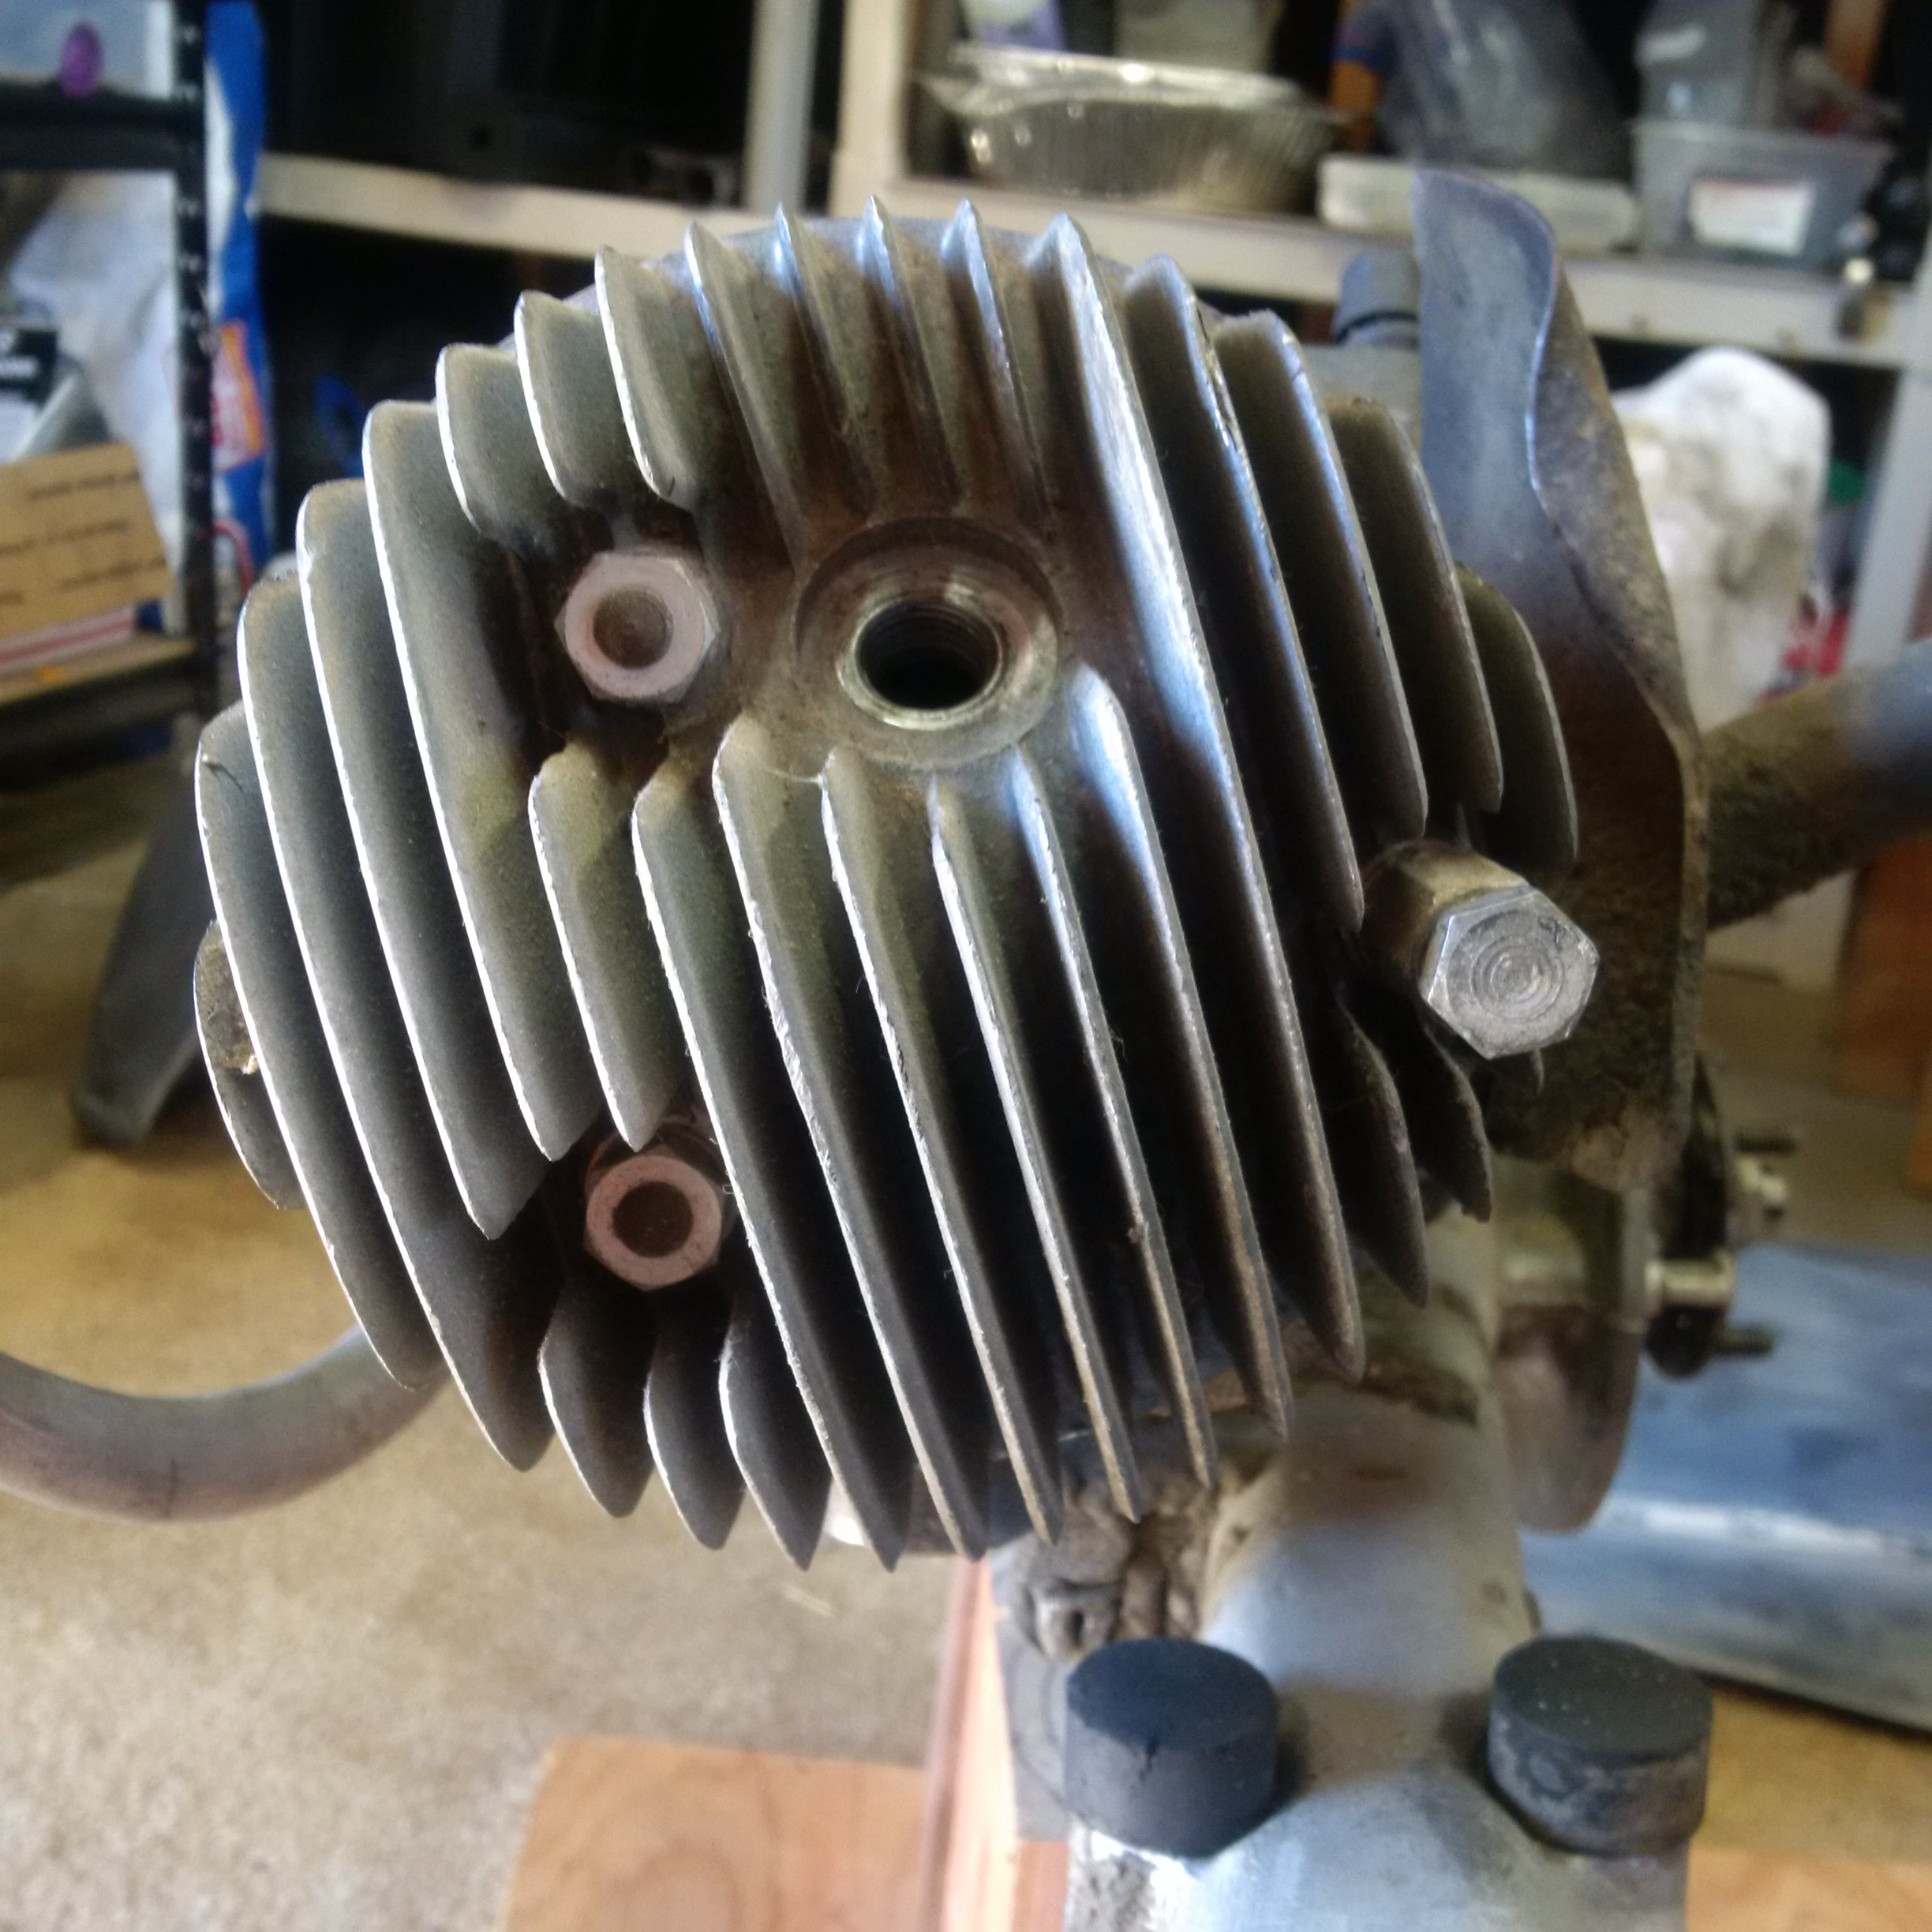
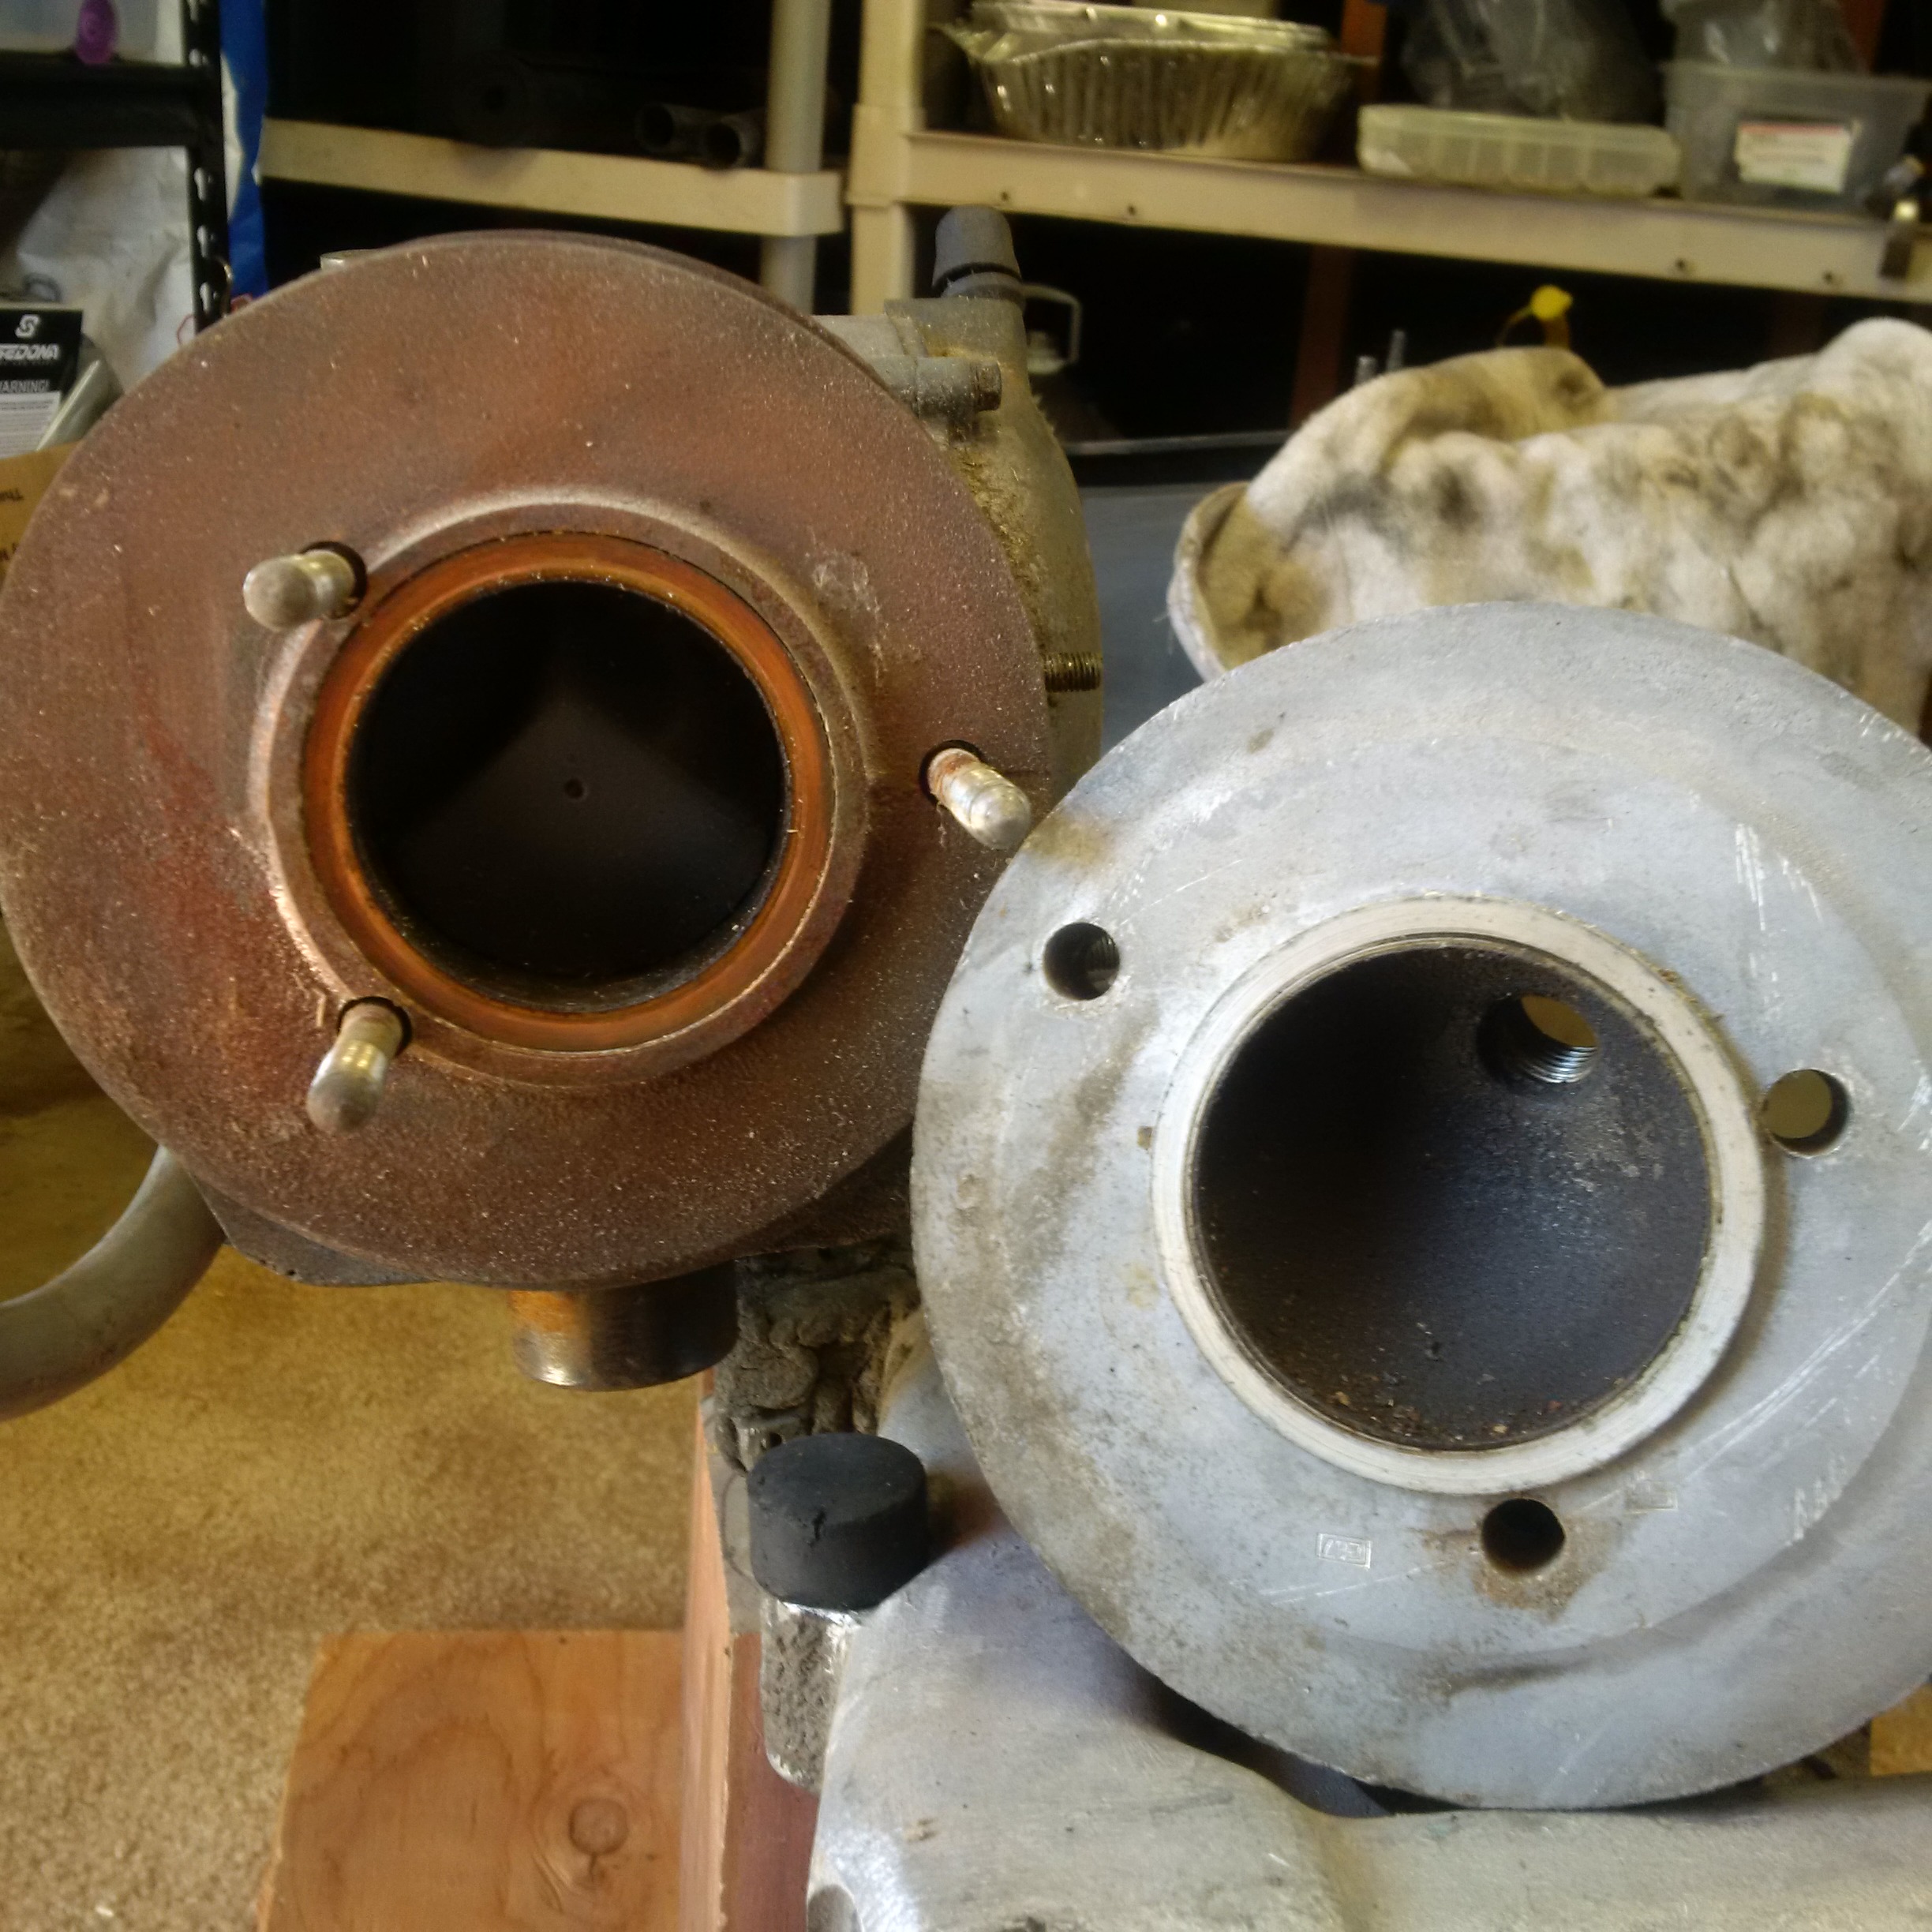
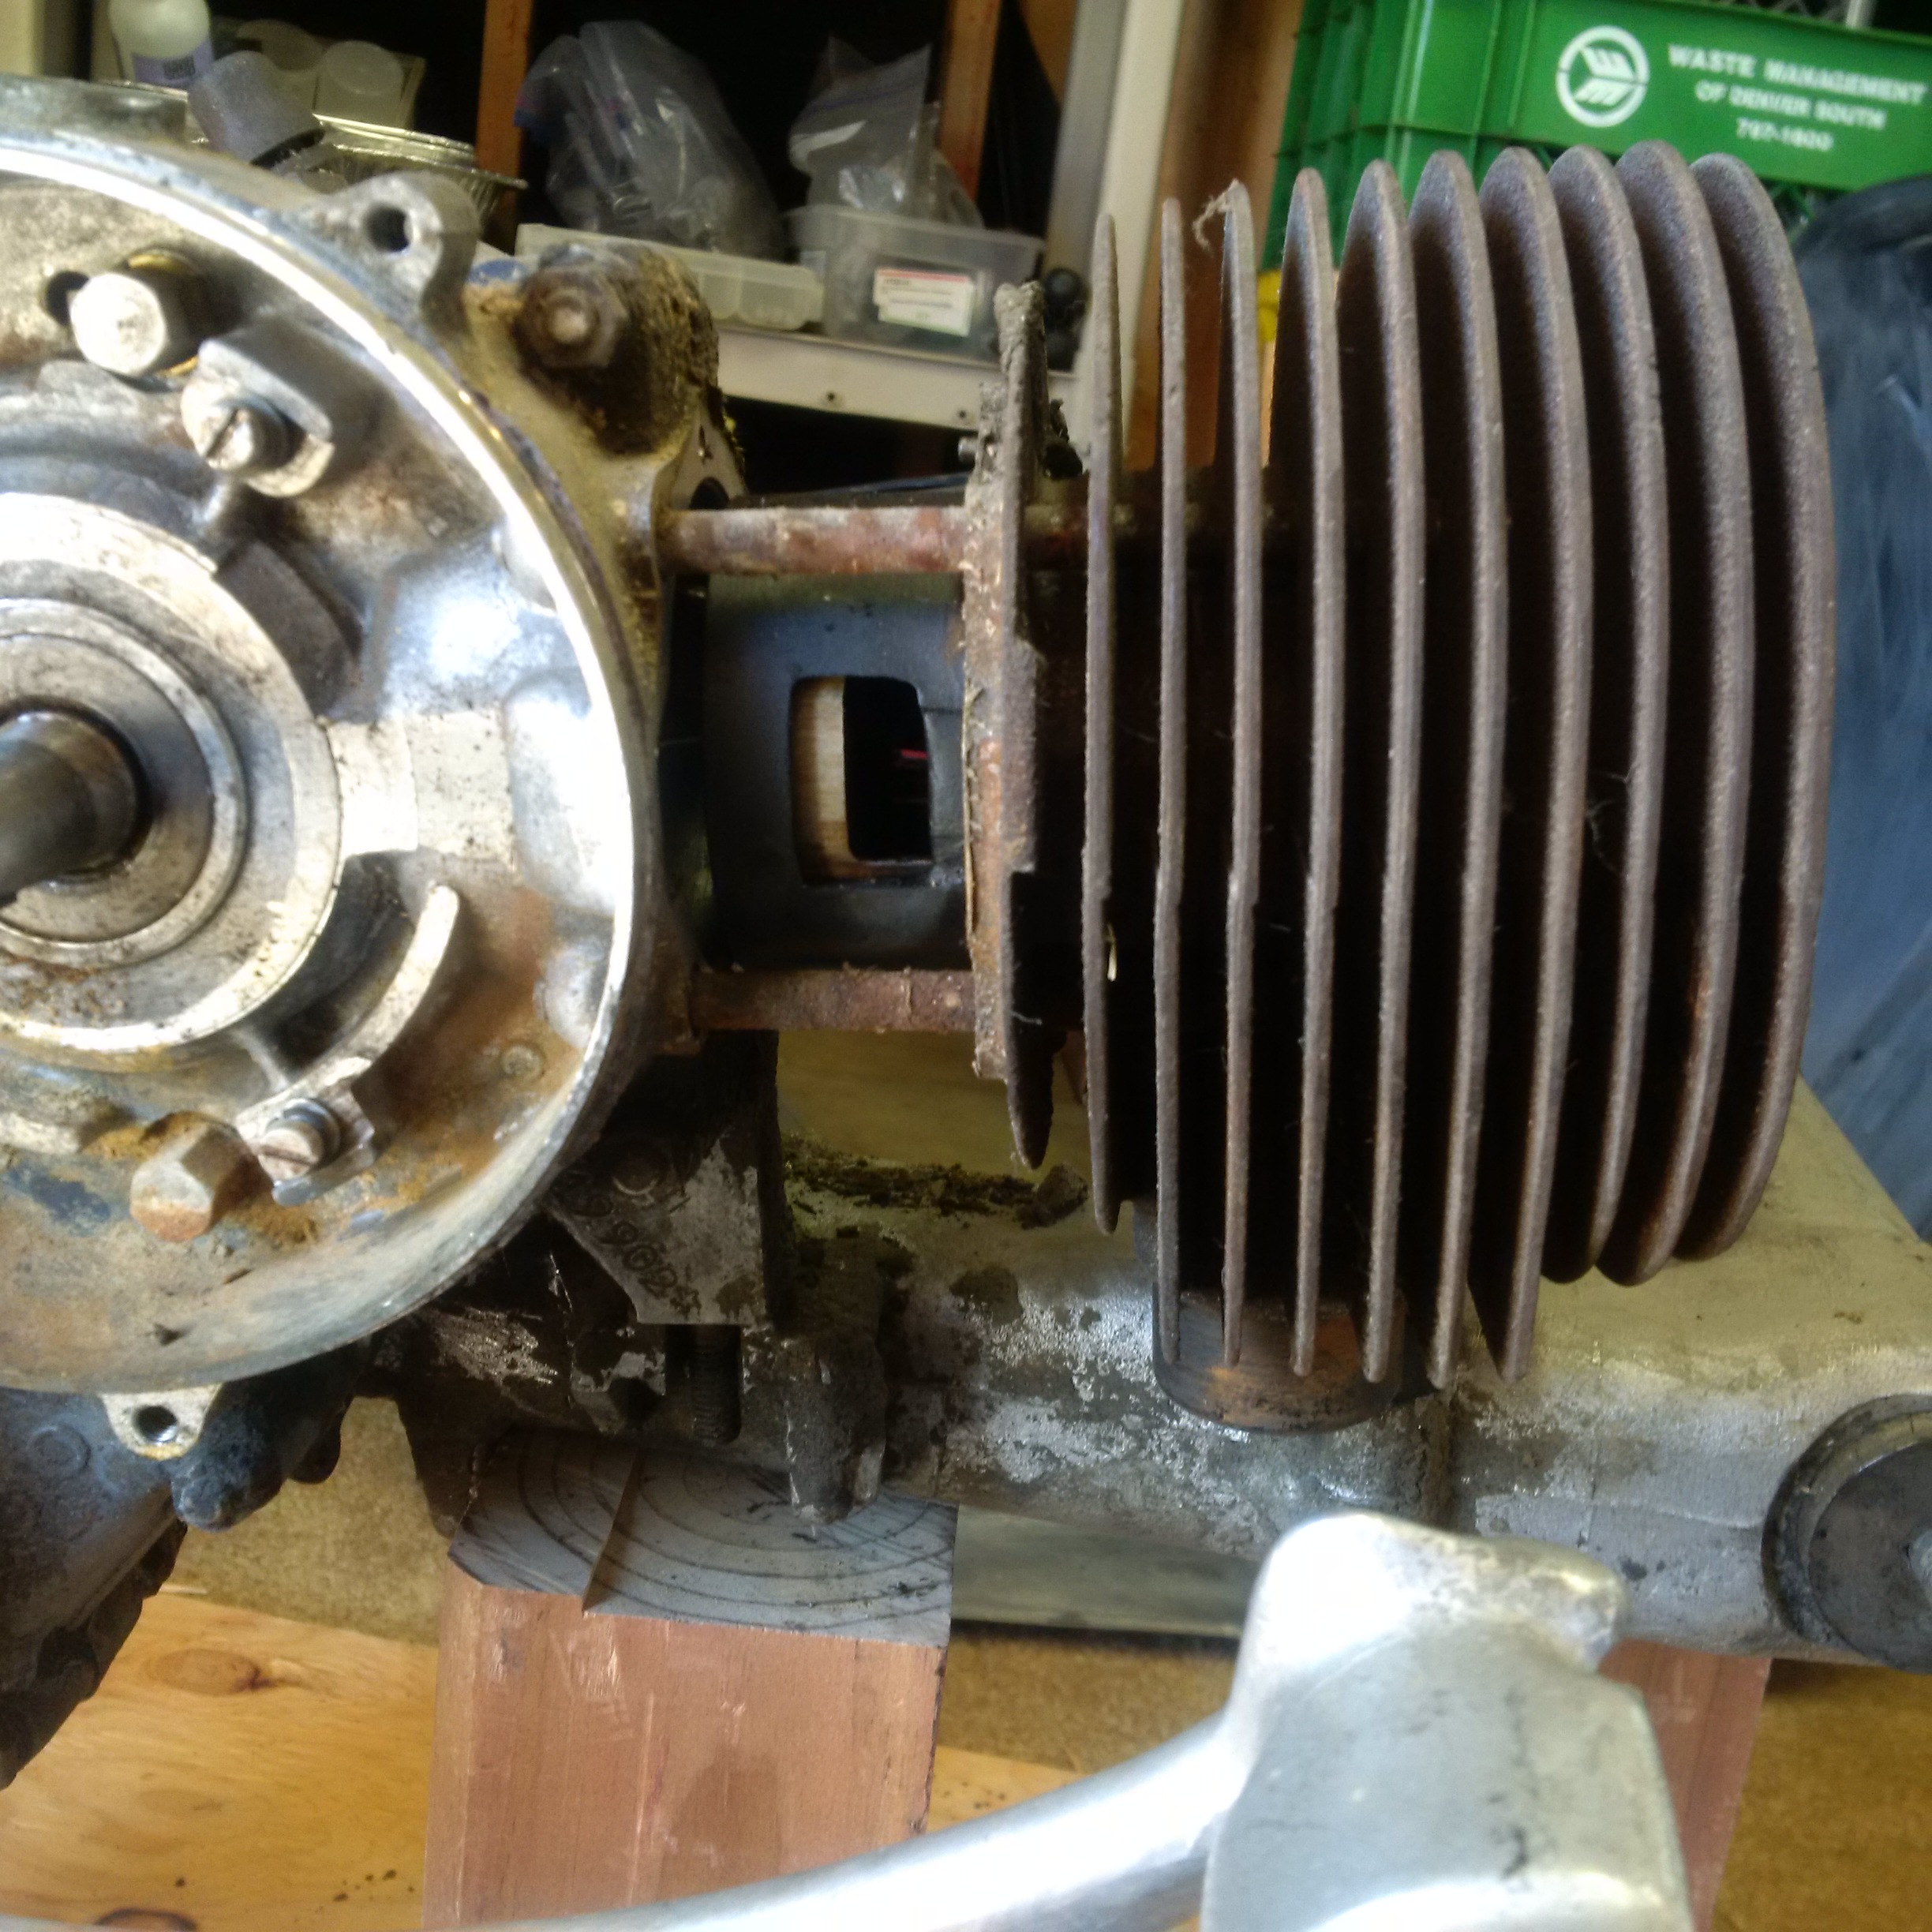
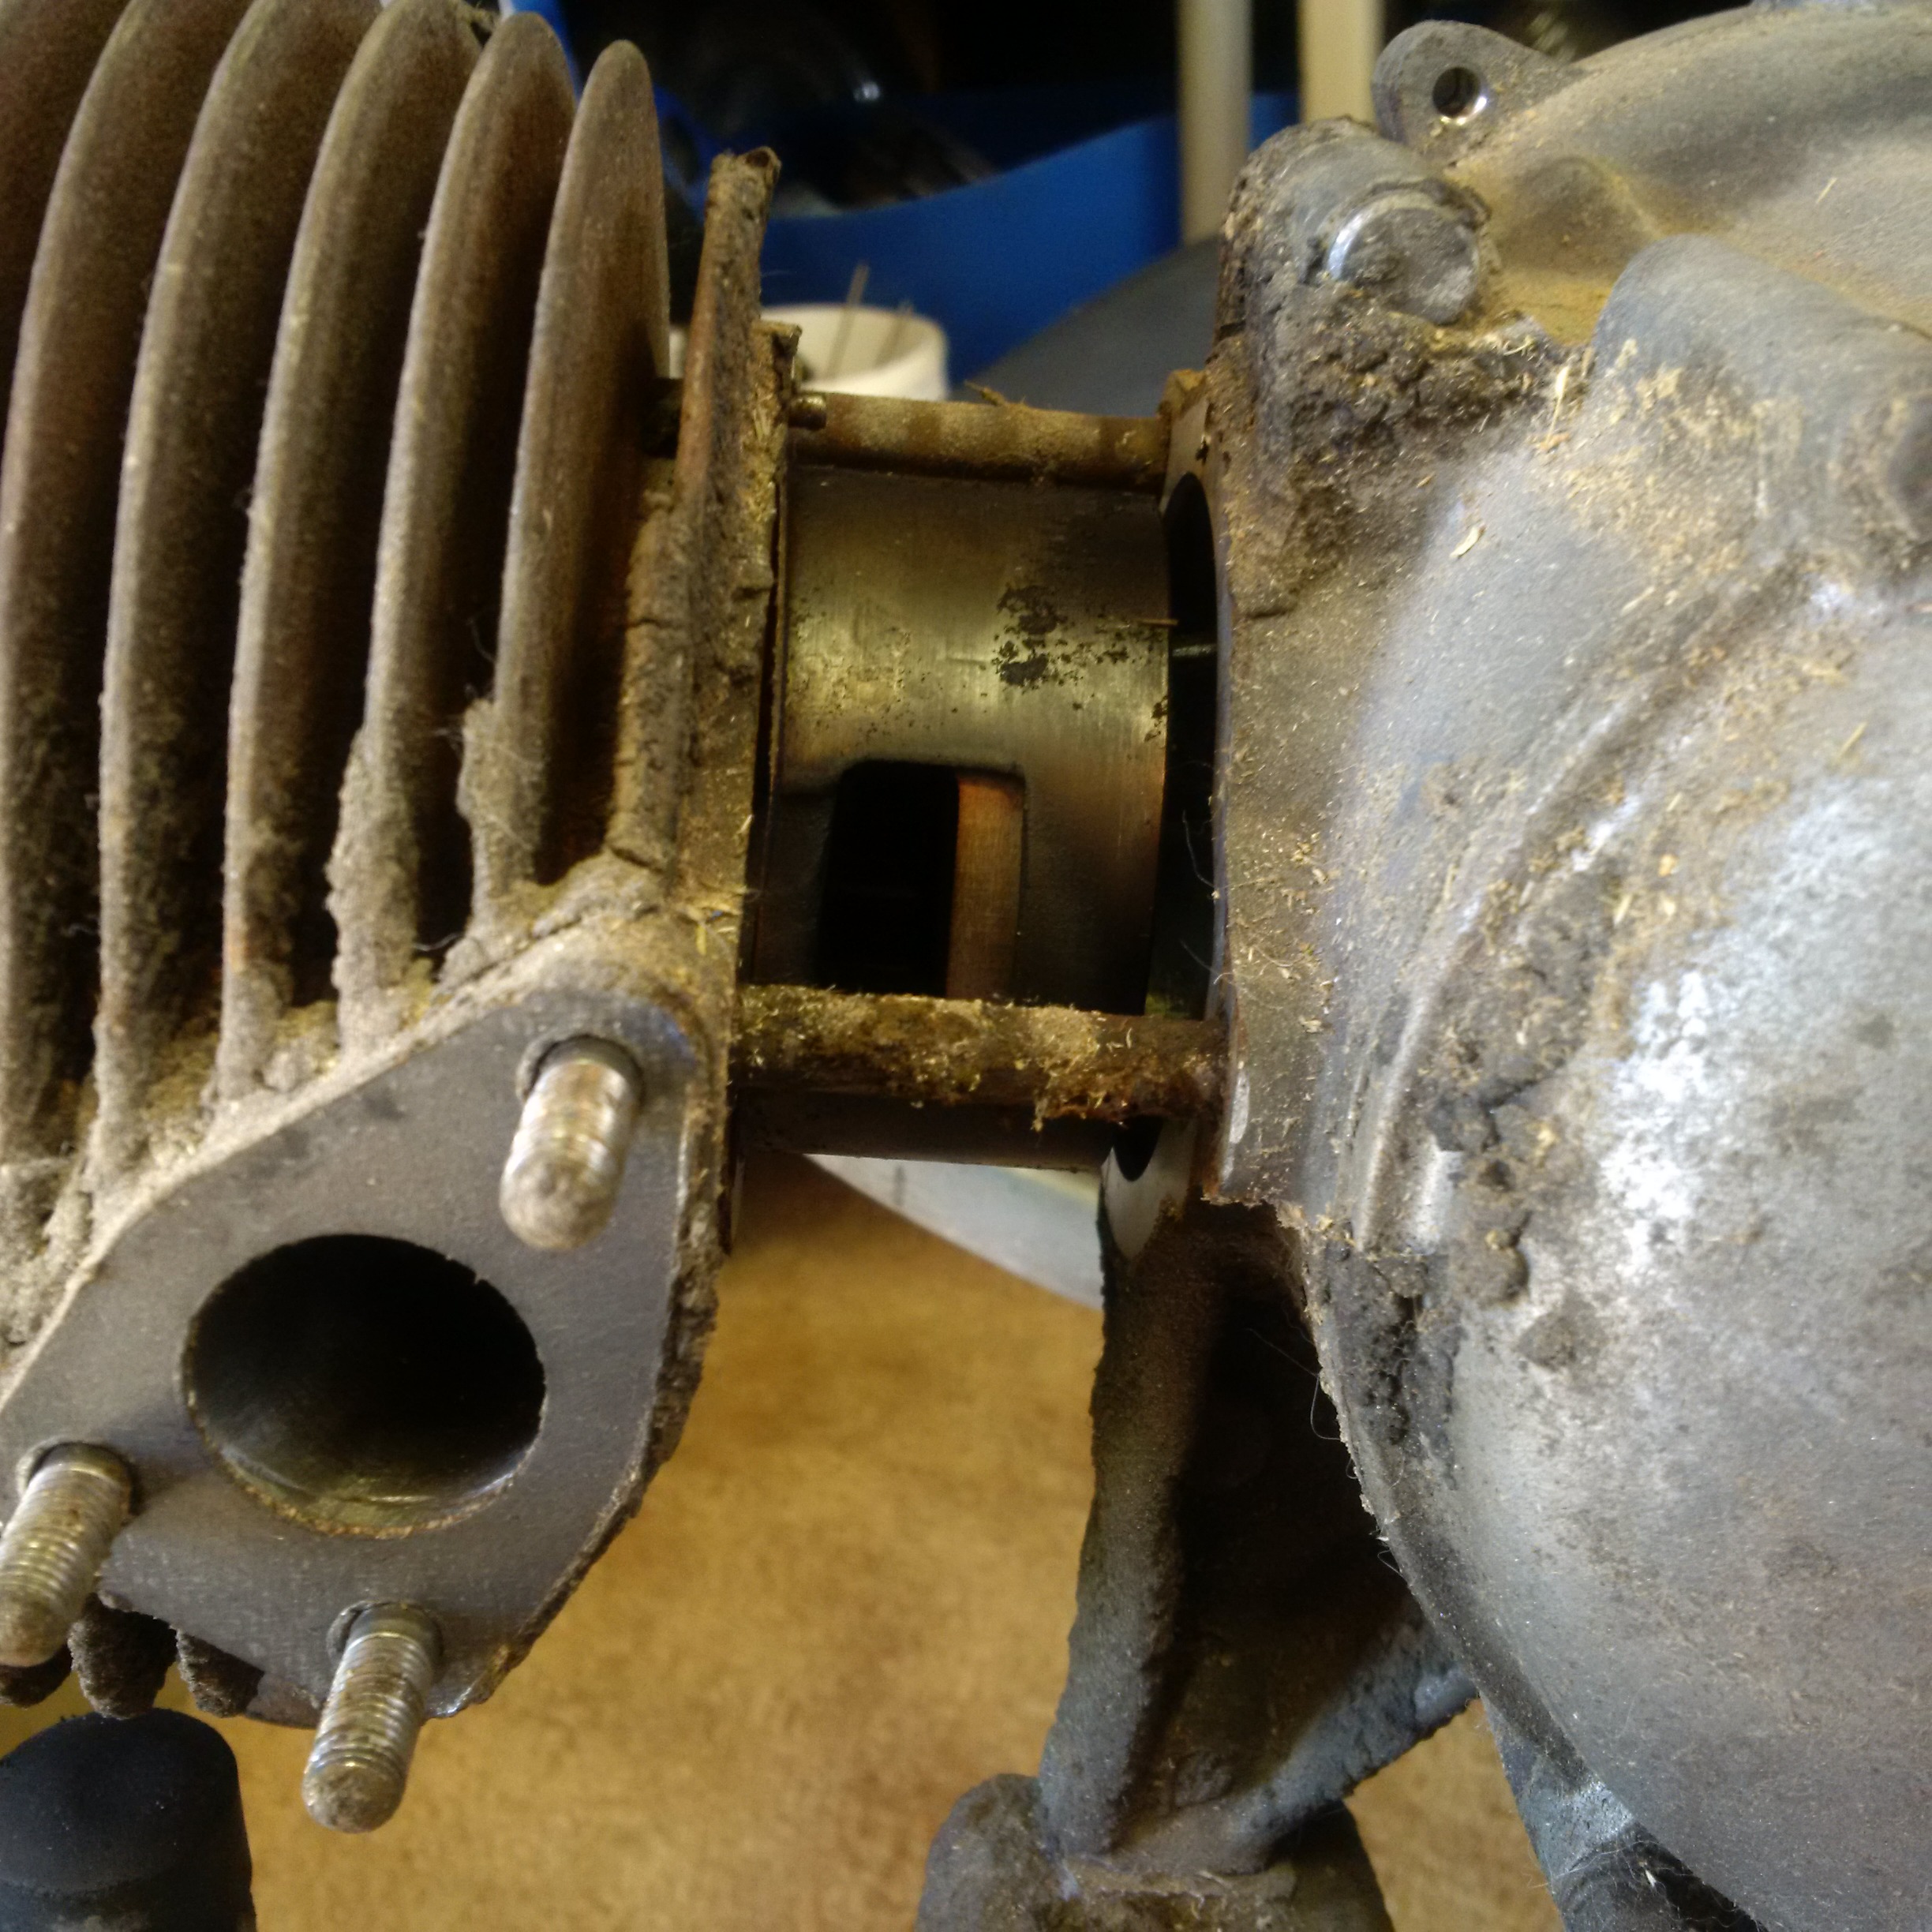
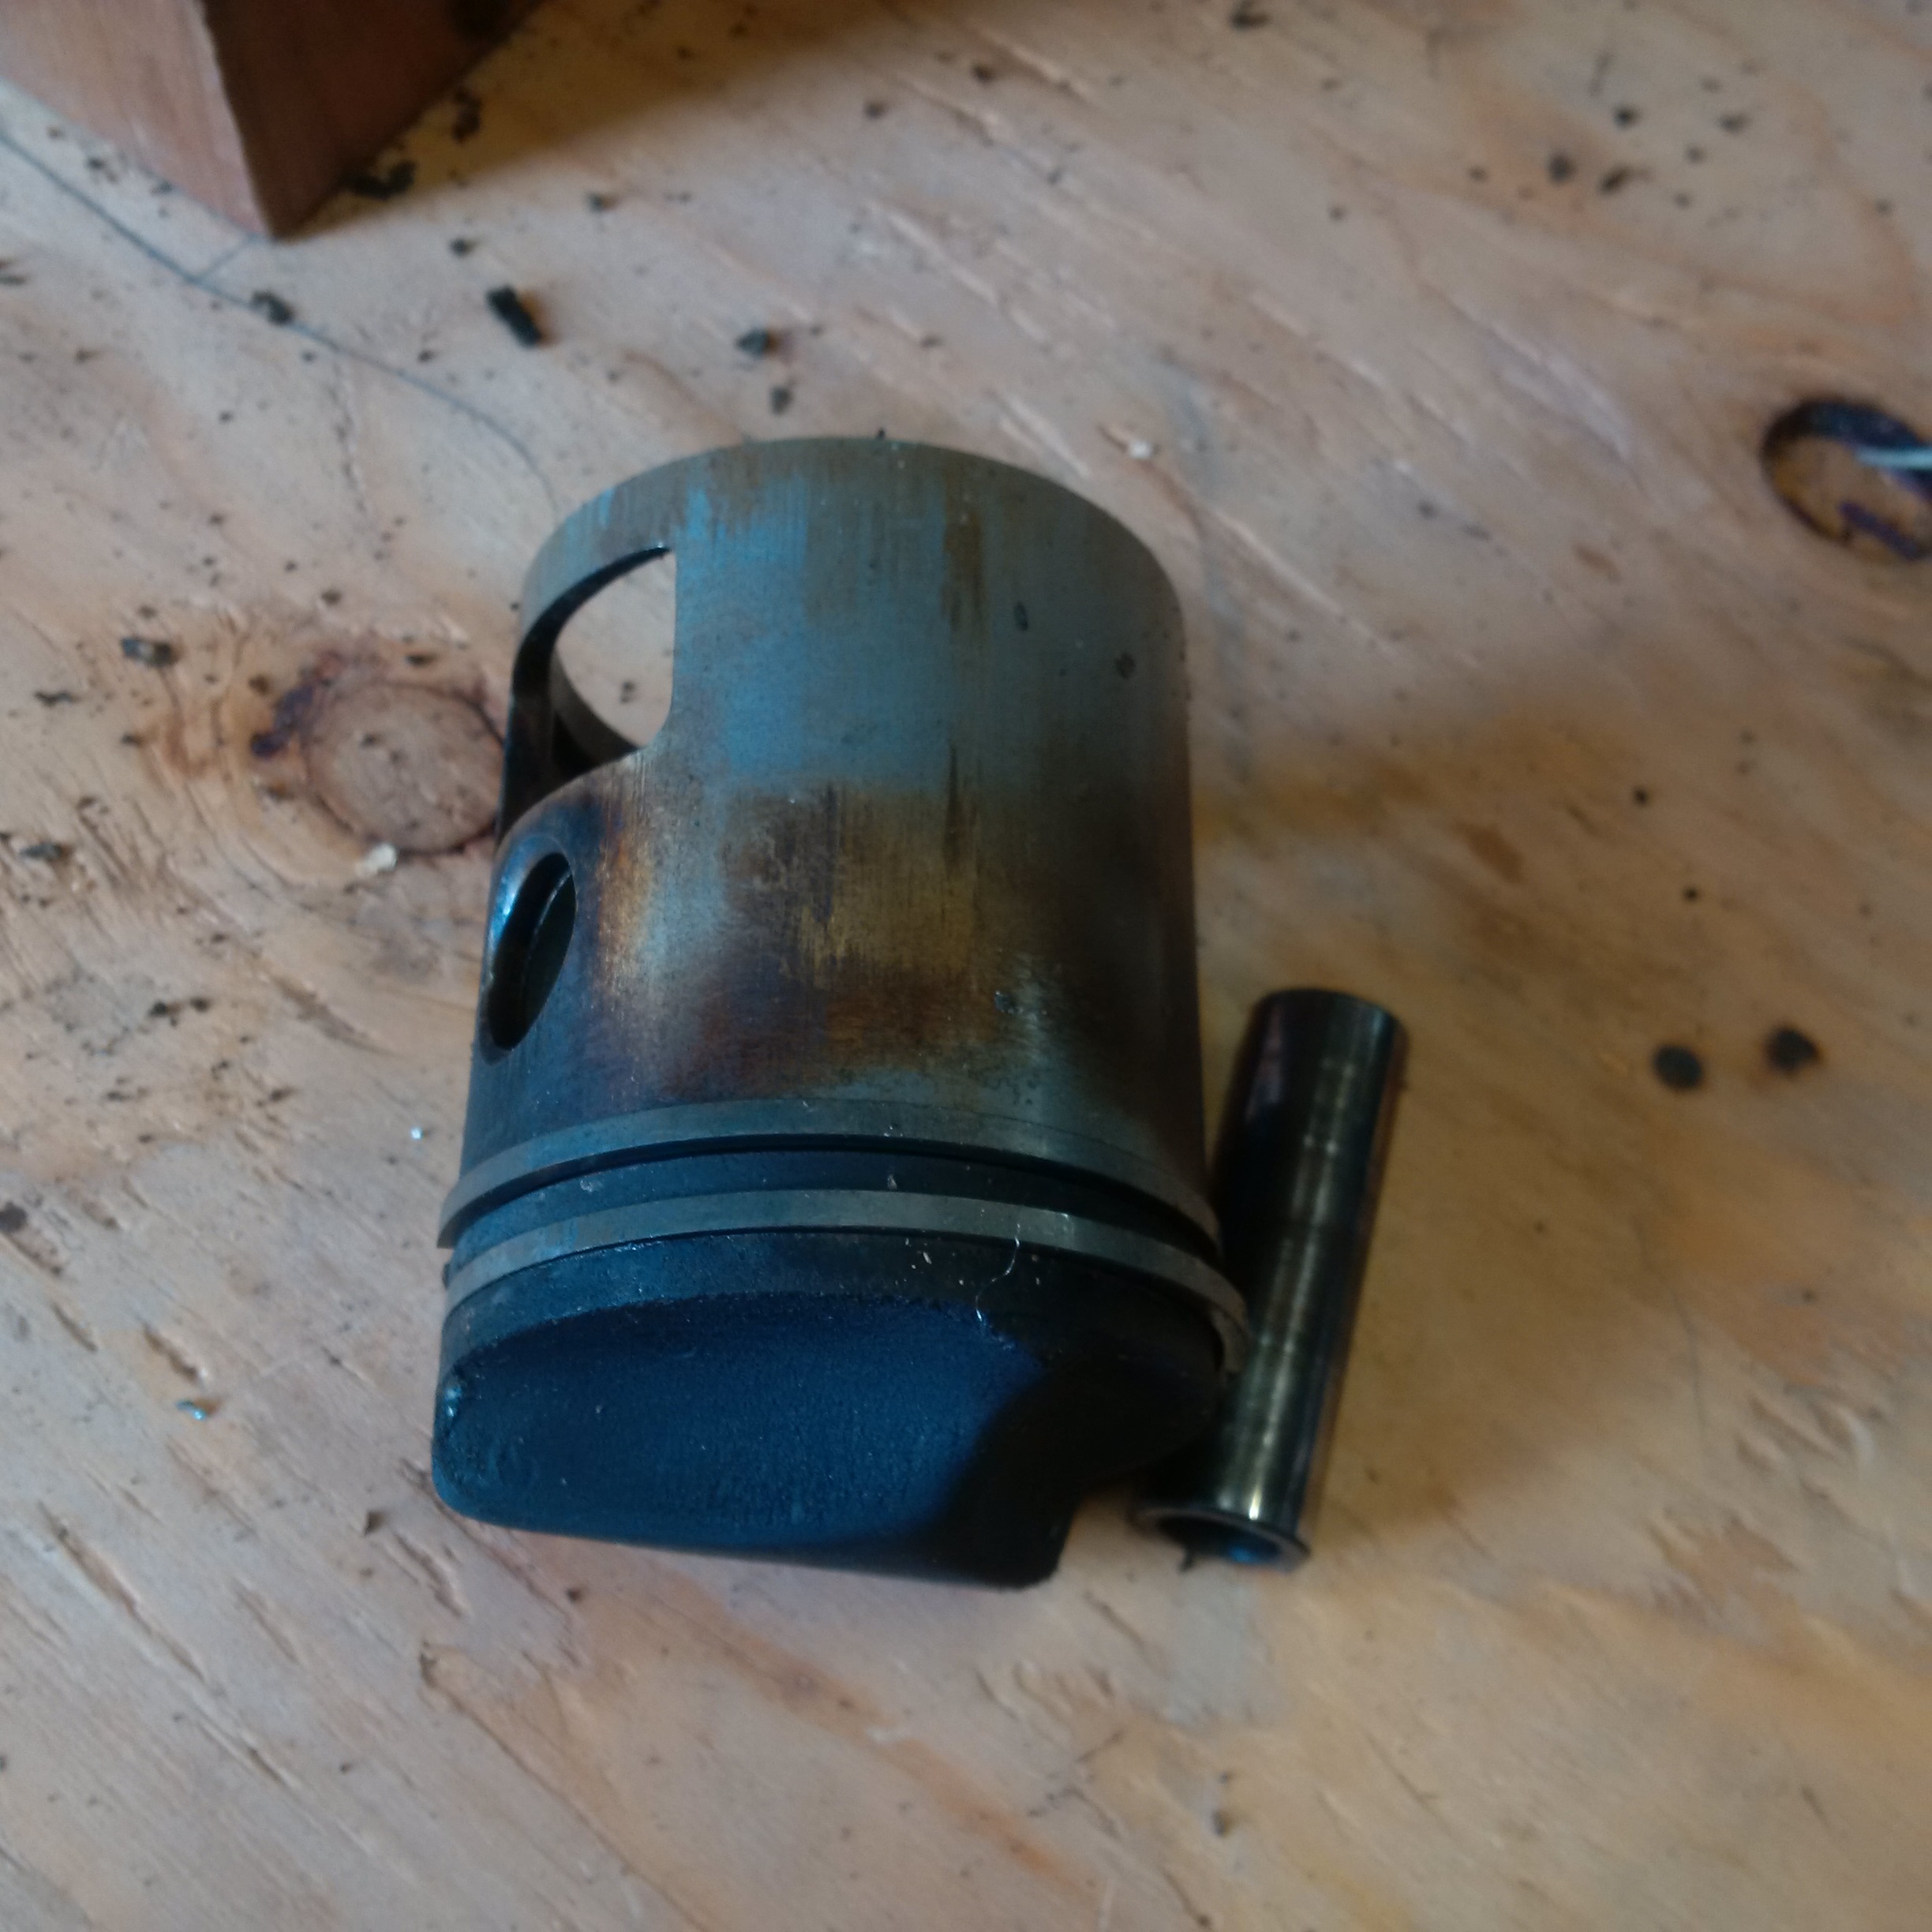
Below are some photos of the Vespa VL3T cylinder coming off the
bike. This includes some pictures of the brass gasket at the
cylinder head as well as the piston.
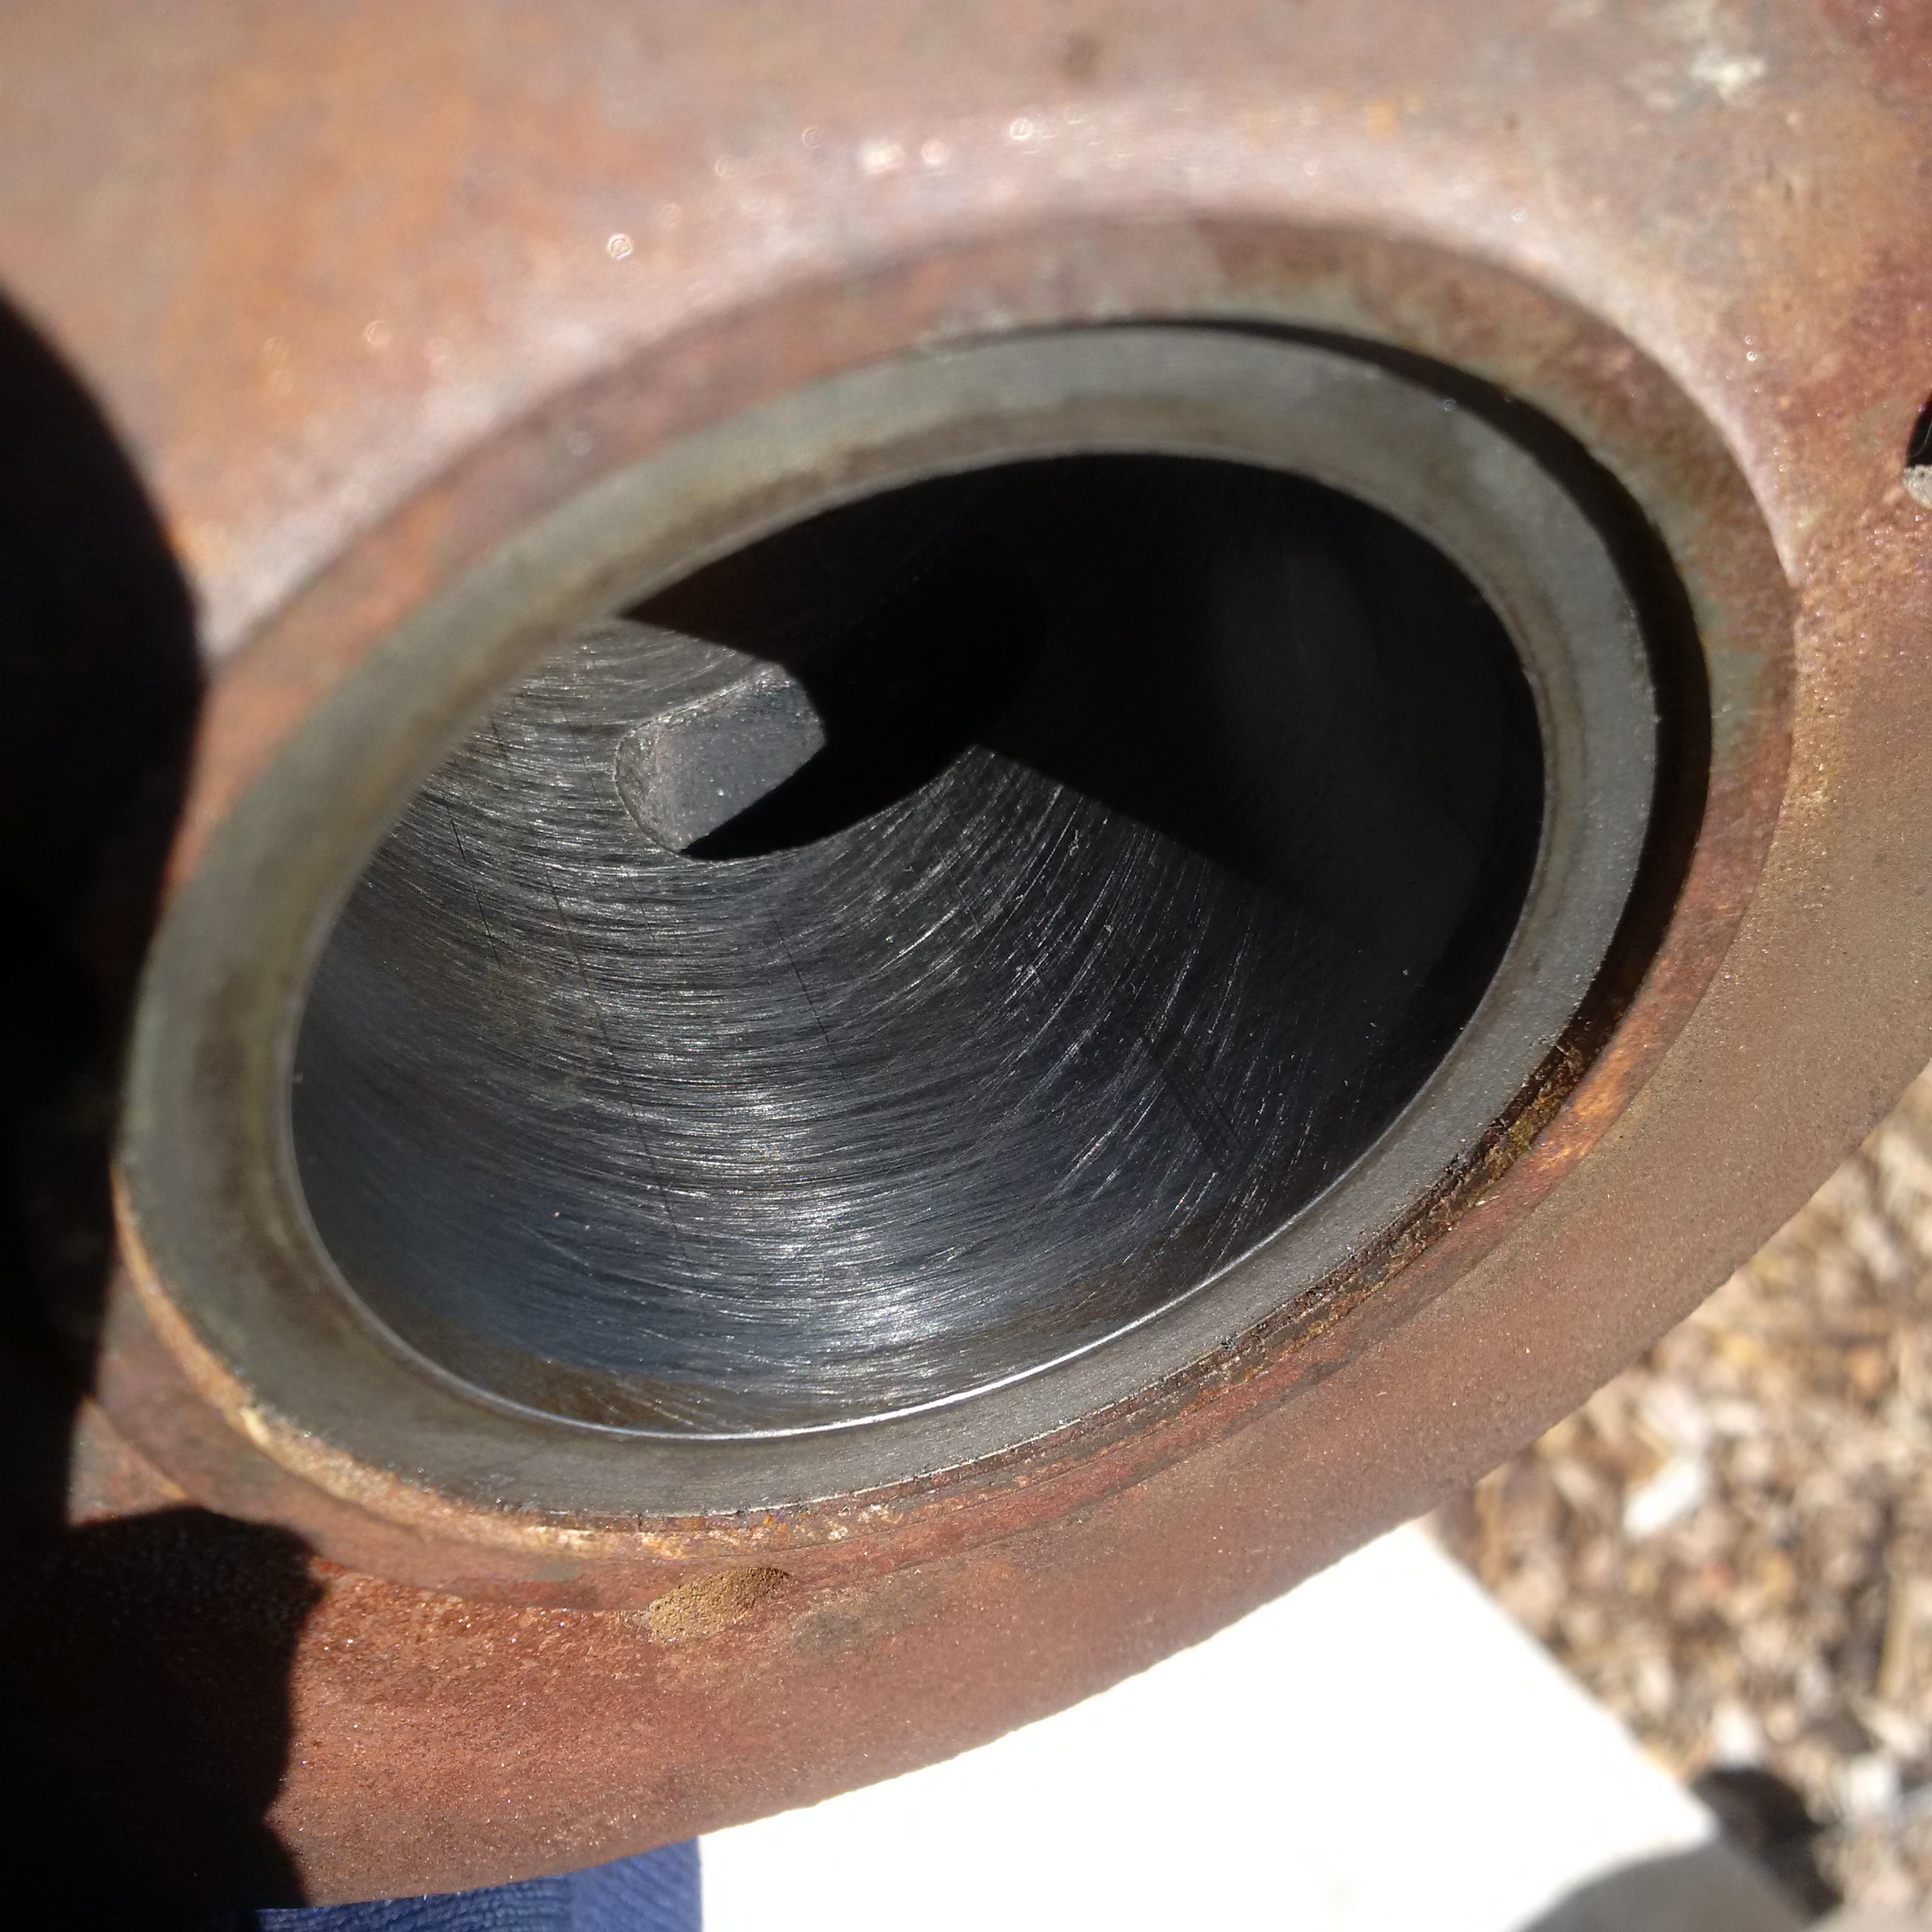
Also note I did some light honing on the cylinder and that will be
ready to roll when I rebuild.
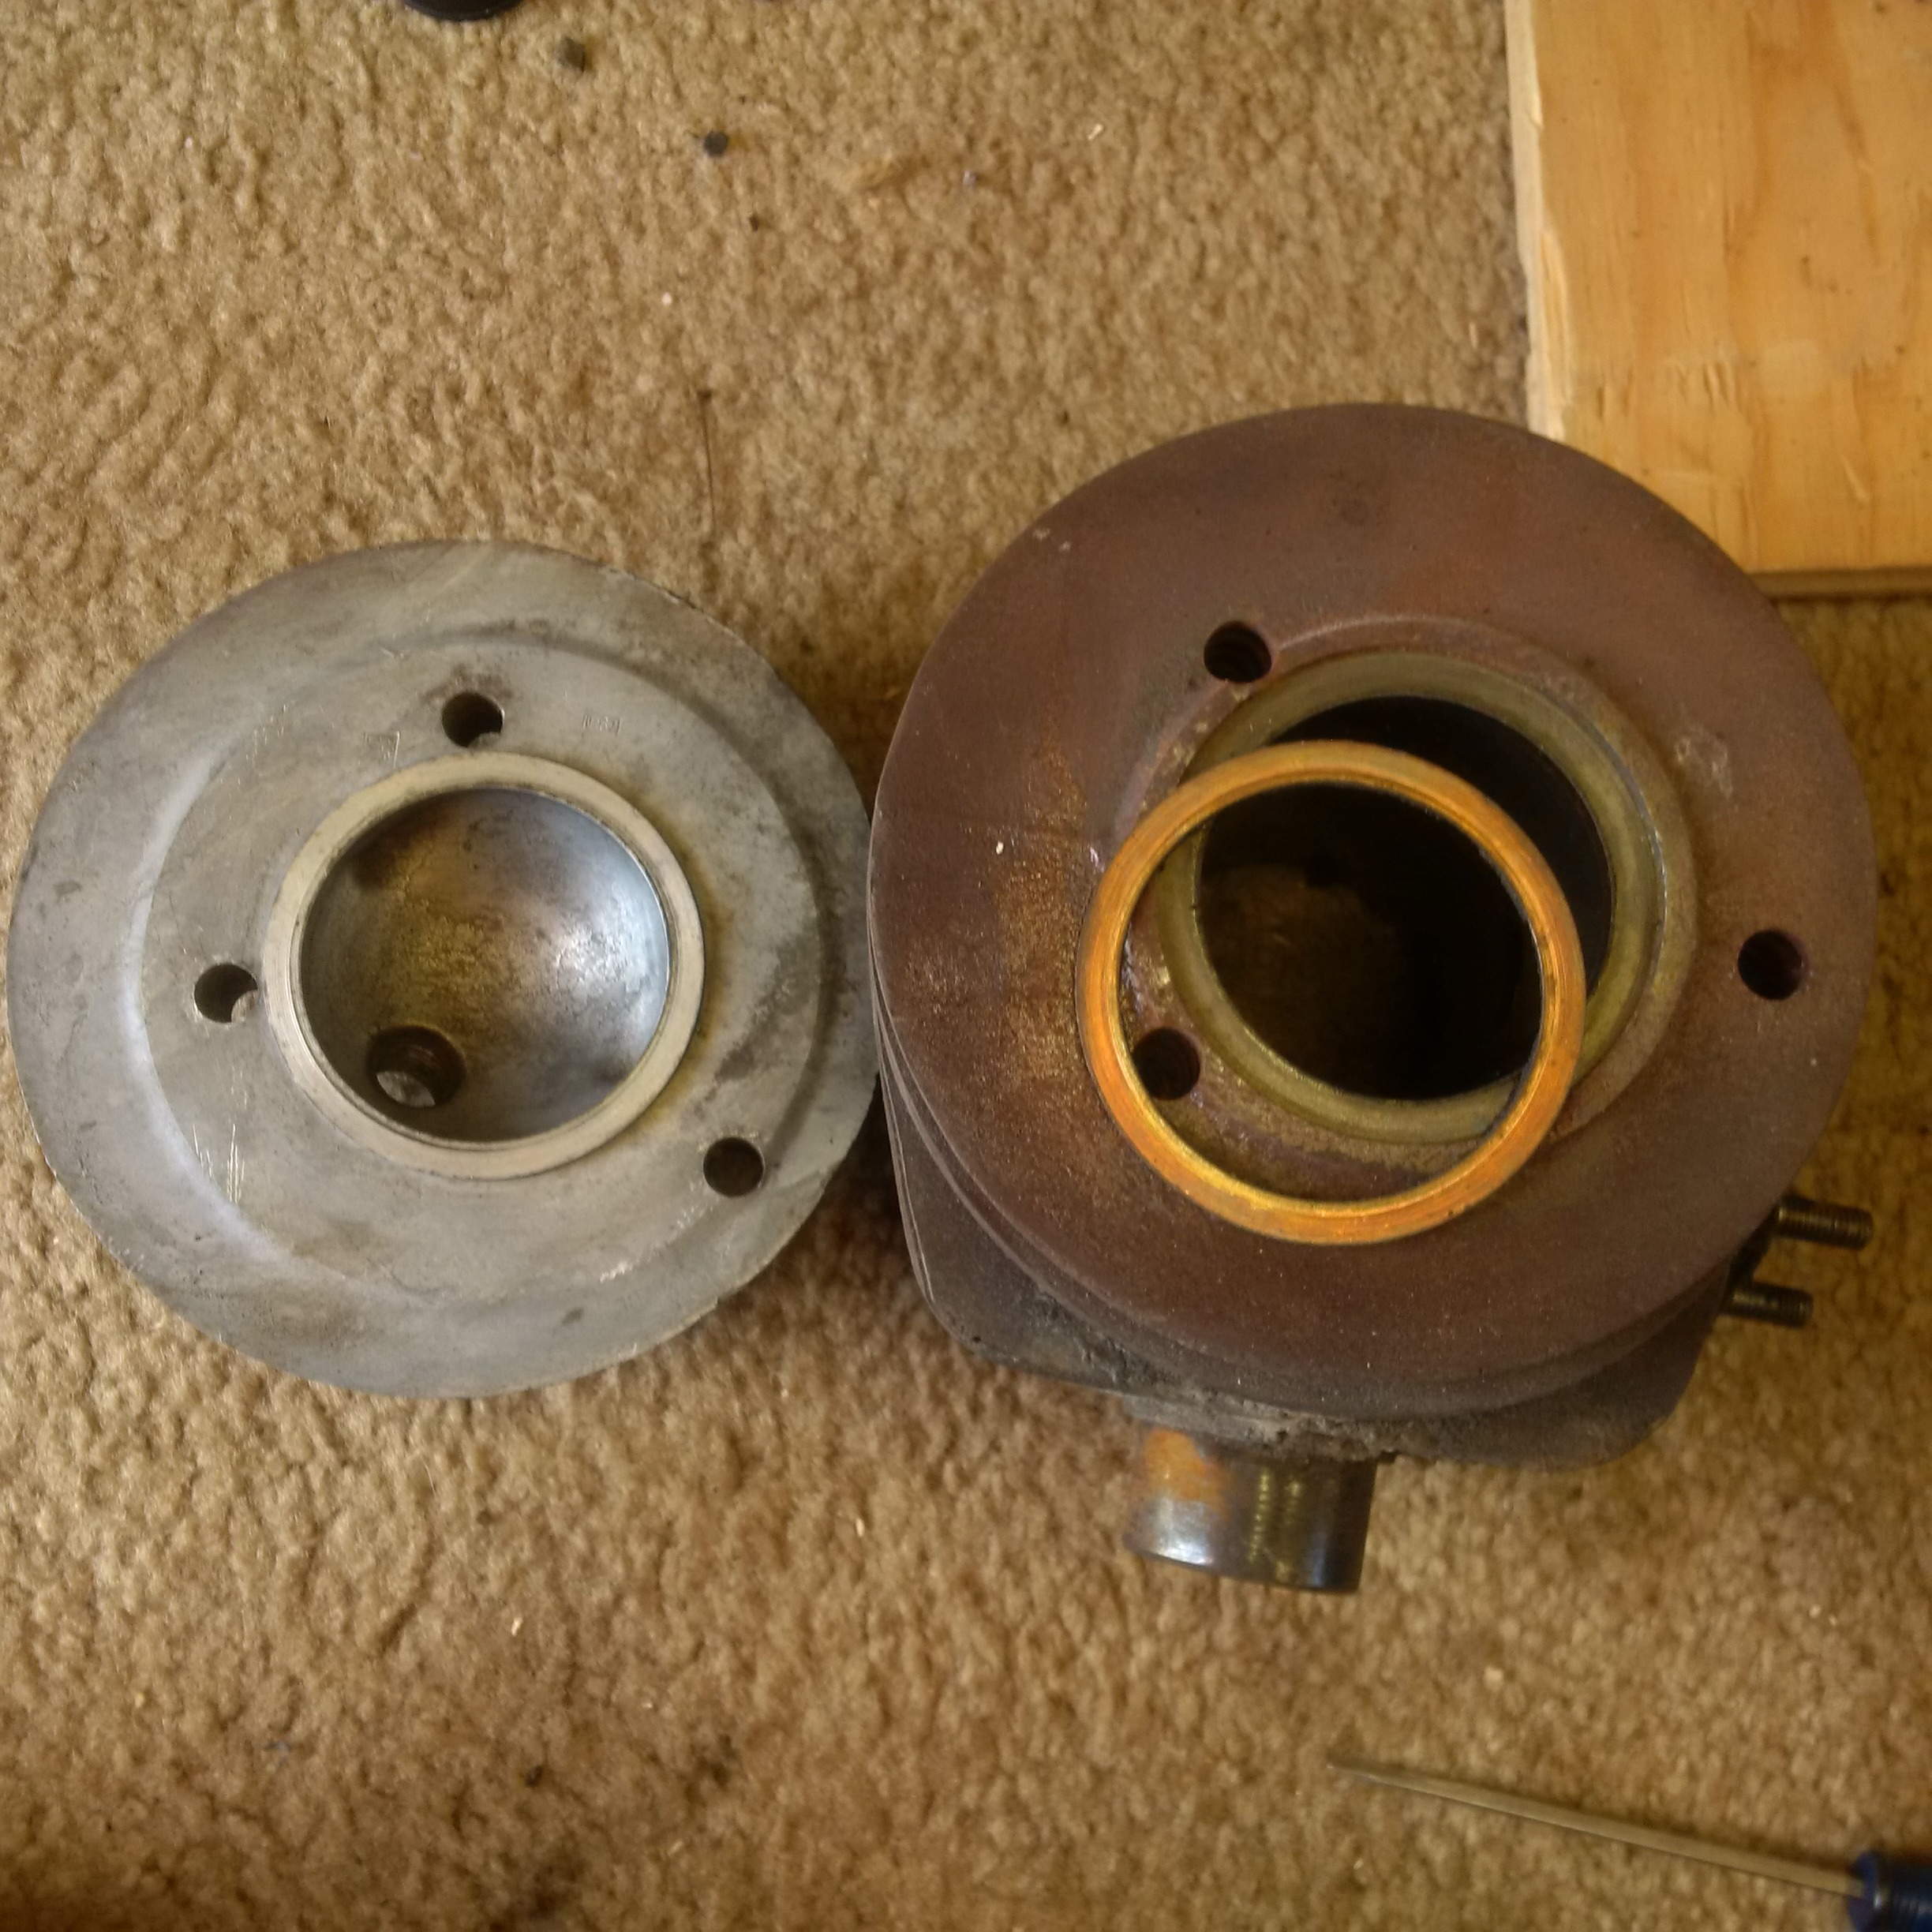 
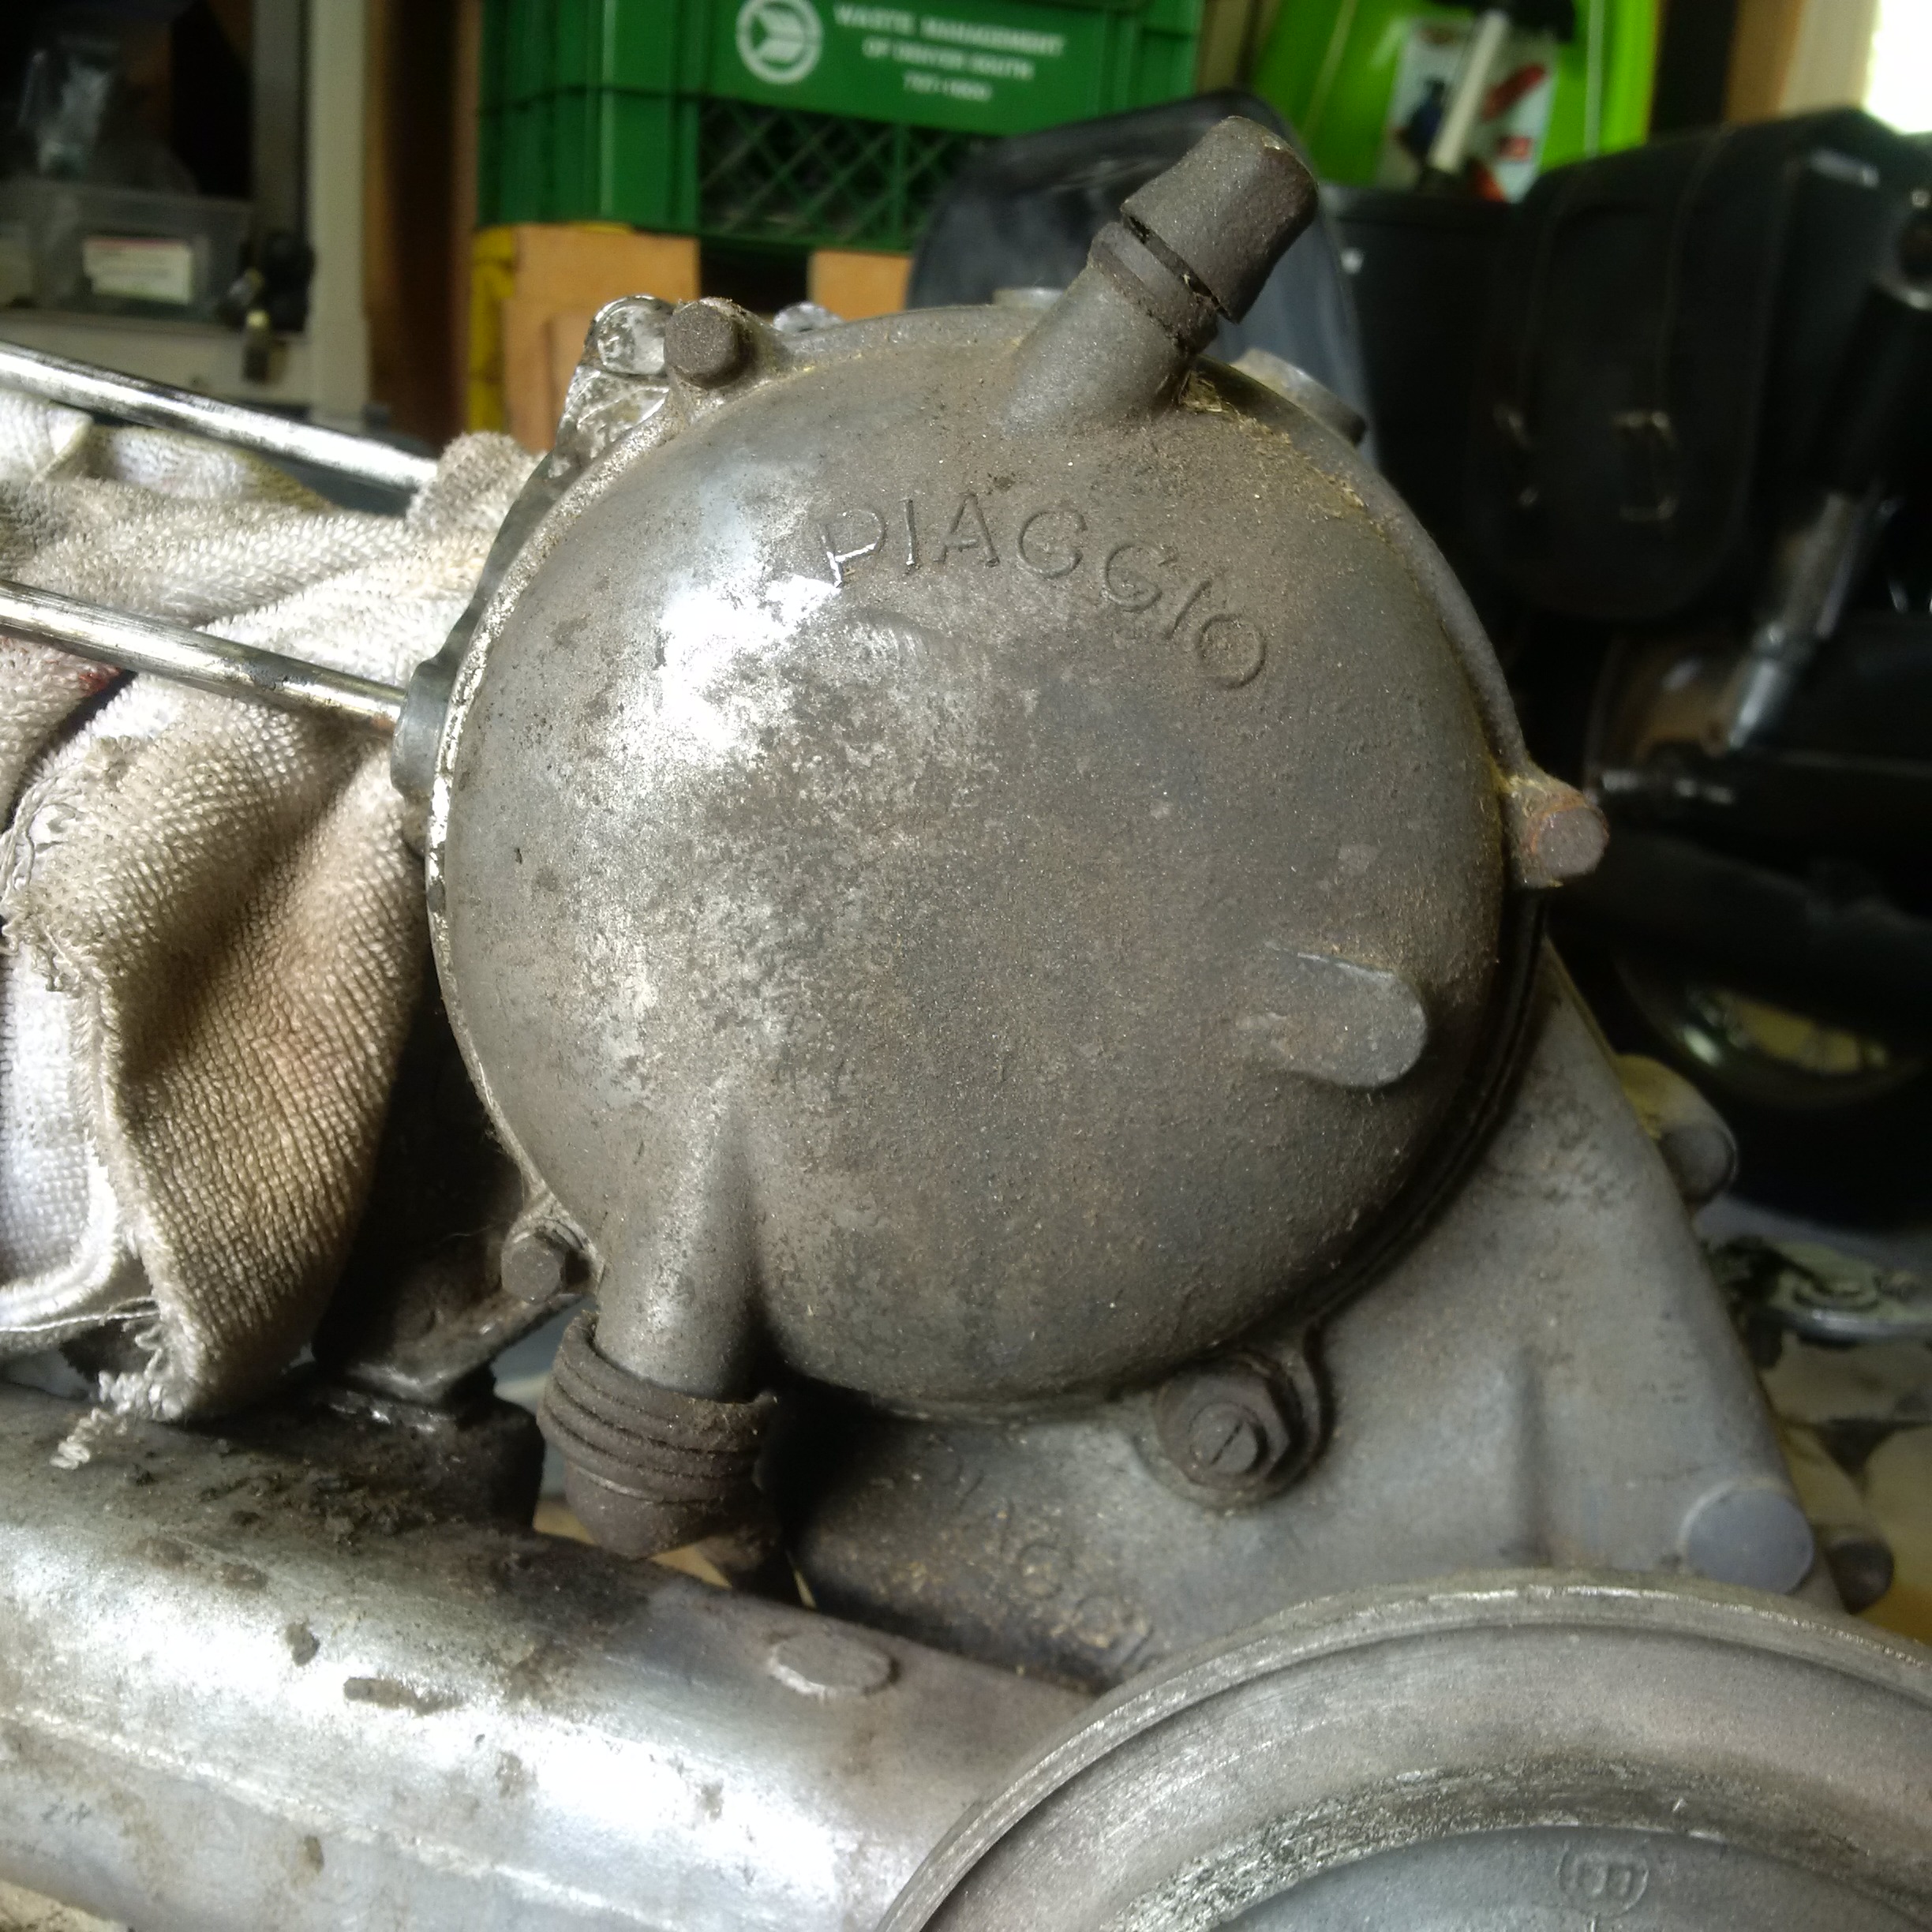
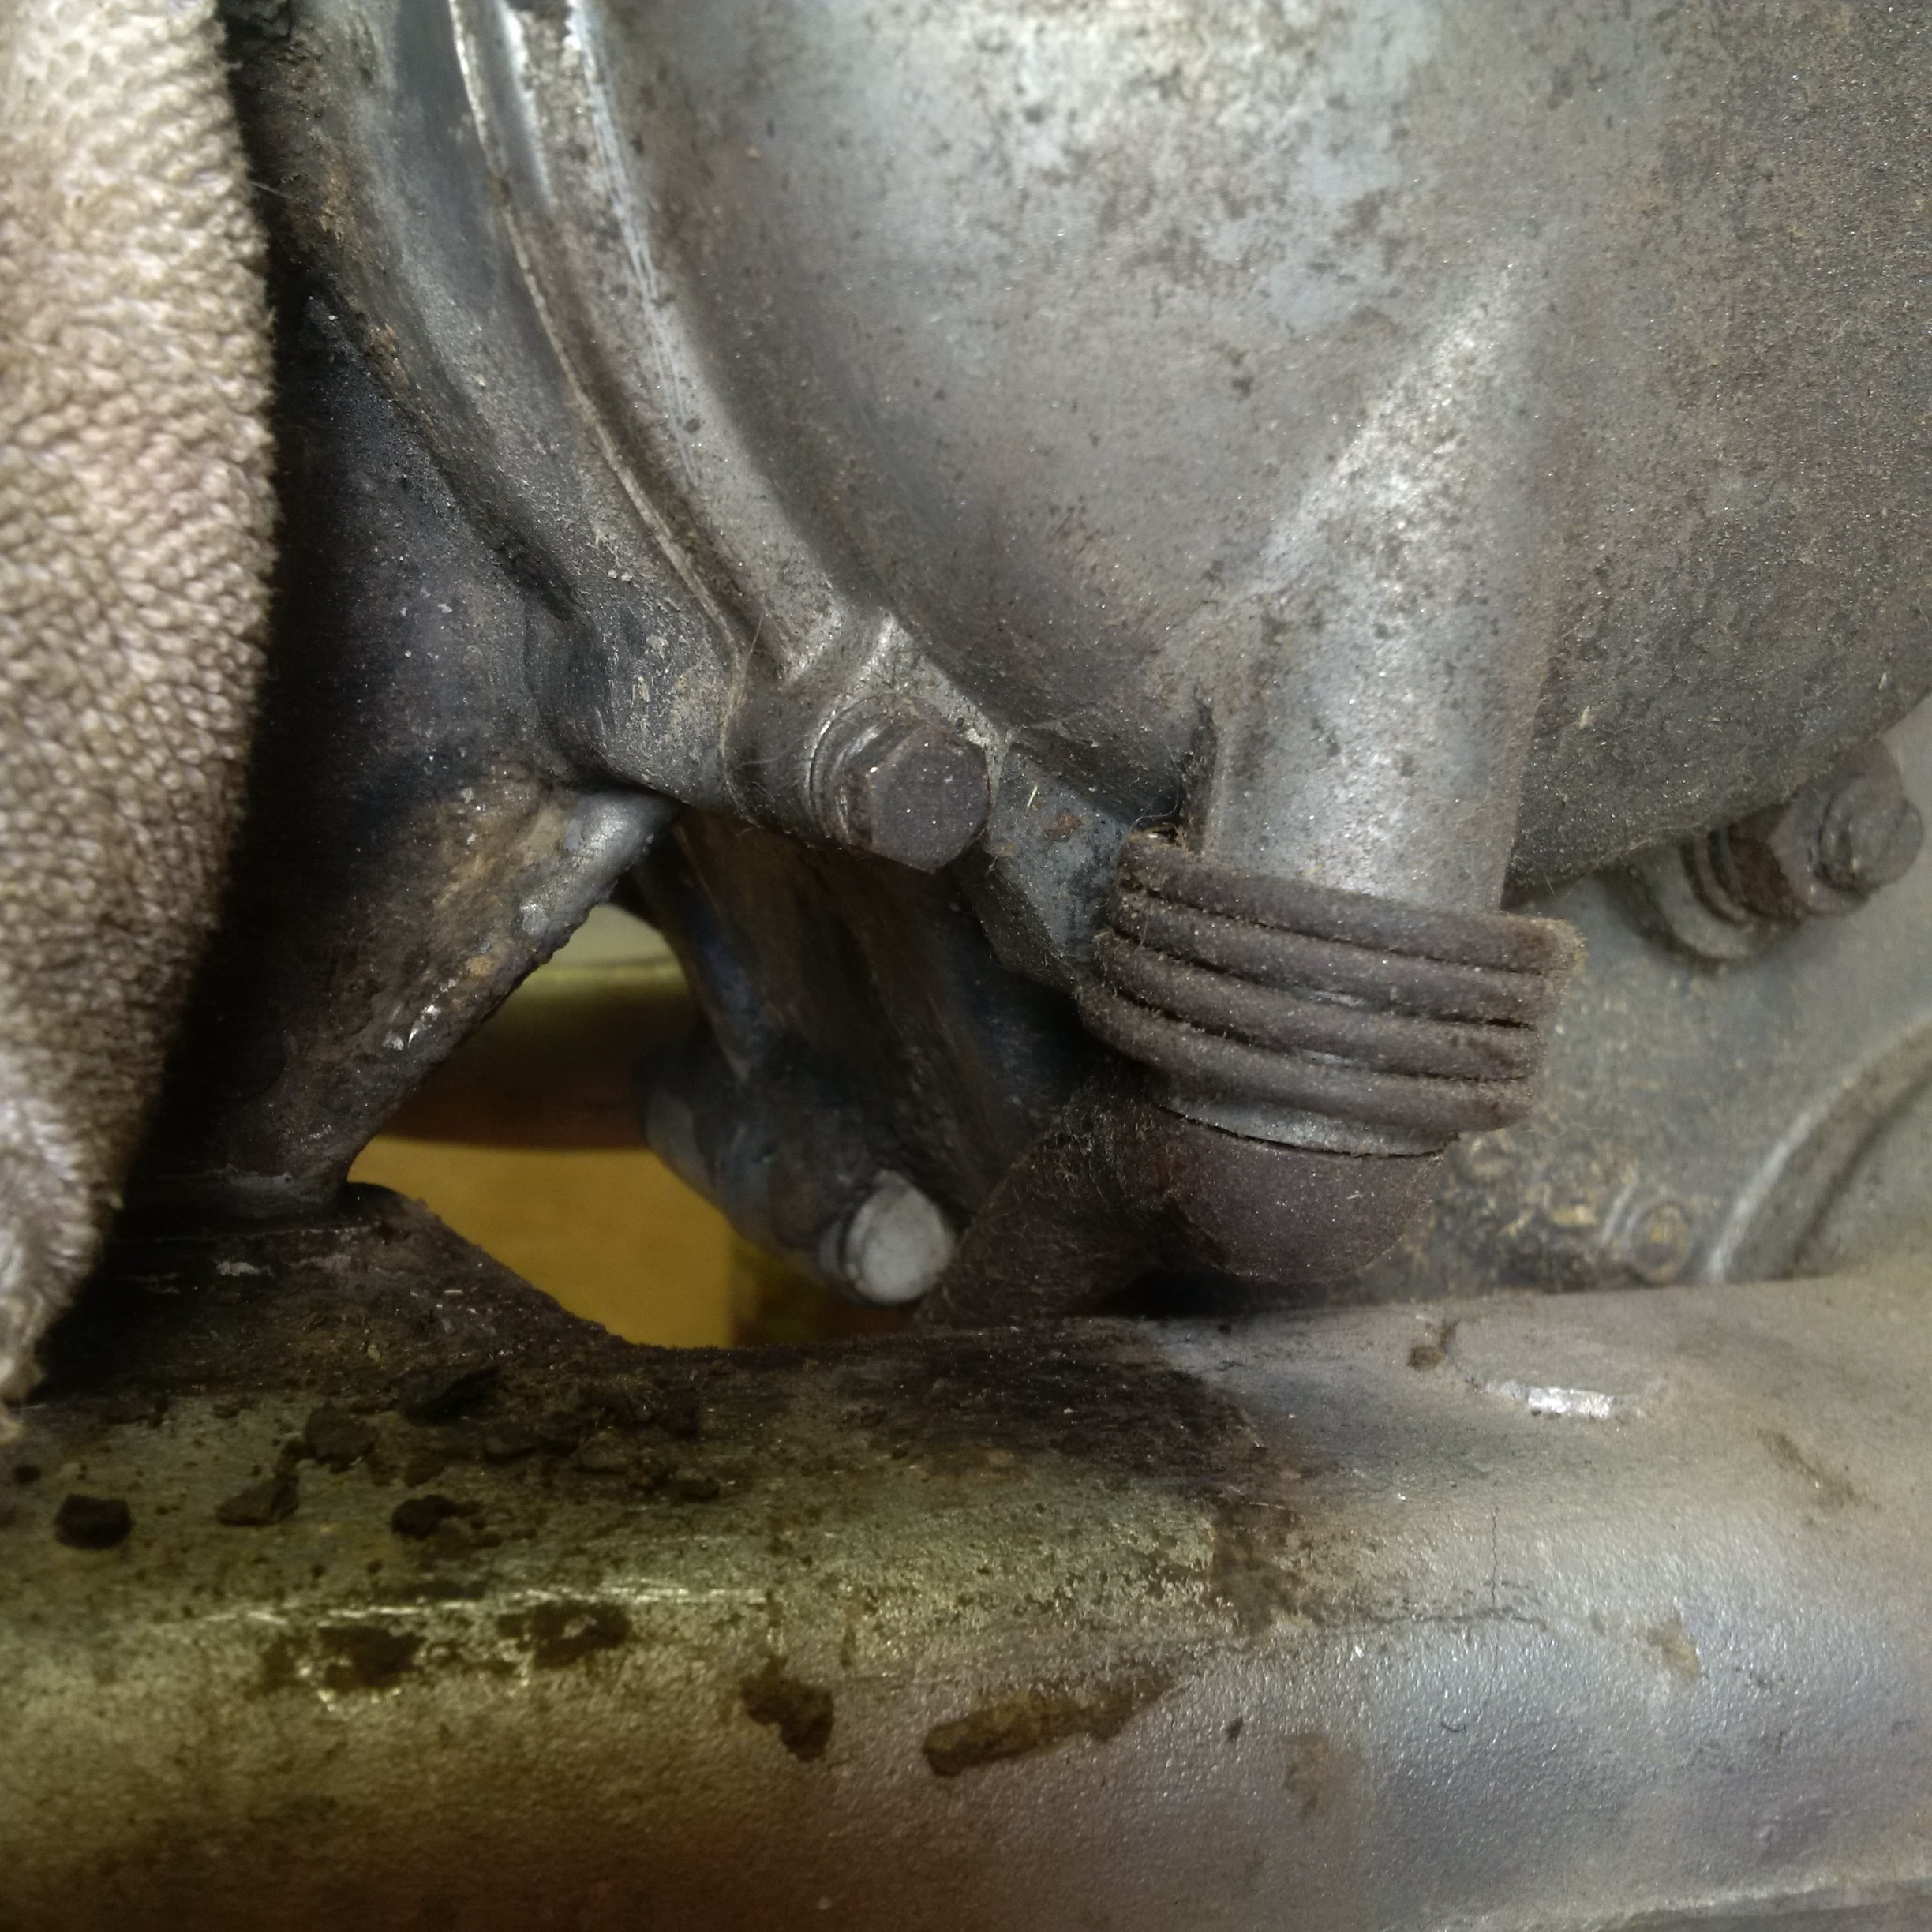
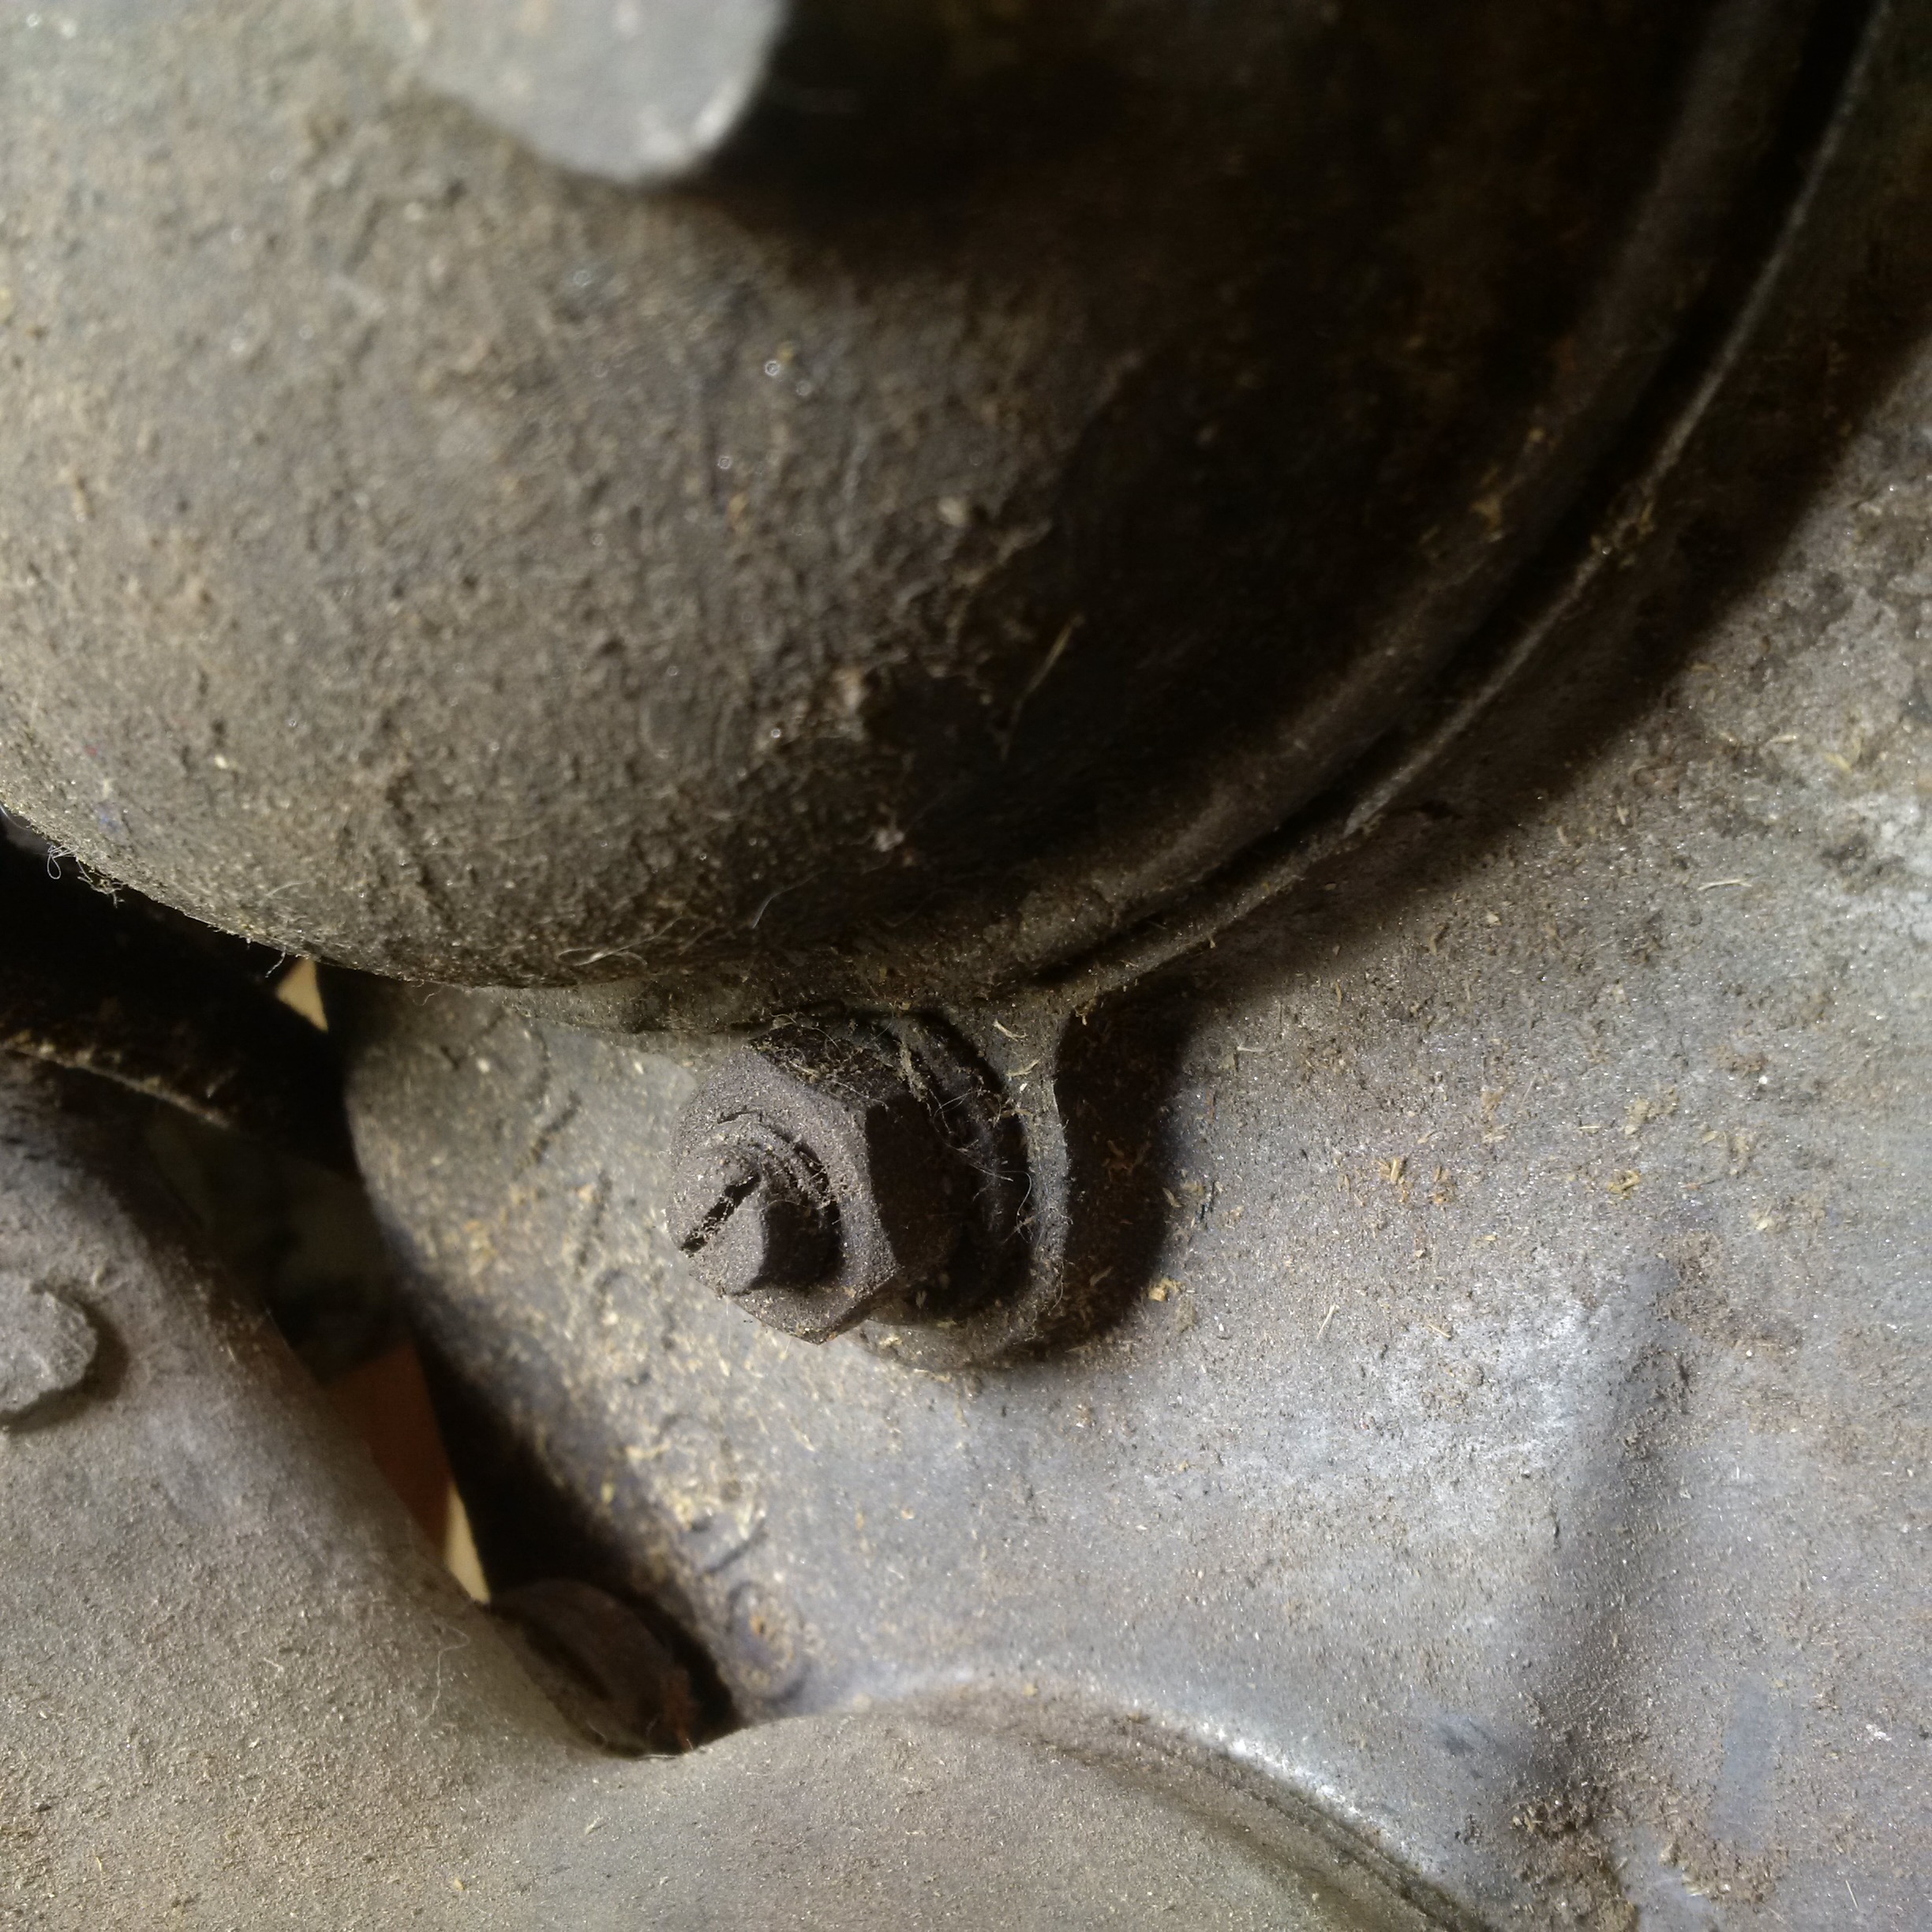
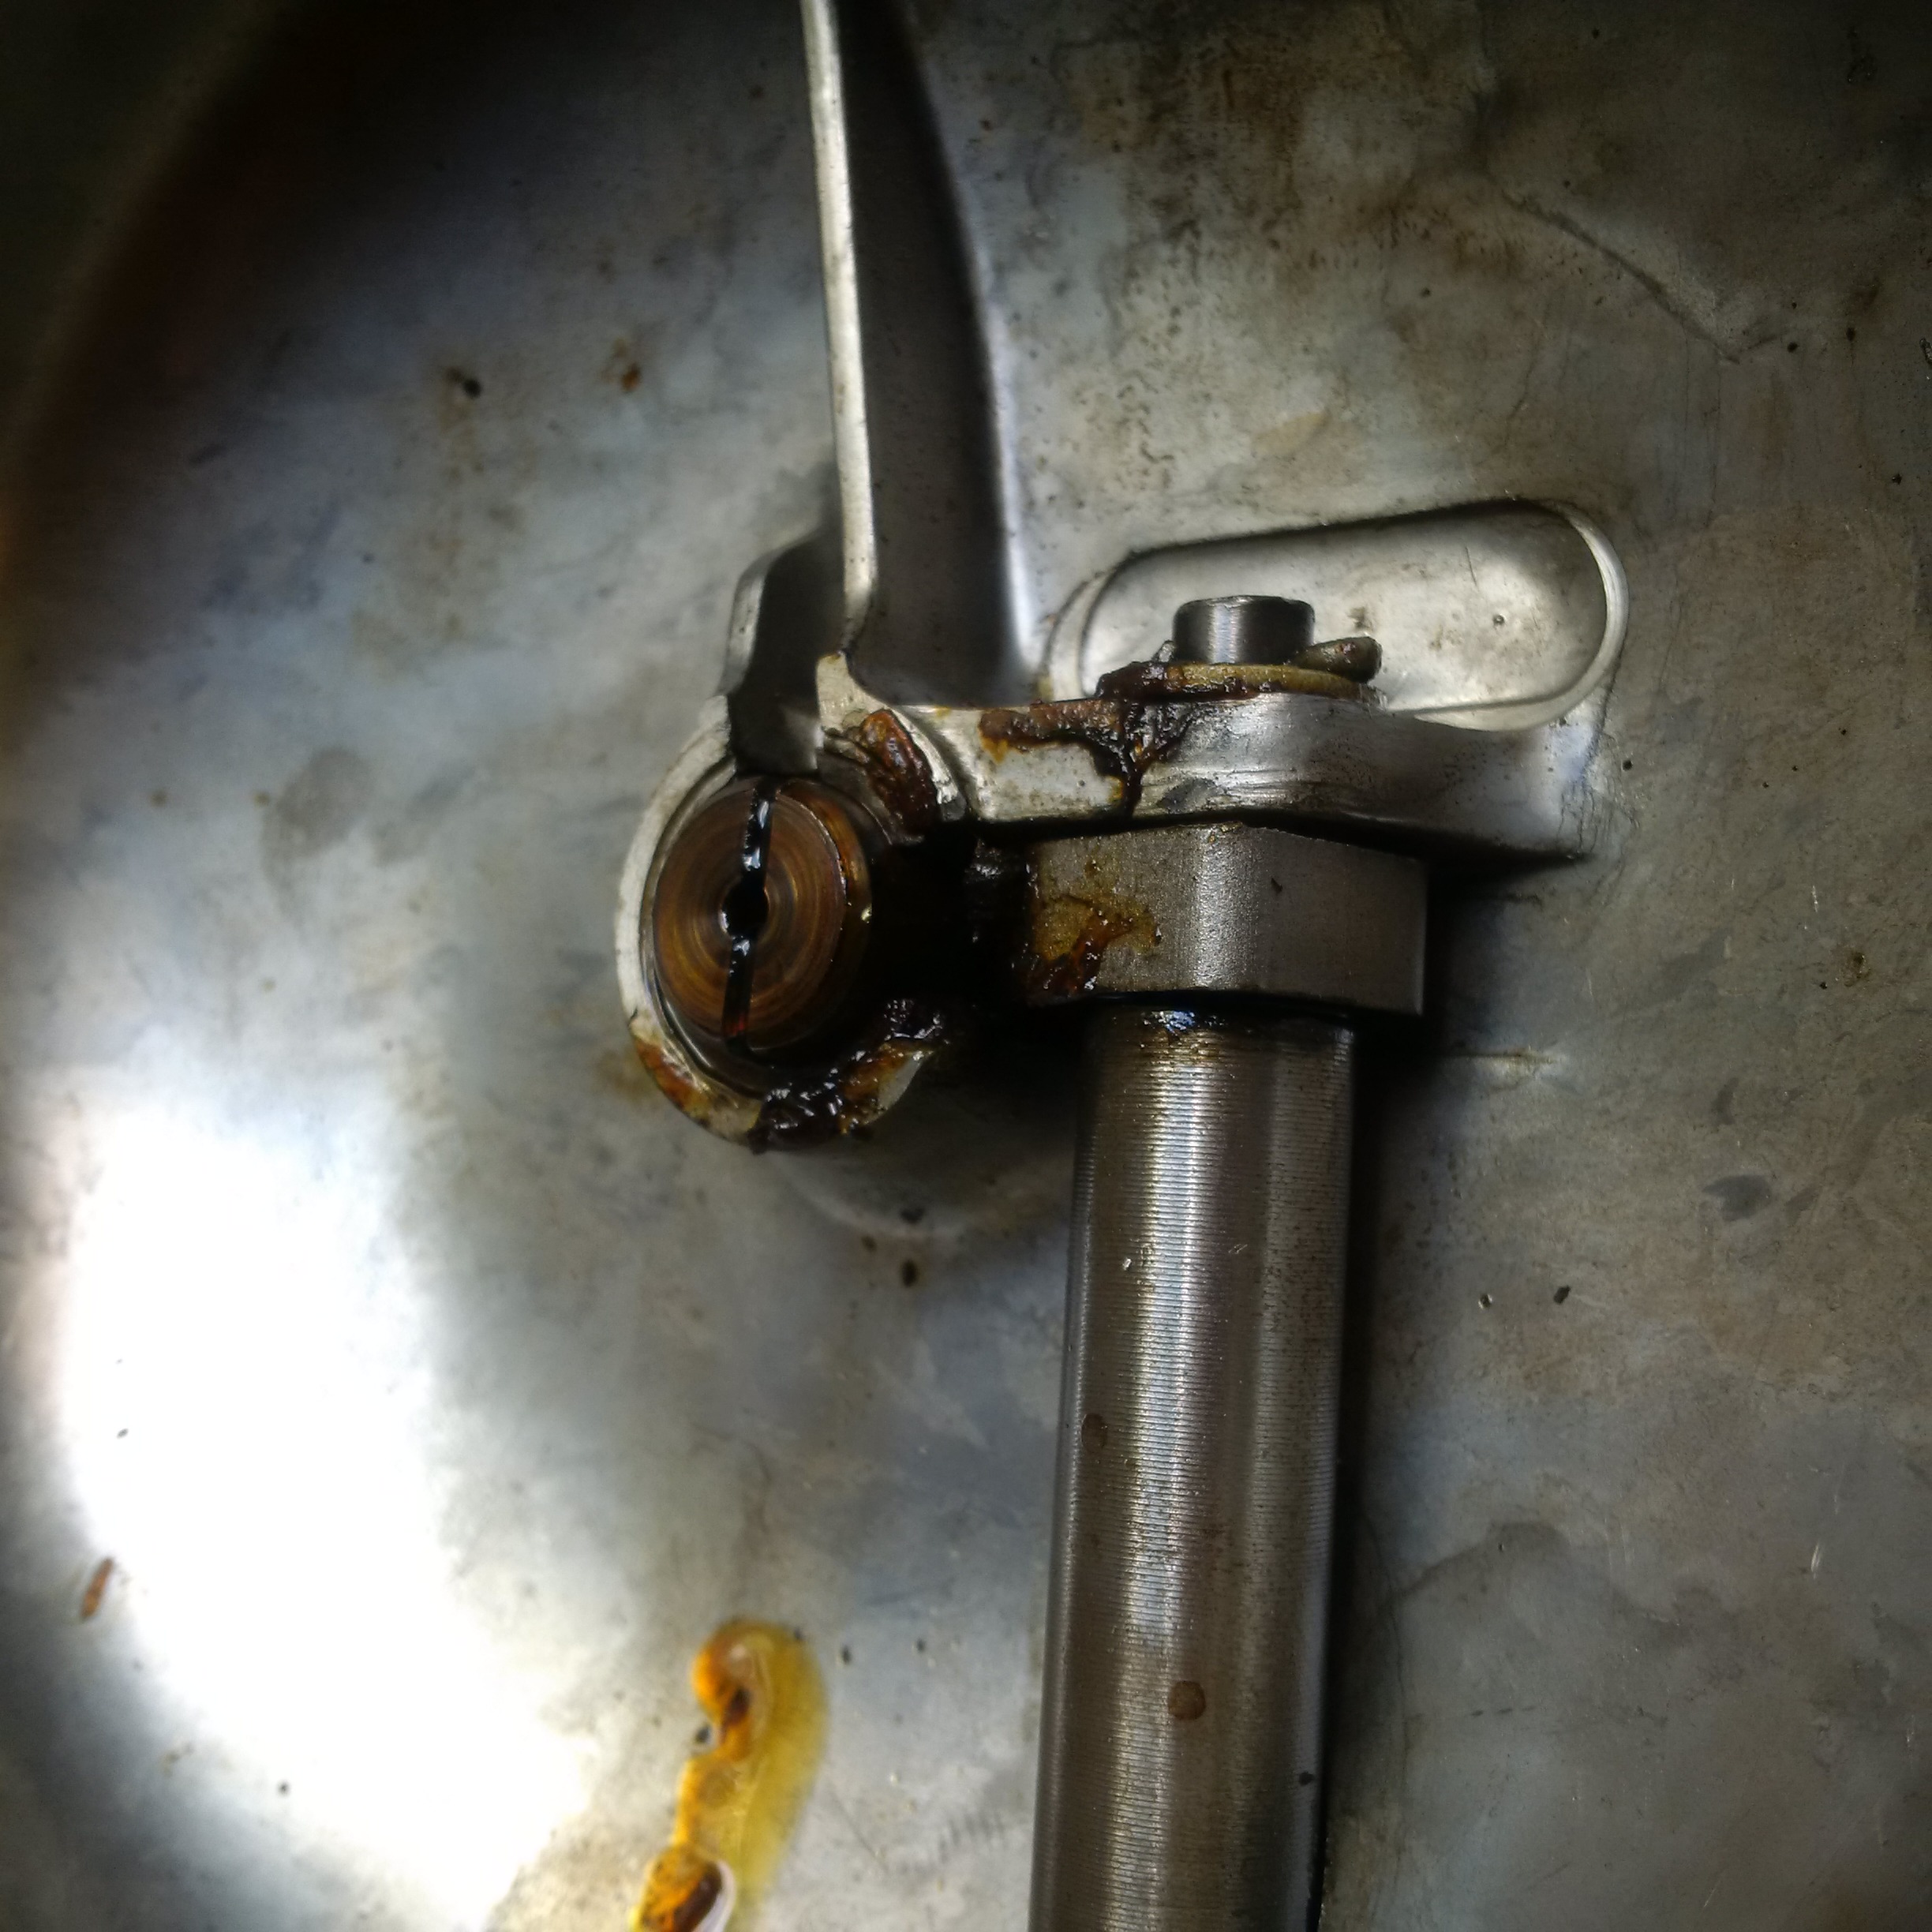
Here are some photos of the Vespa VL3T clutch cover exterior before
removal from the engine case and interior. Looks pretty clean and
the brass bush looks good. Just a little light cleaning will be
needed here.
|
|
|