Frame and Body
Metal Preparation
Dolly & hammer work
Aluminum
Parts
Bondo (!)
Prep for paint
Resources
Home
|
|
Lambretta Disk Hub Disassembly
Lambretta was the first of the
Italian scooters to add a disk brake to a production model. The first
disk brake was fitted to the TV175 and then was also adopted by all the
other Lambrettas 175ccs and up.
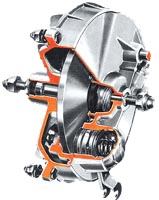
The original disk brake was
cable operated and had a static inboard pad and a operable outboard
pad. The disk in the center of the hub was able to slide on three pins
and the outboard pad would push the entire disk until it was clamped
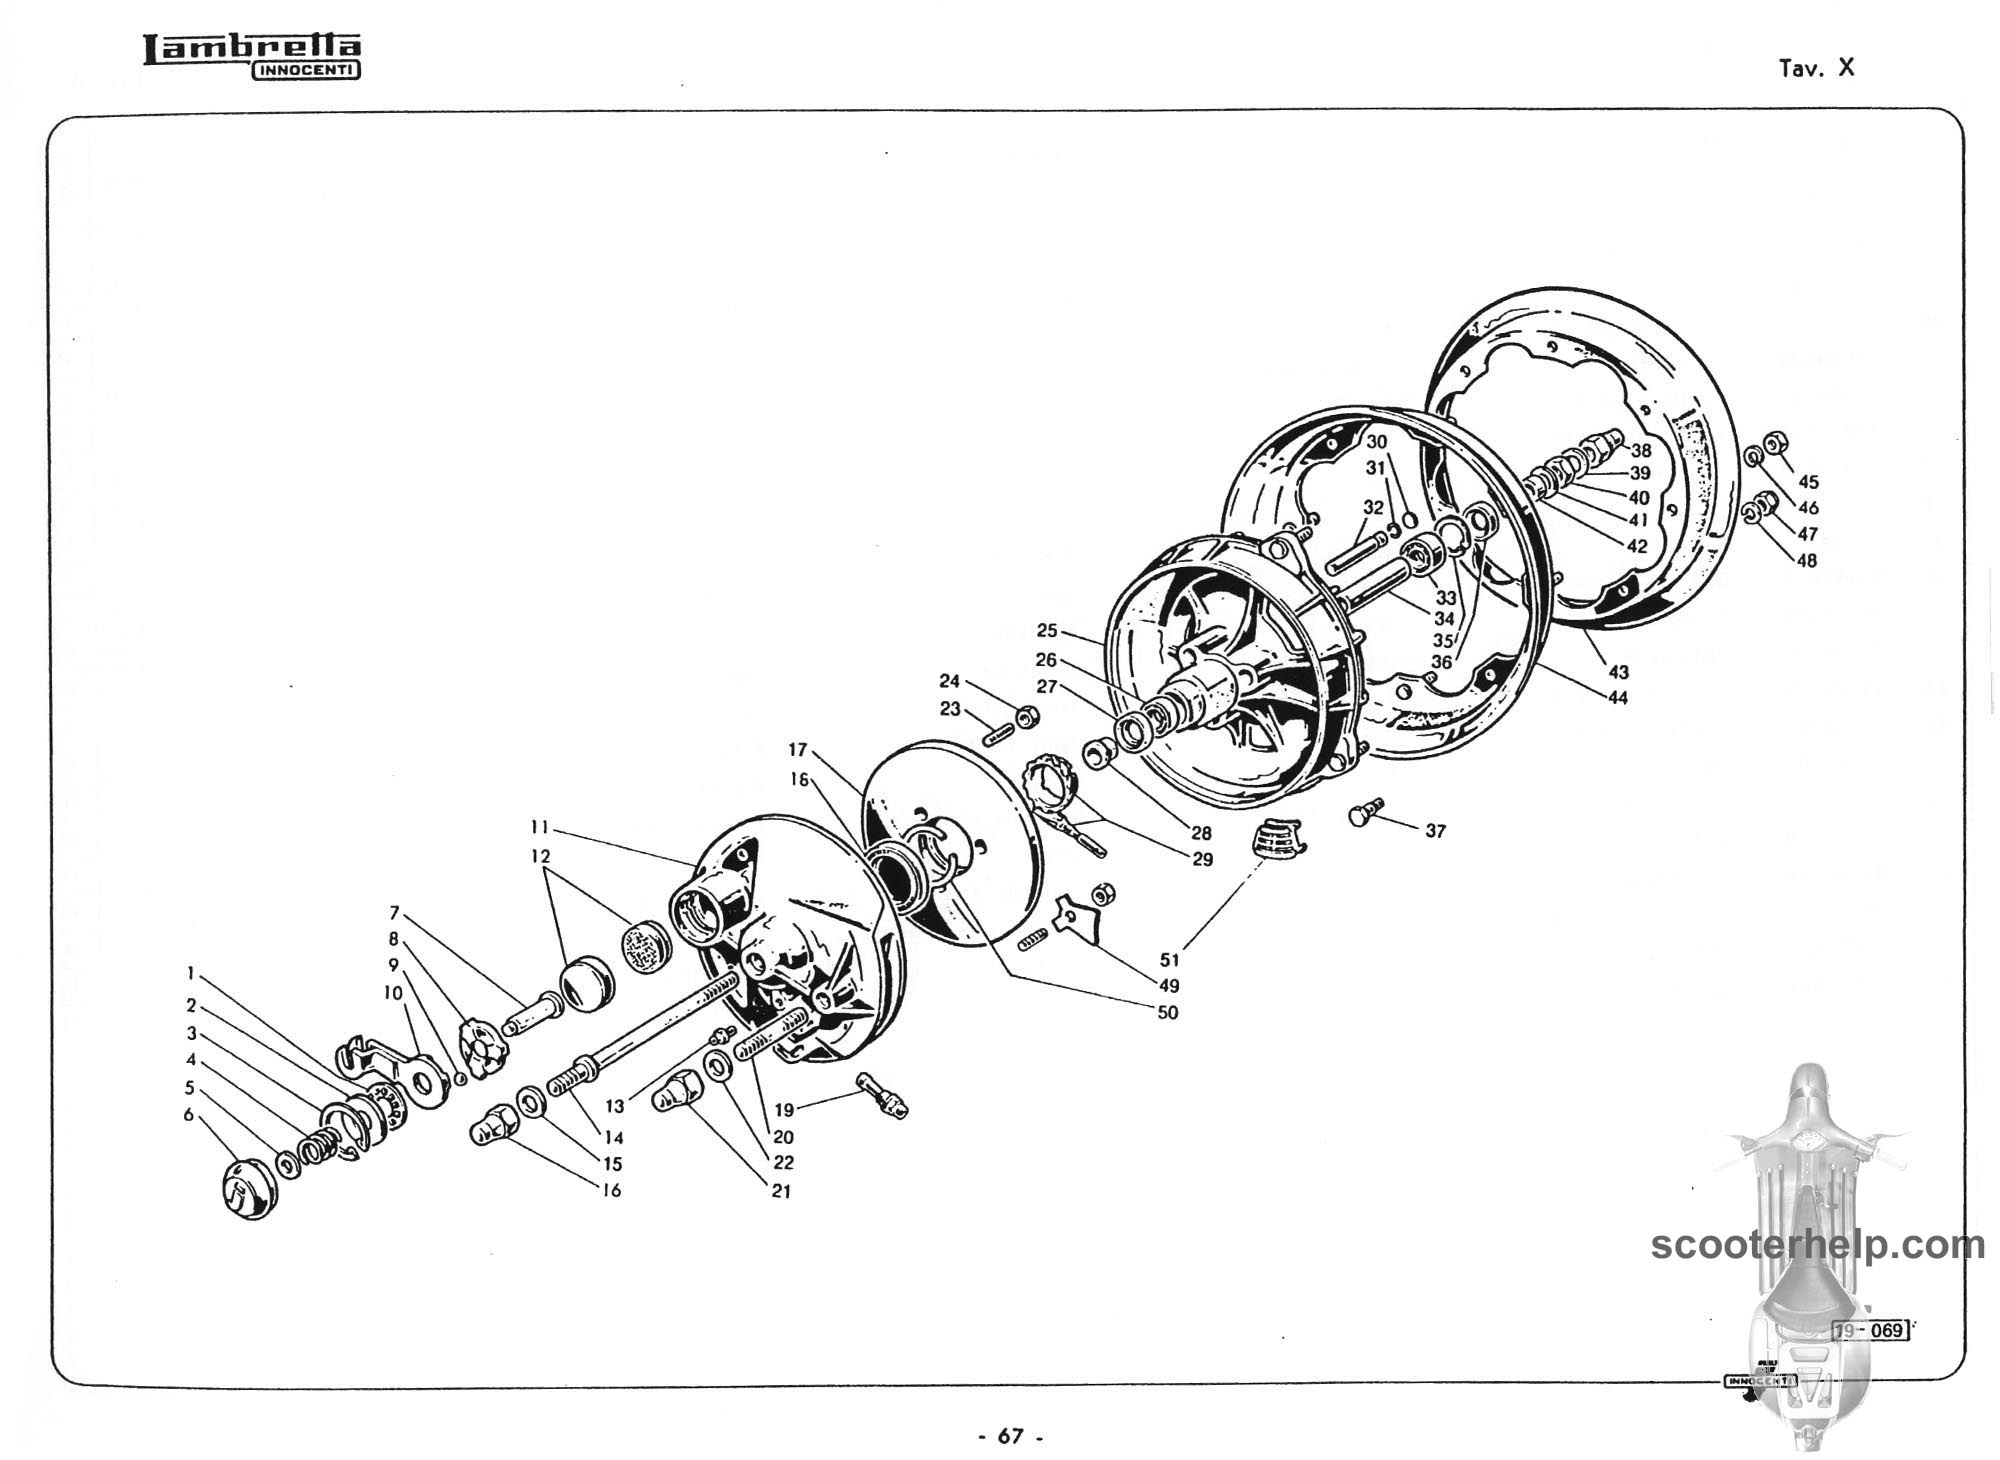
between the inboard and outboard pad. Click here for an
exploded view of the parts involved
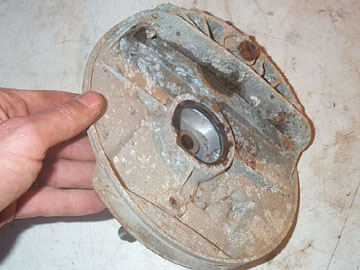
The first step is to remove
the front wheel from the forks as shown in this page. Once the
hub is free, disconnect the speedo line and the front brake cable so
that the hub can be placed on a workbench
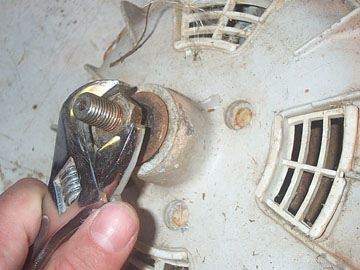
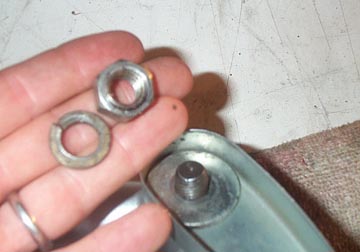
Remove the nut from either
side of the main axle.
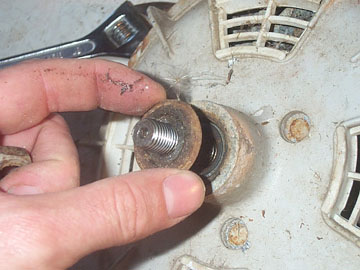
This is then followed by a
flat washer. These should be kept or replaced on the rebuild.

Note that the washer has a
raised collar on the inside face which seals against a grease seal in
the hub.

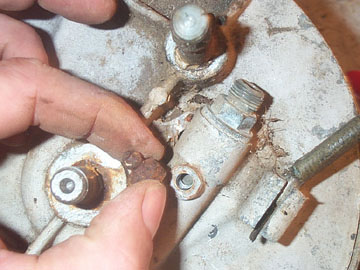
Remove the (very crusty) disk
actuating arm cap by prying it off with a small flathead.
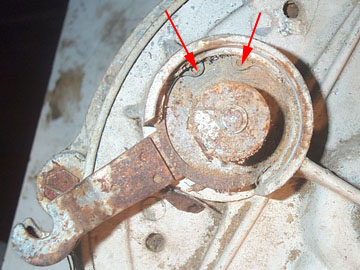
Using a set of circlip pliers,
find the ends of the clip (arrowed) and ....
...remove the retaining clip.

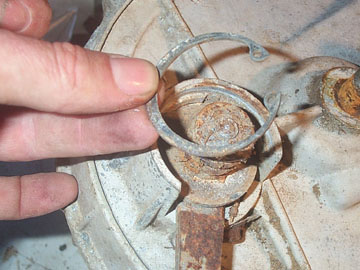
The whole arm system should
then lift out, although it may be stuck due to lack of use. Try a
solvent to free it up if it is really loose and you plan to replace the
disk pads anyway. DO NOT use a solvent if you are going to reuse the
pads as it will ruin their effectiveness. The disk arm on my bike was
blasted clean and greased up before reassembly. The way it works is
very simple using ball bearings to force the actuating plate out when
the arm is pulled.
If you are planning on
painting or powdercoating the hub you'll need to remove all the parts
from it. Remove the small grease nipple from the speedo drive with a
wrench. My cables were in such bad shape I simply cut the front brake
cable because it was jammed in the hub...that's why it still shows in
the picture.
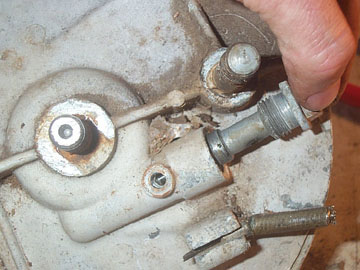
Remove the drive shroud with a
small wrench or socket. The drive shroud should then pull free from the
hub.
..followed by the actual drive
itself. Look at the drive teeth to make sure they are in good condition.

Now it is time to remove the
main axle. On this hub the axle nuts will be replaced so I used the old
one to protect the axle threads as I banged the axle out (arrowed).
Support the hub on wooden blocks and always drive the axle out from the
disk brake window side of the hub.
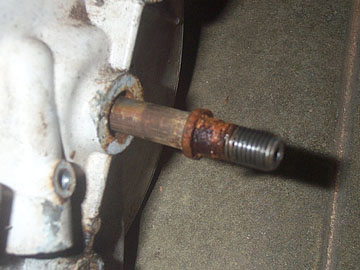
This is the reason to drive it
out from the disk window side. There is a small lip on the axle on the
fixed hub side.
The hub will not separate even
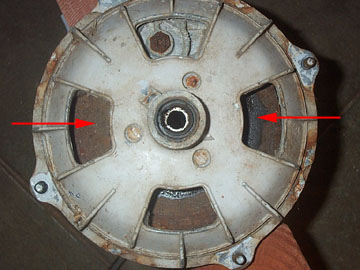
with the axle removed, because the disk is still held by the caliper.
To split the side of the hub you need to carefully push the entire disk
towards the fixed hub side. As you'll see in a moment, the disk can
move along three central locating pins. This is so one side of the disk
can have a static pad. To remove the disk from the locating pins,
remove the disk windows by carefully prying them out with a
screwdriver. Once they are out, rotate the disk window side of the hub
so that you get two windows over the disk itself.
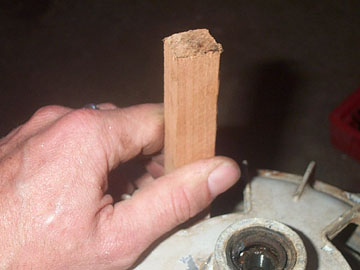
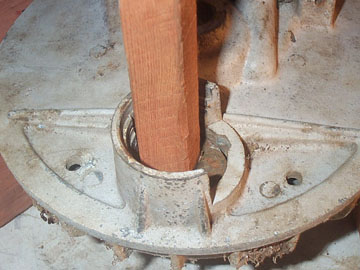
Using a block of wood, and
supporting the hub, carefully tap the disk along the locater pins. Do a
few taps on one side, then switch to the window directly across from it
and do the same amount of taps there. This should stop the disk from
getting skewed on the locating pins. You may need to use WD40 or
something similar if the pins are rusted.
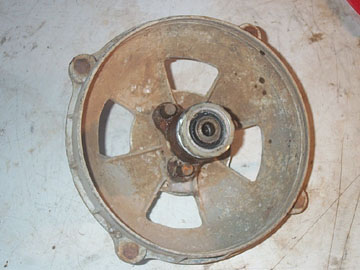
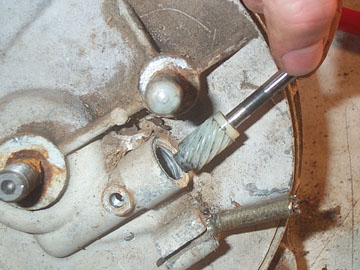
Once the disk is free the hub
should come apart. Check the speedo drive gear to make sure the teeth
are in good condition. Also you can clean up the three locator pins
with steel wool if they are rusty.
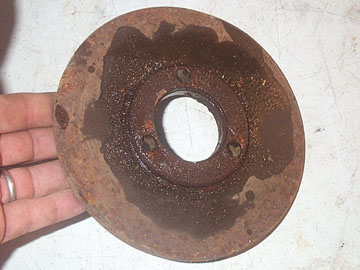
Above is the sad looking very
rusted steel disk used in the Lambretta disk hub. A quick blast with
glass beads cleaned it right up and there was very minimal pitting.
The fixed hub side still has
the fixed pad and the moving pad fixed in the caliper. Also check the
thin rubber seal in the main axle hole and replace if cracked or
obviously failing.
Using a block of wood, flip
the hub over and find the moving disk pad which is in the hole where
the disk actuator arm was removed.
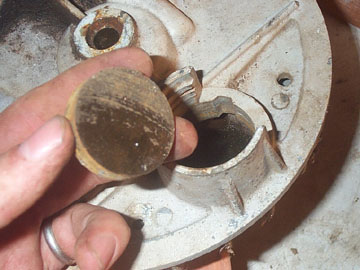
A few taps and this should
drop out of the hub. These are cheap parts and your life could depend
on them so if in doubt replace them with new ones. The part number for
both is 19744200 and you'll need two.

The static pad has a small
adjuster shaft and lock nut. Remove these (mine came off in one) and
set aside. If yours comes off in one, use a vice and an Allen wrench to
separate them as they are used to adjust the disk brake in the future
when the hub is put back together.

Using a small punch, tap out
the static pad until it drops into the caliper and out of the hub.

The last step it to remove the
bearings if you plan to replace them or have the hub painted or
powdercoated (if powdercoating you'll need to remove the plastic speedo
drive too or it will melt). Using circlip pliers remove the clip on the
disk window side of the hub.

Flip the hub over and remove
the small spacer which has a recessed part to seal against the grease
seal.
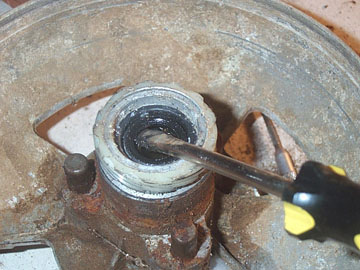
Pry out the grease seal. and
be sure to replace it with a new one during the rebuild. Be careful not
to damage the speedo drive while levering it out.
With the grease seal out of
the way, support the hub window side down, and use a socket or block of
wood to tap the bearings out. The window side bearing should start
moving as there is a tube spacer between the two bearings.
With these removed, the hub is
now ready for cleaning, blasting, and painting or powdercoating. In
both situations if you are not doing it yourself, make sure that all
the areas that have moving parts or threads are covered well and make
sure you painter knows what to paint and what not to. Scraping paint or
powdercoating off a hub is a pain in the ass.
|
|
|


