VespaAutomatic ProjectAutomatic Engine |
Automatic Engine
This is a weird engine to look
at with so much of my experience revolving around the typical small
frame and large frame motors from the 80s and before. A big thank you
goes out to the guys at American Scooter Center who sold me this engine in
the first place.
My first scooter (OK...moped)
was a Vespa Bravo so I have some familiarity with the idea of a belt
drive and pulleys that change diameter as speed increases. I plan to
convert this motor to an electric start system that was an option. The
main parts that will need changing are the flywheel and adding an
electric start motor to the blanked out area on the motor casing.
The PK 125 Automatica was only
produced for Europe. It is an ideal donor as it has all the things in a
current automatic such as an oil injection option, reed valve intake,
electric start option, and at 125cc it should be able to keep up with
traffic. I don't yet know if standard small frame kits will fit this
bike - we'll see.
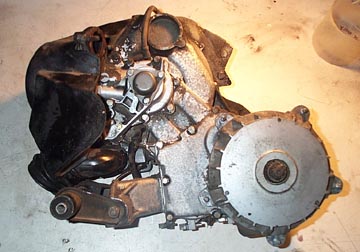
Still a very odd looking
thing...
The intake the the cylinder is
through a stock cranckase reed valve. As far as I know there is no
other Vespa before the ET2 that ever used a reed valve. The small coat
hanger looking thing is actually the throttle arm.
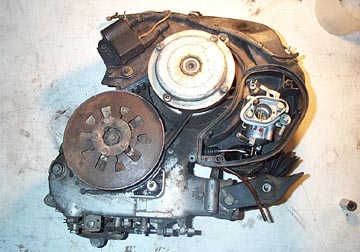
The barrel and piston are also
much more modern than I have seen on a stock Vespa. Crankcase transfers
are much bigger than a typical small frame (or any 125cc) and the
barrel is rotated in the same manner as a smal frame, with the exhaust
facing up. The barrel is aluminum and from what I can tell it has a
Nicasil plated bore...I could be wrong.
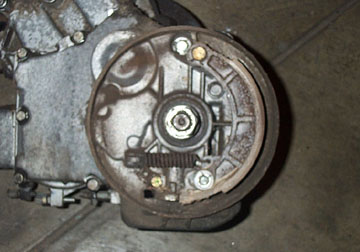
The rear brake is a single
brake shoe that is apparently impossible to find.
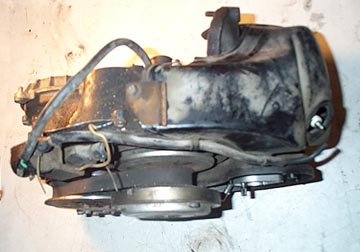
After a rebuild and a clean
this is the final result so far. See more in the rebuild sections.
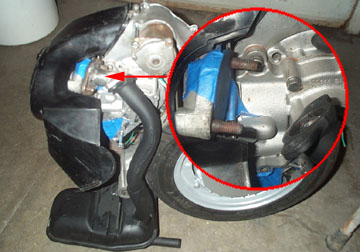
The guys at SIP were
generous enough to ship me a Vespa PK50 Automatica exhaust they had in
stock, but I soon found it was a little different. It left about a 1.5"
gap between the cylinder and the exhaust stub. I have just started
learning how to weld so I thought this would be the perfect project.
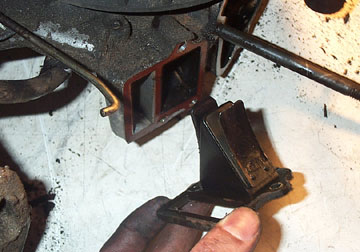
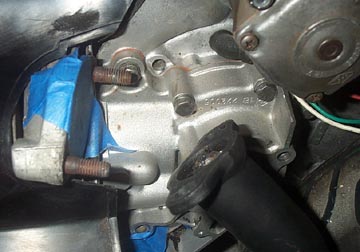
The shot above shows the
aluminum exhaust stub with blue tape over it to keep things clean, and
then the exhaust leader stub to the right.
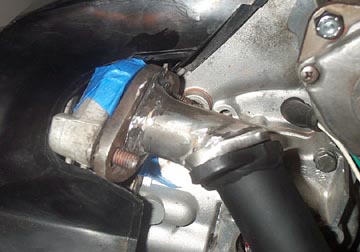
My welding skills aren't great
(yet), but after measuring and cutting I managed to fabricate the
following filler piece complete with flanges. After this shot was taken
I Dremeled out the inside for a smooth flow.
...and bingo - it fits!! This
was the last step before I could bench test the motor so soon it will
be running again and I can test it all out. Next Section --> |
|||||||||||||||||