1965 Jet BoardSafety |
Safety - Sump System
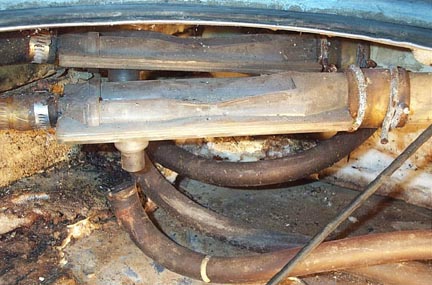
The jet board has an interesting system to constantly suck out any water that makes it way into the inside. There are two metal tubes running to the lowest point at the front of the board and two to the back lowest point. There is a small air intake for the carb which can take in water in the nose, and these tubes suck any water to the center of the board and then expel it out the side. Above is a shot of the original condition system in need of repair.
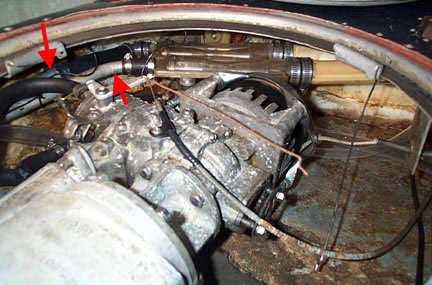
Here's a shot of our first rebuild of the sump system. Some of the plastic venturi tubes were cracked so they were repaired with epoxy. New radiator hose from Kragen was used to reconnect all the sump plumbing. The two tubes arrowed at the left side have water forced down them from the jet drive. The action of the water passing through the plastic twin venturis creates suction to the four inlets which are each connected to four different suction points in the hull. The plastic connections on the sump venturis promptly broke the first time we had it out and instead of removing water from the board, they started to fill it up!
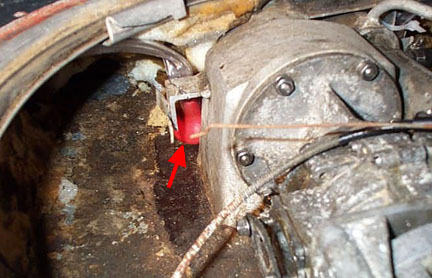
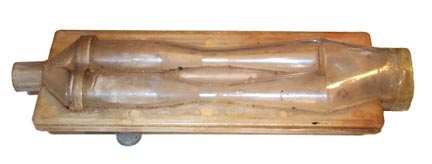
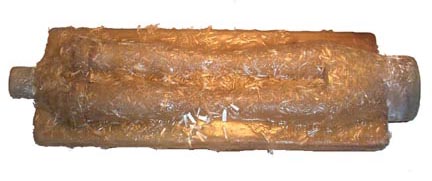
Above is a shot of the left rear suction point. The red bell at the bottom of the suction tube has a wire mesh grating to stop anything large being sucked up into the system. We found that no amount of epoxy could fix the very fragile connection points of the plastic venturis. Also, on closer inspection, the venturi chambers had many spider cracks which worried us. The problem with the board is that when you are on the water, you have no way of knowing if there is a leak that will eventually kill the board. We decided that since the ultimate goal of the project is to get it running reliably, we would just use fiberglass and make a very strong but ugly repair on all two separate plastic units. Below is a shot of one of the units before the glassing.
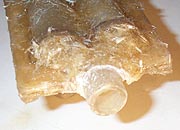
After glassing it looked like crap, but it is definitely water tight and the connection points are fully reinforced.
The weak connection points were now fully repaired and we reinstalled the two units with new hose clamps and new hoses. Below are shots of the intake before and after the fiberglass repair.
Next Section --> |
|||||||||||
